With Influencity, you can batch schedule your content efficiently by importing a CSV file. This feature allows you to schedule posts for one or multiple brands simultaneously, either through the calendar or via autolists.
Scheduling from the Calendar
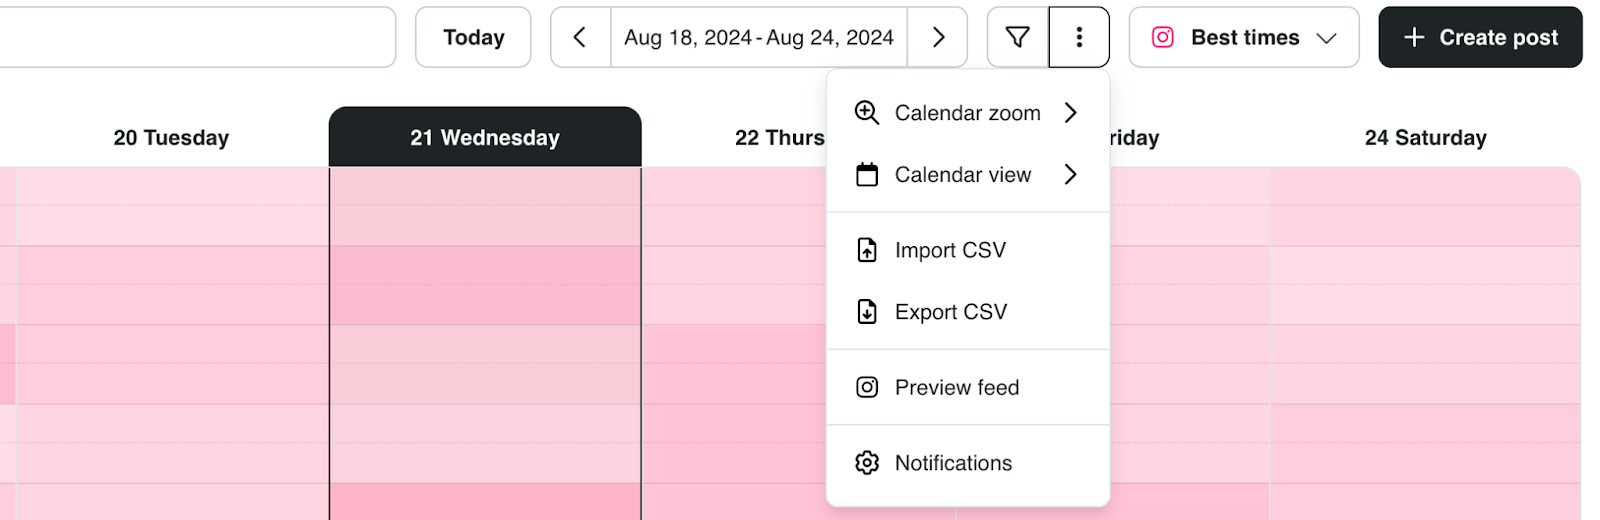
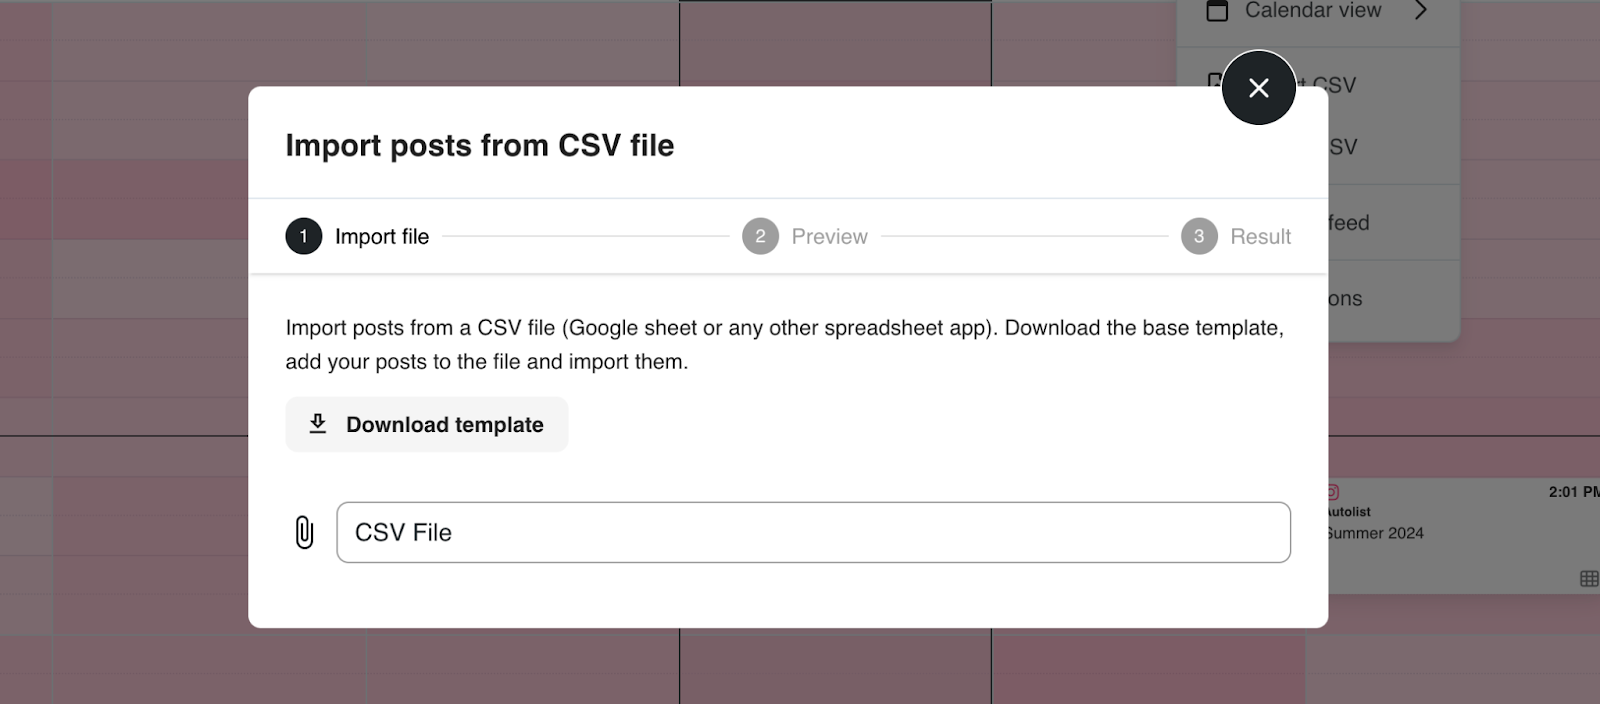
- Access the calendar in the planning section and click on "Import CSV" in the calendar options menu. A new window will appear with the option to download the template.
- Download the CSV Template.
Fill Out the Template
Follow the provided example in the template. Don’t delete or add any columns, as this could cause errors. The supported languages for completing the template are English, Spanish, French, German, and Portuguese.
- Use "TRUE" for the fields you want to include and "FALSE" for those you don't. For example, if you only want to post on Instagram, mark "TRUE" in the Instagram column and "FALSE" for the others.
- If the "Brand Name" column is empty, the post will be scheduled for the brand you're currently in. If you want the same post for multiple brands, create one row per brand.
Adding Multimedia Content
For images and videos, the URLs must point to publicly accessible files, such as:
- Google Drive: Share the file as "anyone with the link" and ensure it ends with .jpg, .png, or .mp4.
- Dropbox: Ensure the file is public and the URL ends in ?dl=0.
Import the CSV File
Once your CSV file is complete:
- Click on "Import CSV" again in the calendar and choose "CSV File" to upload it.
- A preview window will appear, allowing you to check for errors and review your posts before importing them.
Tip: Ensure the date and time format in the CSV matches the format selected in the drop-down menu when uploading the file.
Scheduling from Autolists
CSV File Structure
Unlike the calendar option, for autolists, the CSV file only needs two columns: one for the text and one for the image or video link. If you're adding multiple images, you can include up to 10 columns. Check the specific number of images allowed by each social network here.
Importing the CSV File
Follow similar steps to upload your CSV file to the autolist. Make sure the image and video links are public and end with .jpg, .png, or .mp4.
Download Scheduled Posts
You can also download your scheduled posts from the Calendar or Autolists as a CSV file for further analysis or editing.