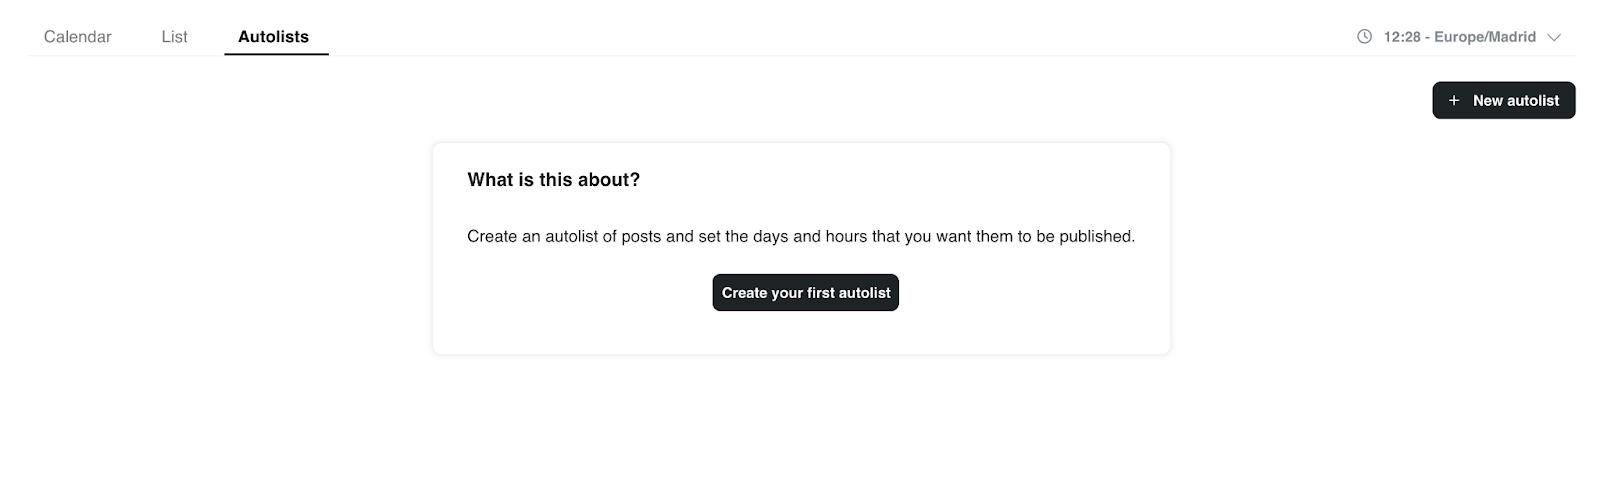
What is an Autolist and How Does it Work?
An Autolist allows you to create a list of posts that automatically repeat based on your chosen frequency. This feature helps you stay active on social media by recycling content and planning posts more efficiently.
Key Features
- Schedule posts periodically based on your preferred frequency.
- The overview shows details like the next post date, active networks, pending posts, and repeat status.
- Activate or deactivate each autolist and delete them with the trash icon.
- Posts publish in order and are deleted unless the "repeat" option is enabled, making your list circular.
Example: Your content will be published in a set chronological order. For instance (see below):
- Mondays at 9:00 AM
- Wednesdays at 9:00 AM and 12:30 PM
- Fridays at 12:30 PM
This allows your posts to be automatically scheduled in your calendar for regular posting.
Glossary of Key Fields for Setting Up Autolists
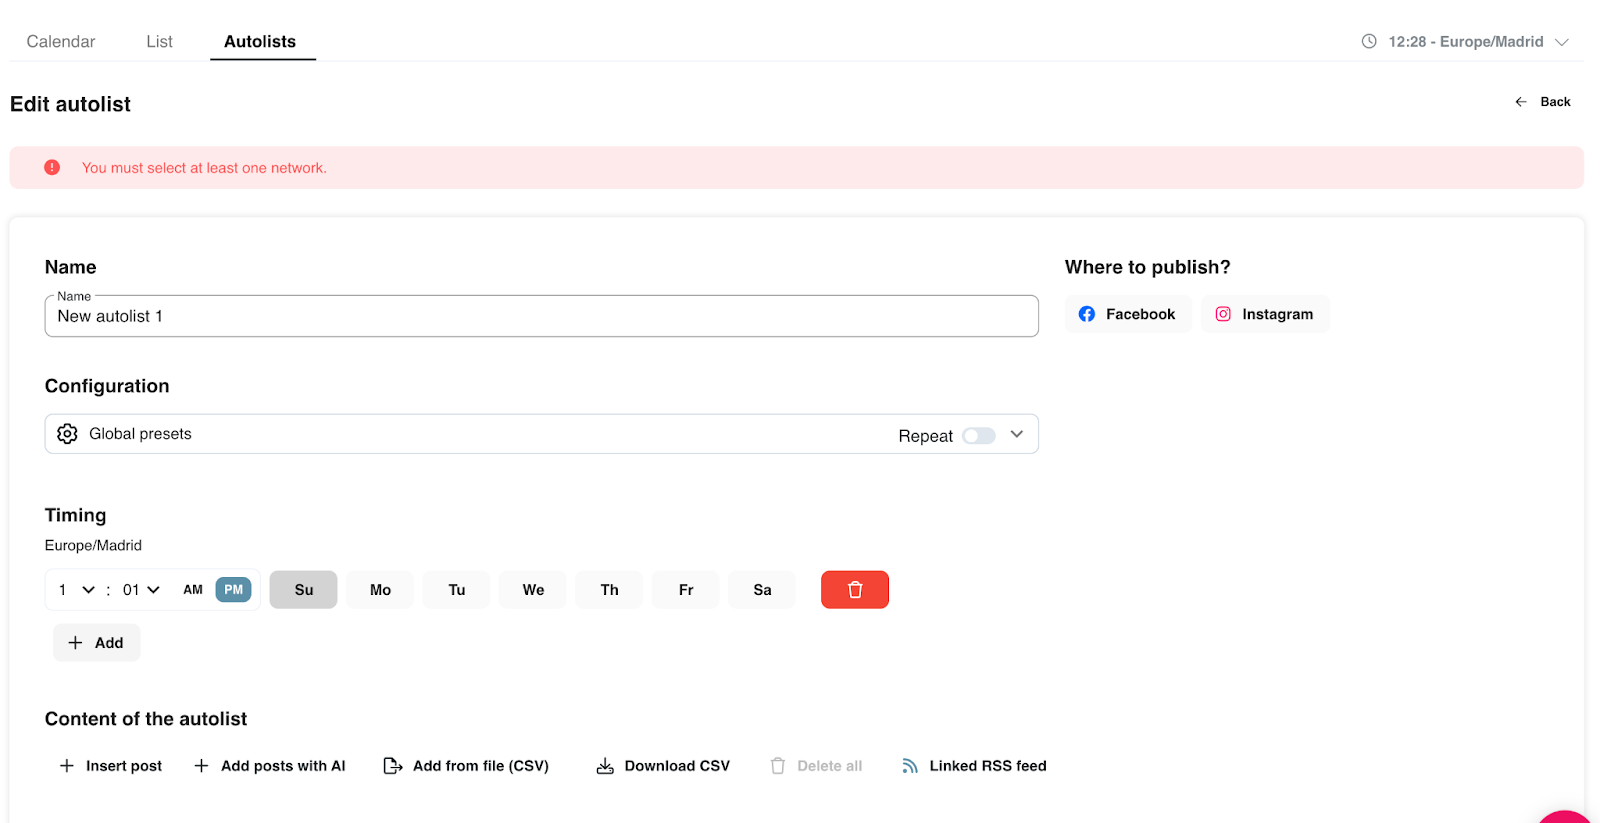
- Name and Configuration: Define a name for the list (e.g., "best posts," "periodic tweets").
- Repeat: Turn your autolist into a circular list by enabling the repeat option, which recycles the posts once they have been published.
- URL Shortener: Automatically shortens URLs and provides click statistics.
- Networks to Publish: Choose the social networks where you want the content shared. You can create separate autolists for each network if needed.
- Scheduling: Set the days and times for posts to be published. You can add multiple rows for different schedules.
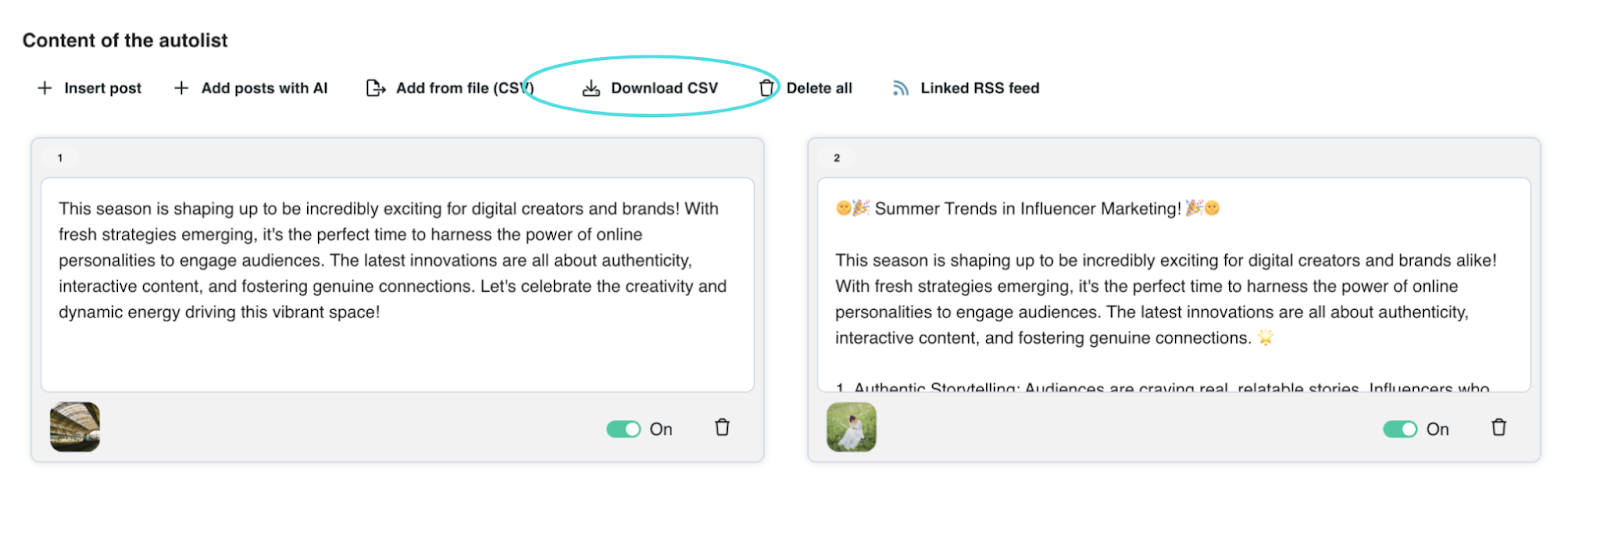
- Post Position: View and adjust the position of each post within the list. Posts can be dragged to new positions or reordered by clicking on their number.
- Pause Button: Temporarily pause any post in the list without deleting it.
- Trash Button: Delete posts you no longer want to be published.
Note: Instagram tagging is not supported when scheduling posts through Autolists.
Setting Up Your Autolist
Create a New Autolist
- Select the social networks you want to include.
- Set global and network-specific settings, like activating the repeat function for circular posts.
- Program the day and time for your content to be posted. You can add multiple rows for various schedules.
- Add your content manually or by uploading from a CSV file.
Duplicate an Autolist
You can easily duplicate your autolist content by downloading it as a CSV file (available for premium users), creating a new autolist, and re-uploading the content.
Adding Content to Your Autolist
You have multiple options for adding content:

- Insert Post: Add posts manually.
- AI-Powered Posts: Create posts using artificial intelligence.
- CSV Upload: Add posts in bulk using a CSV file.
- Linked RSS Feed: Automatically add posts from an RSS feed.
Note: You can attach different media types like images, videos, and GIFs from various sources including your PC, Google Drive, or a URL.
How to Link an RSS Feed
Need to link your RSS Feed? Follow these steps:
- Add the RSS feed URL and click "Search."
- Customize the following fields:
- Prefix/Suffix: Add text to the beginning or end of each post.
- Options: Include previous posts, disable posts until manually activated, or add new posts to the beginning of the autolist.
- Save the feed, and it will automatically populate your autolist.