Social Media Available
You can schedule content on Facebook, Instagram, X (Twitter), LinkedIn, Pinterest, TikTok, YouTube, and Google Business directly from the Influencity Calendar.
Each platform may have specific posting processes, particularly Instagram and TikTok.
How to Schedule
You have two options for scheduling content: individual scheduling or batch scheduling.
Individual Scheduling
- Go to Planning: Access the Planning section from the top menu.
- Create New Post: Click on Create New Post (or select a time slot within the calendar). Choose the social platforms where you want to publish—icons are highlighted in color when selected.
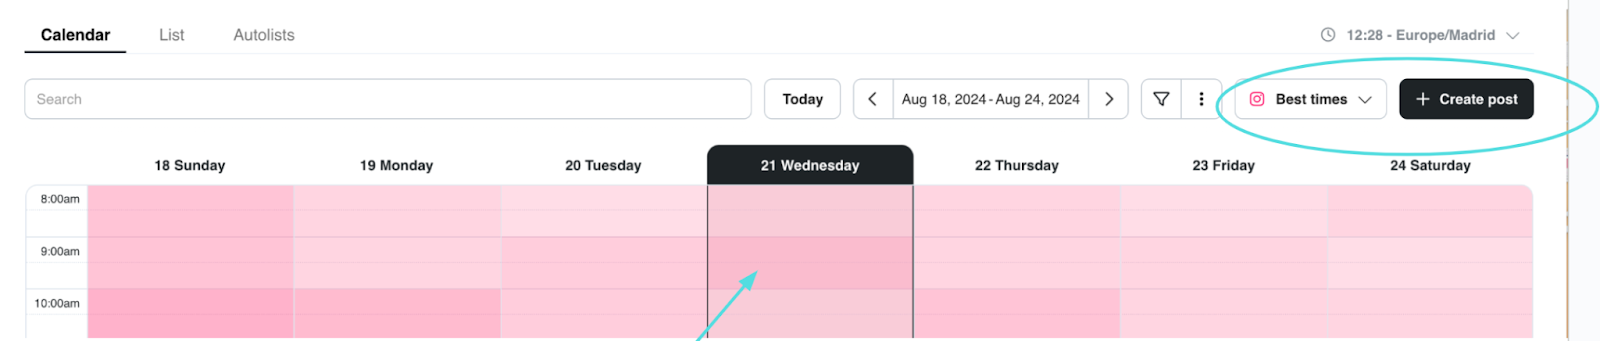
- From the calendar, discover the best times to post based on your audience for Facebook, Instagram, Twitter, and TikTok. The darker the color, the better the engagement. (You need at least 100 followers to access this data.)
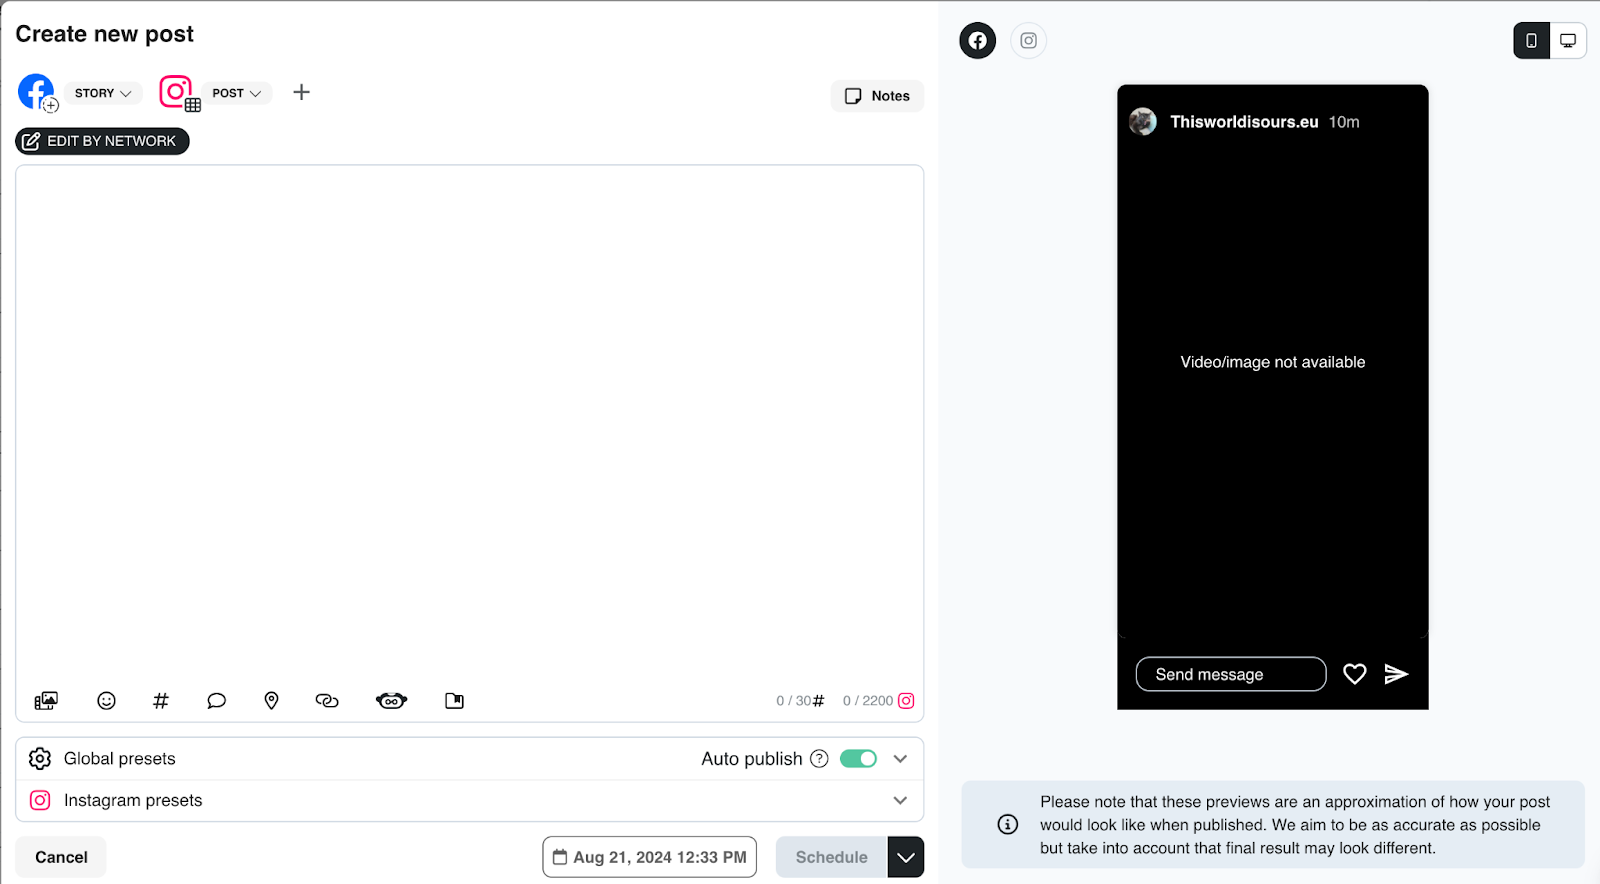
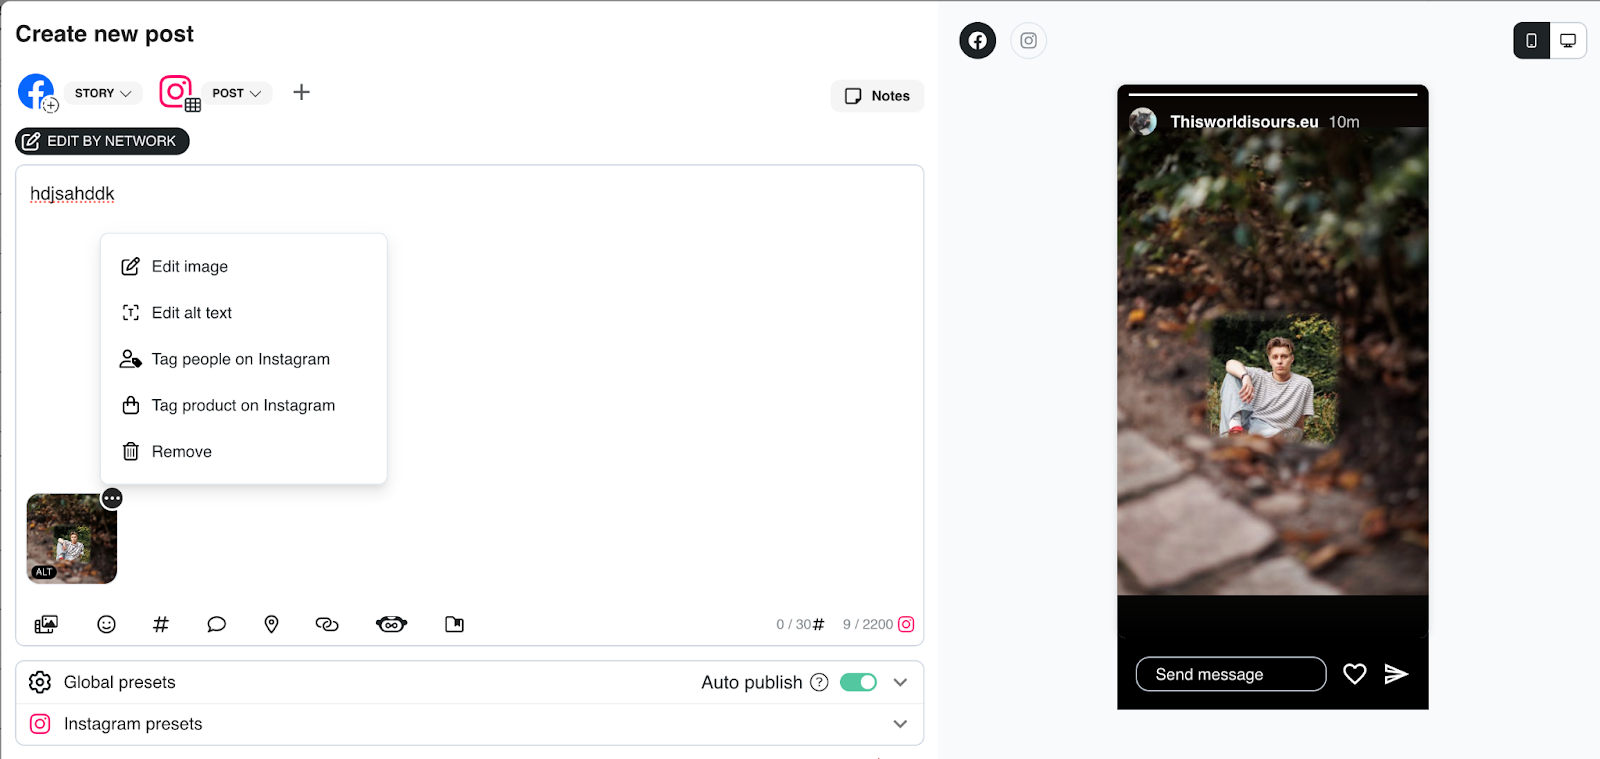
Text Box: This is where you add your text, links, and mentions using the @ symbol.
Add Multimedia Content: Upload images (from your PC, URL, or Google Drive), use images from the Pexels image bank, or add videos and GIFs.
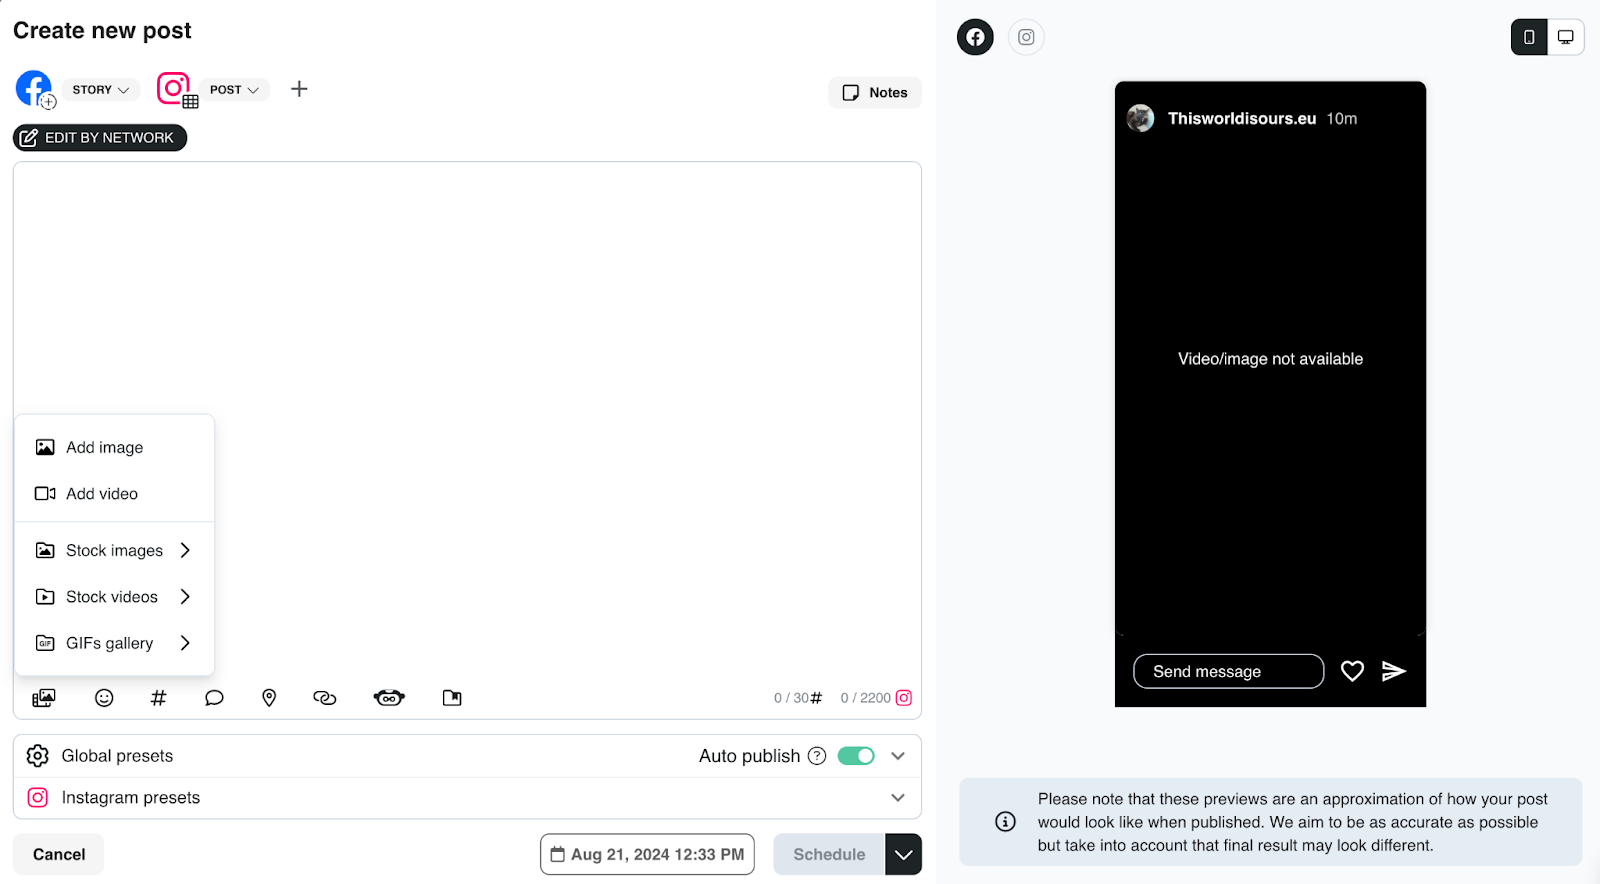
Click the three dots in the attachment to access editing options. You can also edit your media directly within the planner.
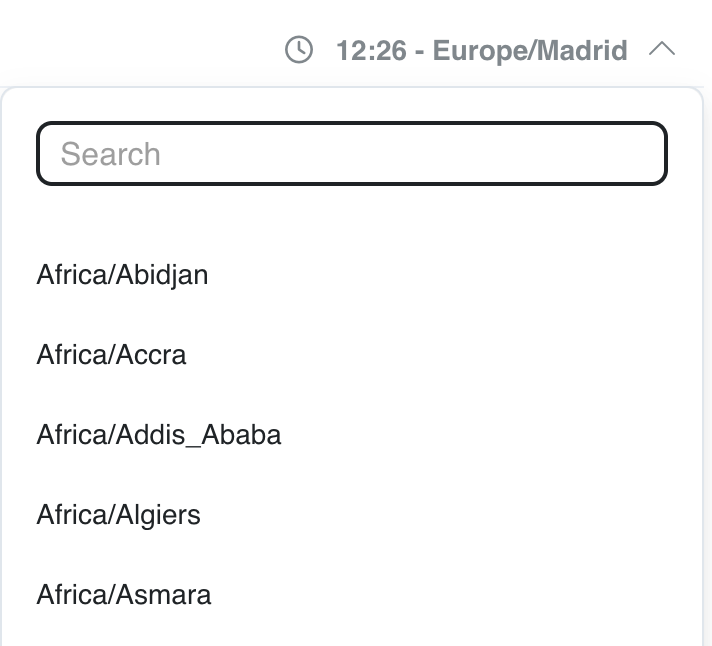
Tip: You can adjust the time zone using the drop-down menu next to the current time.
Additional Options
Global Presets
- URL Shortener: Toggle this option to hide the original URL. (Note: the URL shortens after the content is published, not before. If multiple links are added, all will be shortened.)
- SmartLinks (Link in Bio): Automatically add the post to the selected SmartLink once it's published.

Specific Presets by Social Platform
Depending on the platform, you can configure additional options under global settings
Final Steps: Select Time and Day
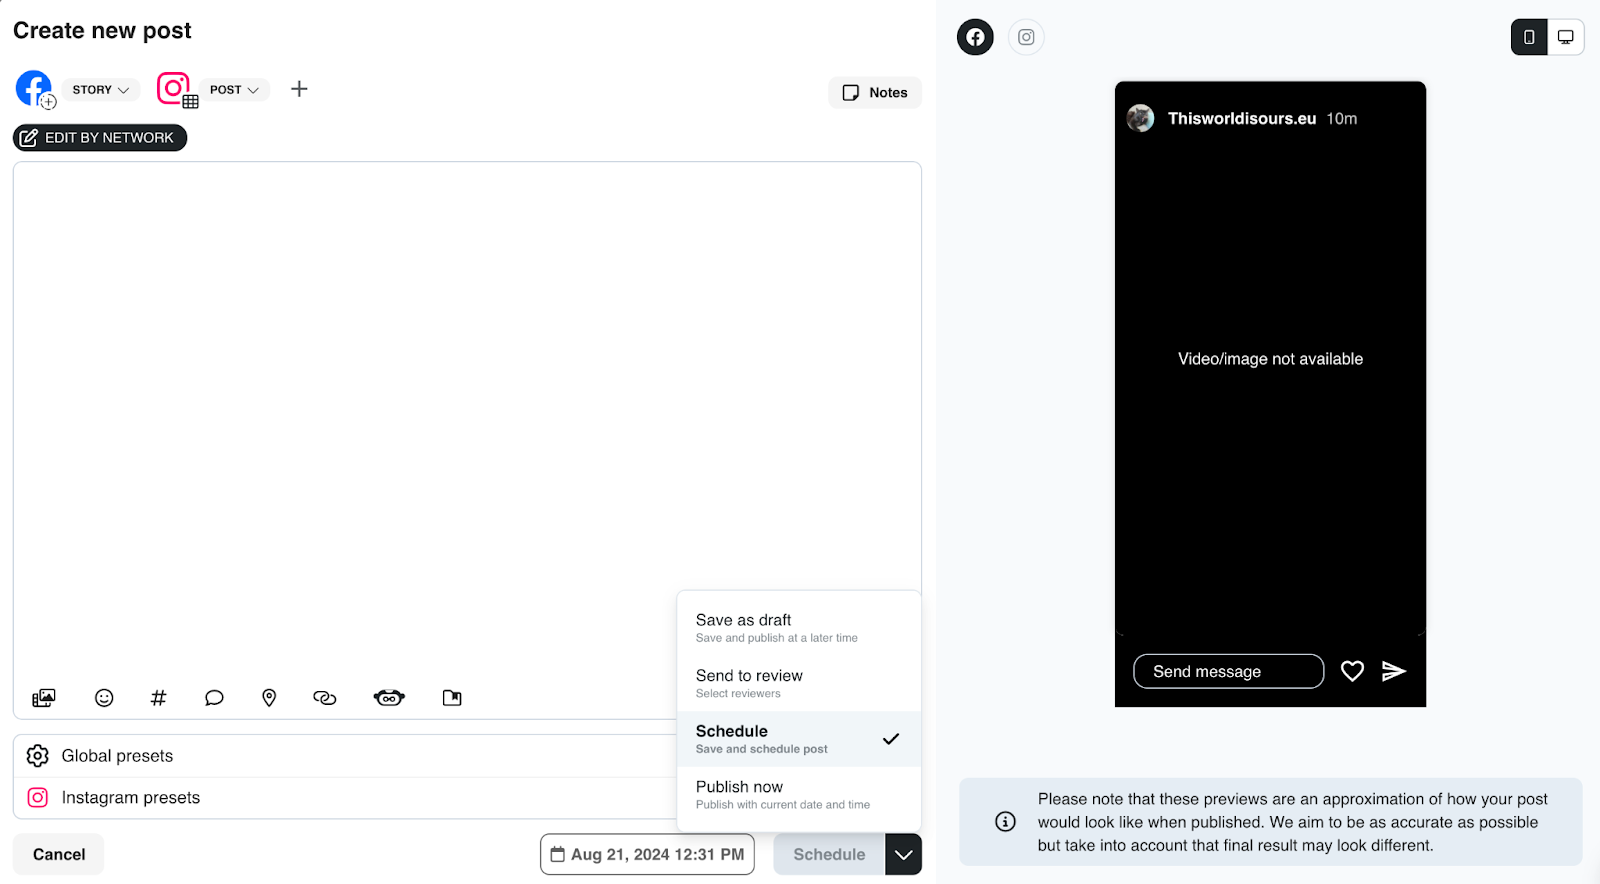
Once you’ve set up your post, you can choose one of the following options:
- Schedule: Save and schedule the post for the selected time.
- Save Draft: Save the post as a draft to publish later.
- Send to Review: Select users for content approval. This is great when you are working with influencers and you need to show and approve the content before it’s live.
- Publish Now: Save and publish the post immediately with the current date and time.
Preview Feature: Before finalizing, you can preview how the post will display on both desktop and mobile. For Instagram posts, you can view the feed preview to ensure the post aligns with your existing content.
Managing Scheduled Posts
After saving the post, you can:
- Duplicate the post by clicking the copy icon.
- Delete the post by clicking the bin icon.
This streamlined process allows you to efficiently schedule and manage your content across multiple platforms within Influencity!
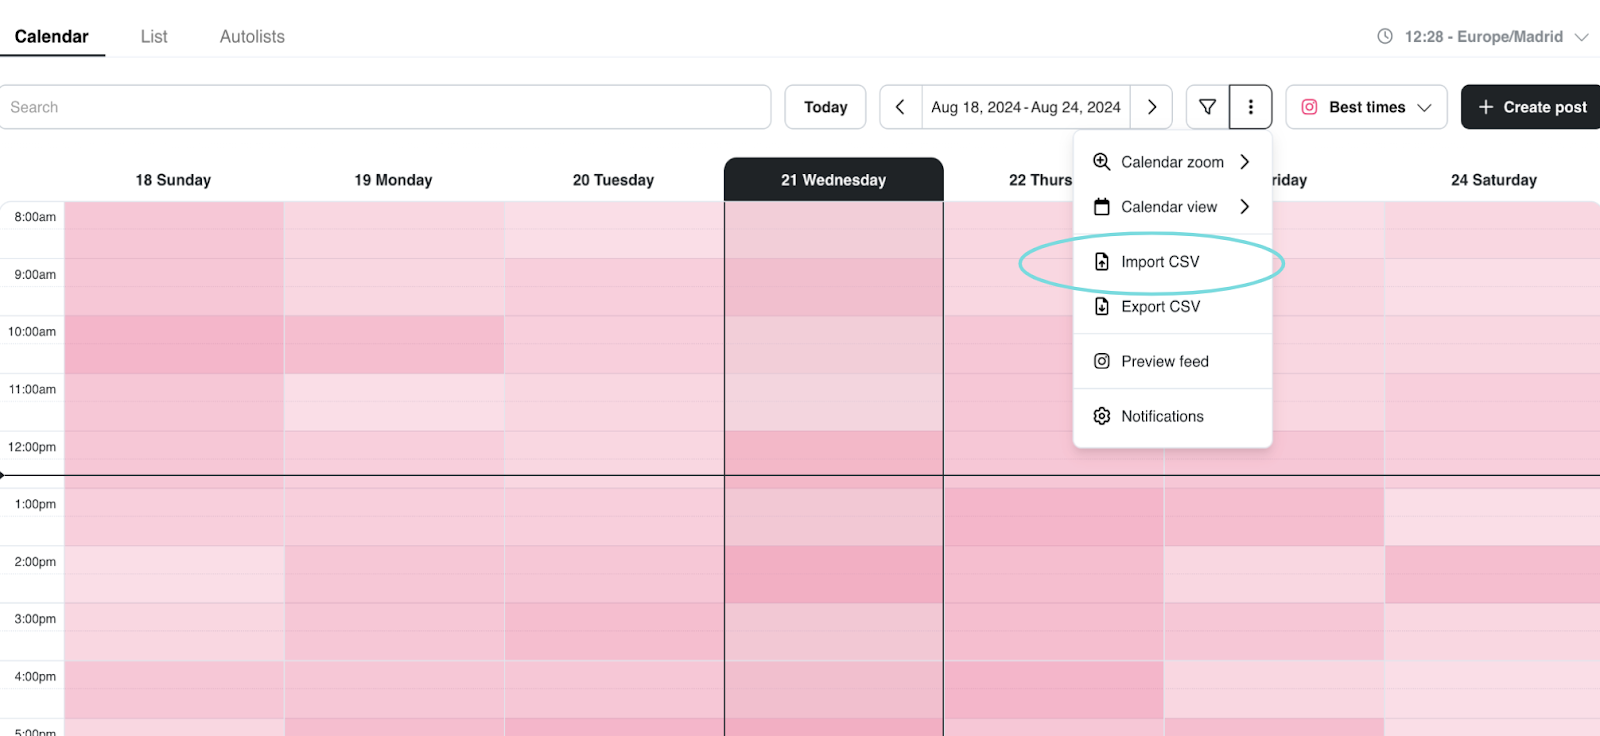
Bulk Scheduling via CSV
Easily schedule your content in bulk using a CSV file. This feature allows you to efficiently schedule multiple posts at once and even apply the same content schedule across different brands simultaneously.
Here’s how to do it:
- Prepare your CSV file with the necessary post information (text, media, links, etc.).
- Upload the CSV file to Influencity for automatic scheduling across selected brands.
- Download Publication Calendar
For further analysis of your content plan, you can download your scheduled posts calendar. This feature enables you to export the calendar and review your scheduled content in detail.
Create Recurring Content with Autolists
If you need to set up recurring content or automatically share updates from your blog to social media, check out the Autolists feature. You can also connect an RSS Feed to automatically post new blog content to your social platforms.