Creating an alert with our monitoring is a straightforward process that helps you stay on top of mentions and trends relevant to your brand. Here's how you can set it up and manage it effectively.
Step 1: Create the Alert
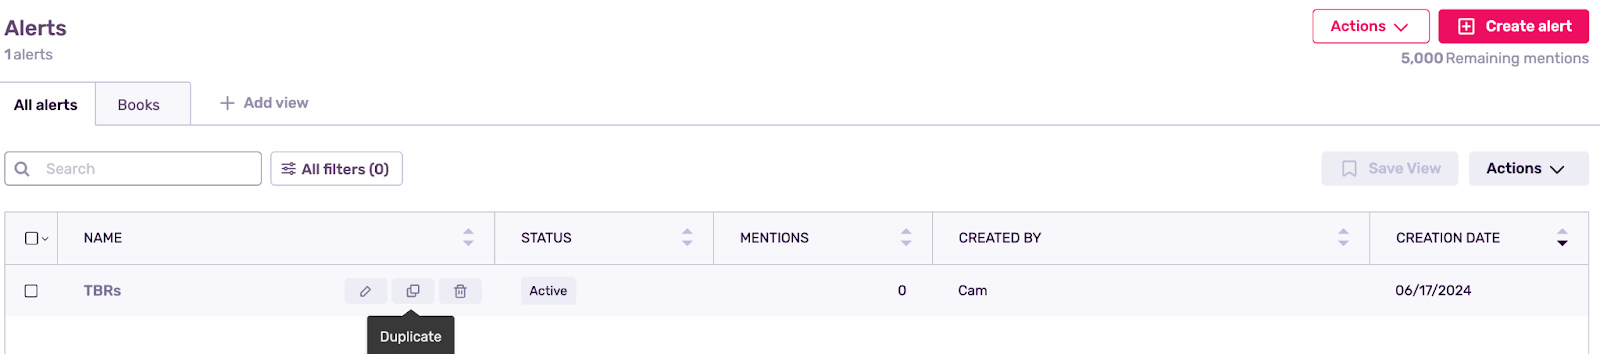
- Navigate to the All Alerts section of the tool.
- Click on Create New Alert to start setting up your alert.

Step 2: Setting Conditions
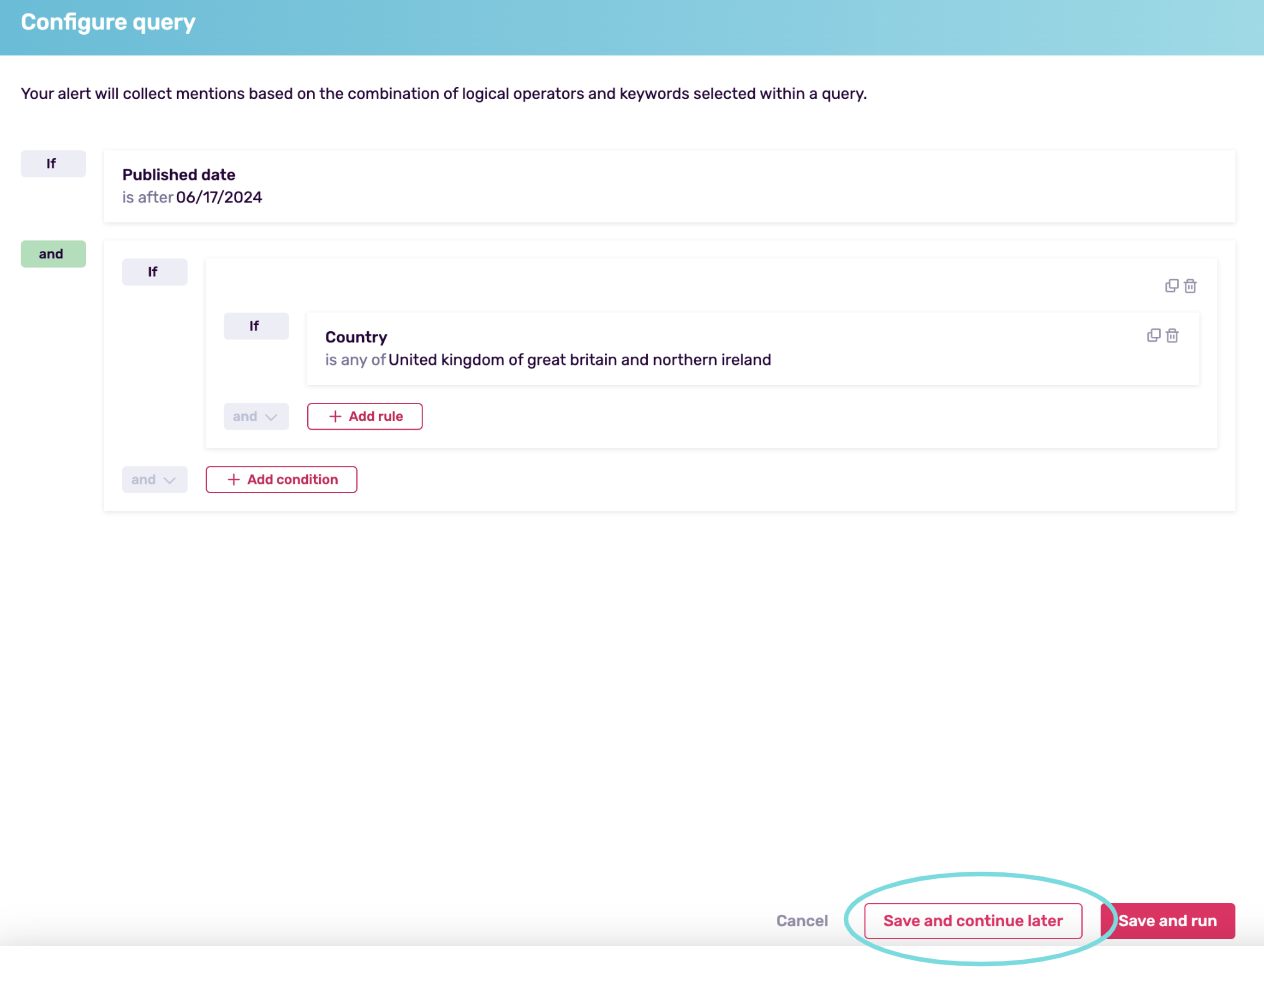
- To create a query, you need to add conditions or rules to the logic group.
- Conditions can include specific keywords, hashtags, mentions, or phrases relevant to your monitoring needs.
To learn how to configure your query, visit the article How to Configure your Query here.
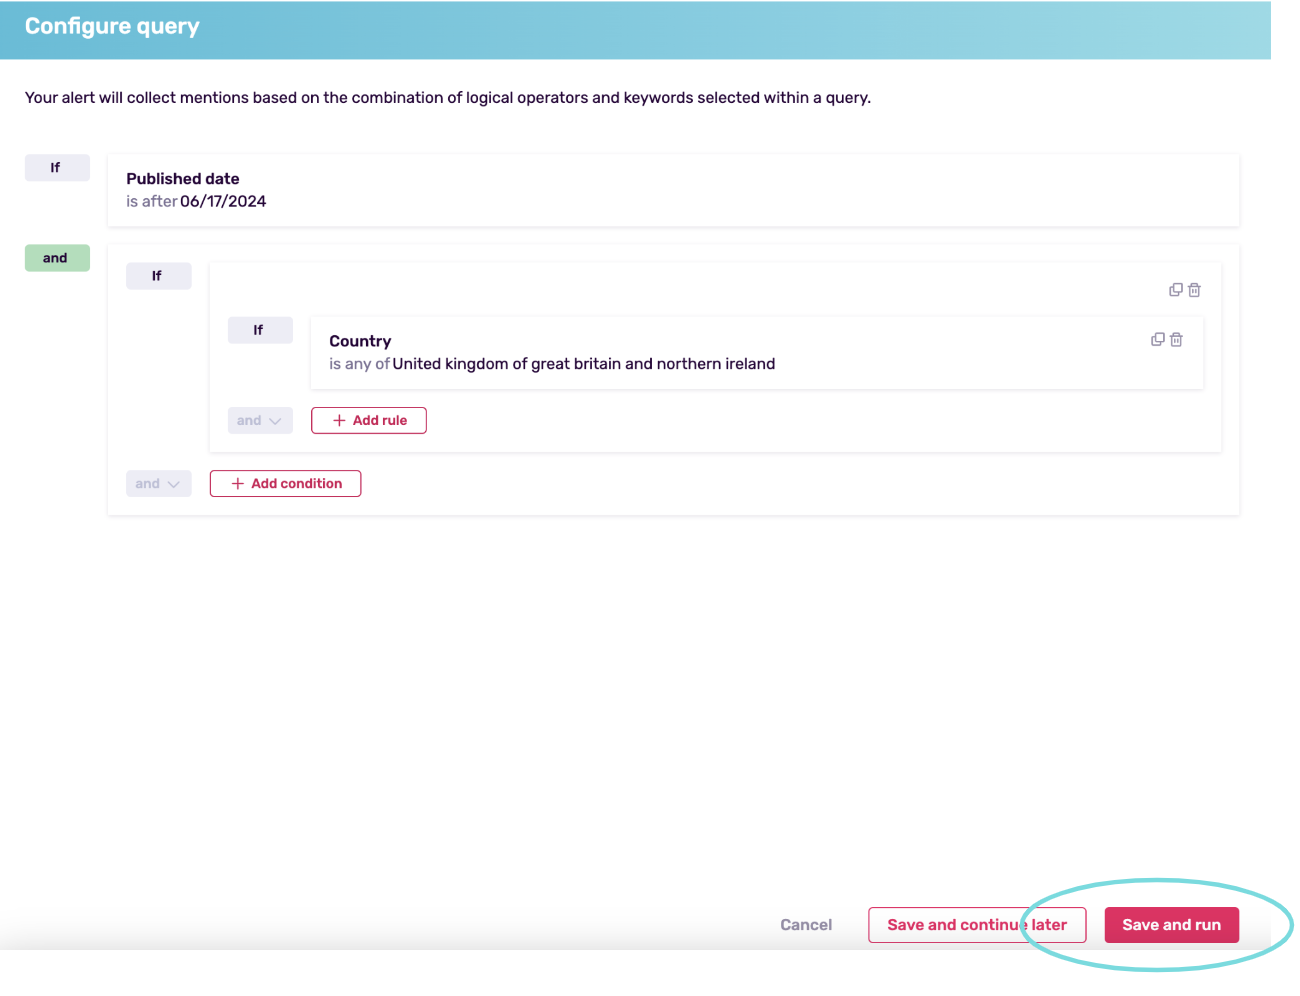
Step 3: Save the alert
- Once you have set up all your conditions and rules, a pop-up will appear to inform you of the estimated number of mentions your alert will capture. This helps you understand the scope of your query.
- The pop-up will ask you to confirm if you want to activate the alert and start the query running. Review the estimated results and make sure everything is set as desired before confirming.
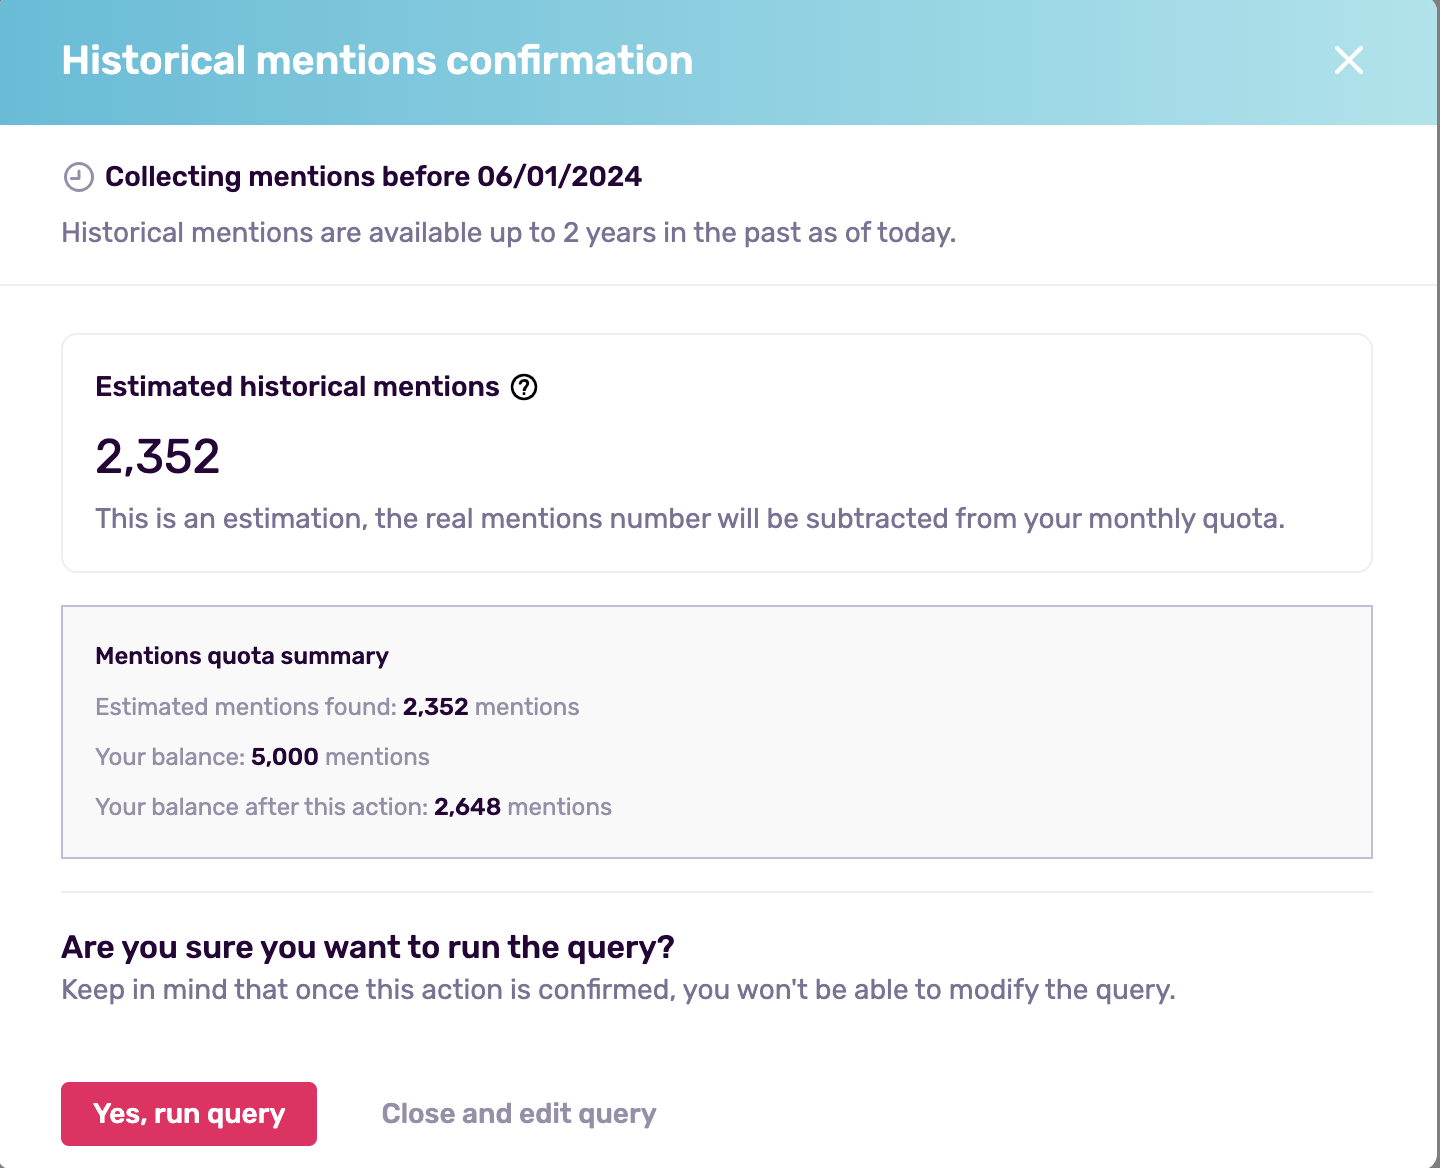
Tip: To ensure your estimated results are useful and manageable, make sure your query is specific enough. If it's too broad, you'll get an overwhelming amount of data. Double-check your conditions before saving your alert to get the most relevant insights.
If you're not sure about all the parameters or need more time to refine your query, you can save what you have built so far. This allows you to come back later and finish setting up the alert when you're ready.
On the other hand, if you are satisfied with the estimated results, confirm and save your alert. Note that once an alert is saved, it cannot be edited. If you need to make changes, duplicate the existing alert, modify it, and save the new version.
Managing Alerts
Once you have created your alert, you can view the query's information to monitor its performance.

The platform provides a detailed overview of the alert's conditions, including the keywords, hashtags, and other criteria you set. This information helps you track how well the alert is capturing relevant mentions and interactions.
Editing Alerts
After creating an alert, direct edits are not possible. If you need to make changes to an alert, you have the option to duplicate the existing alert. Once duplicated, you can modify the duplicate to reflect the necessary changes.
This allows you to preserve the original alert settings while creating a new version with the updates. After making the modifications, you can activate the new version to continue monitoring with the updated conditions.
Pausing Alerts
To avoid unnecessary analyses and conserve resources when you don't need active monitoring, you can pause the alert. This is particularly useful if you anticipate a period where monitoring is not required.
When you pause an alert, it stops collecting data during that time. When you reactivate it, it will gather new information from that point forward but also it will collect data from the period it was paused. This means the data collection is retroactive.
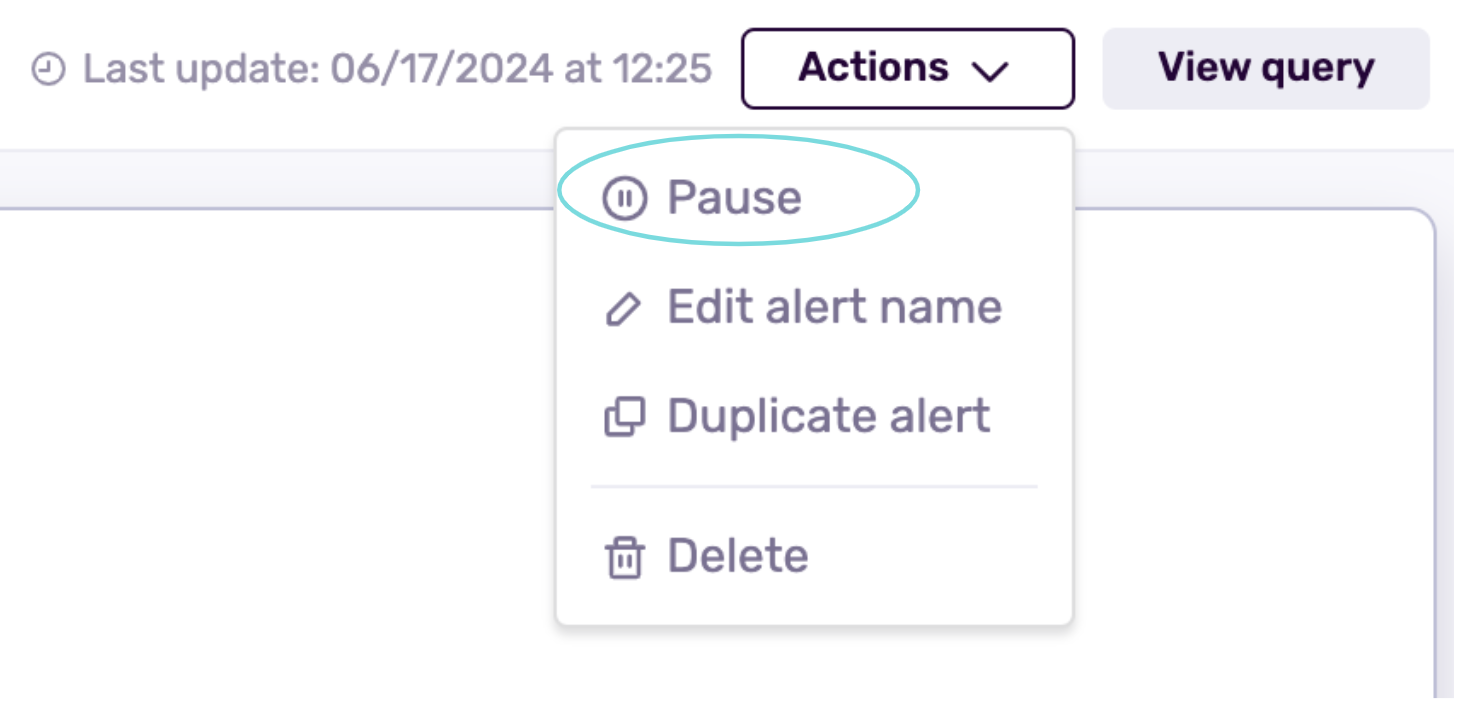
Go to the actions tab and choose the option to Pause.
Mention Consumption with Multiple Active Alerts
If you have multiple alerts active, mentions are refreshed once a day. This ensures that your data is up-to-date but also impacts your mention count.
Tip: Make sure you review the alerts you want to keep active because each month they will start fresh. This will help you manage your mentions efficiently and avoid unnecessary consumption.