What Are Custom Properties?
When working with influencers, the small details matter. That’s why contact records are at the heart of what you do. These records have properties that hold everything you know about your influencers, their social media profiles, and their personal preferences. Some of this information is basic, like emails and phone numbers, but some doesn’t fit into the preset, standard properties.
So, where do you put this information?
A custom property is a property that you create to meet your unique needs. Once you create a custom property, it becomes available on every influencer contact record in your IRM.
Think of custom properties as tailoring your IRM to meet your influencer marketing needs.
Preset Properties
Navigate to the Properties page by going to Profile & preferences, scrolling down to Data management, and selecting Properties. Here, you'll see some preset Influencity properties that cannot be edited or deleted.
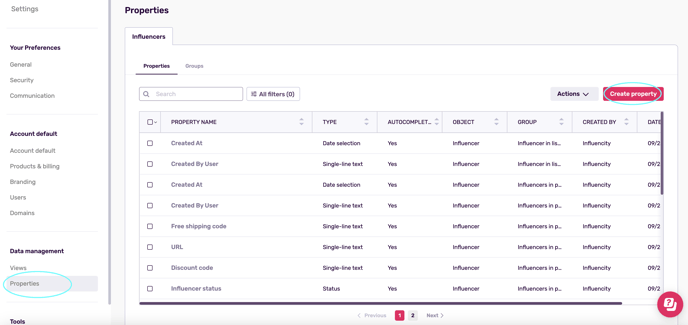
These preset fields will also be visible on the My Influencers page and within your Programs. For example, Original source, Added by, and Date added are all present properties.
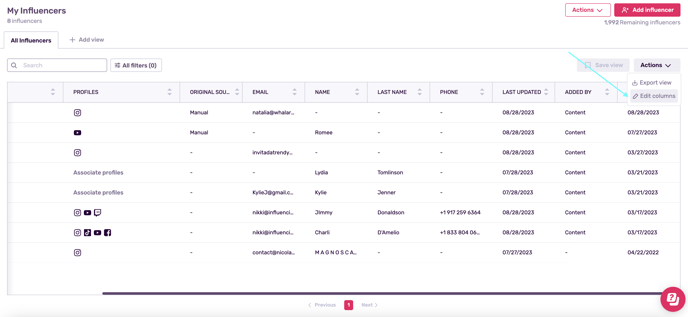
Tip: If these preset properties don’t appear in this table, go to Actions and select Edit columns.
Working with Properties and Groups
The properties page contains 2 tabs: Properties and Groups.
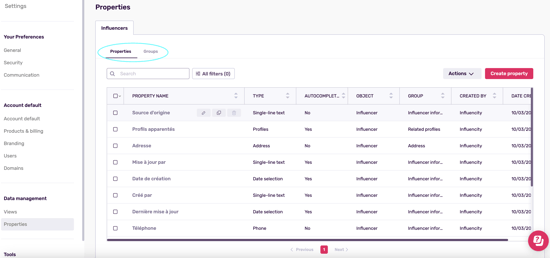
If you have several related custom properties, such as clothing size and shoe size, we would recommend nestling them under one broader group. By associating custom properties with a group, we are neatly organizing our information on an influencer’s page.
As you can see below, “Clothing size” and “Shoe size (US)” are custom properties as part of the group “Sizing”.

Creating a Group
Navigate to the Groups tab. Your account will come with some preset groups. To create a new one, go to Create group.
The Object refers to who this group will be applied to – in this case, the influencers.
Give your group a name that encompasses all the information you want to add, for example “Contract info”. Click Save.
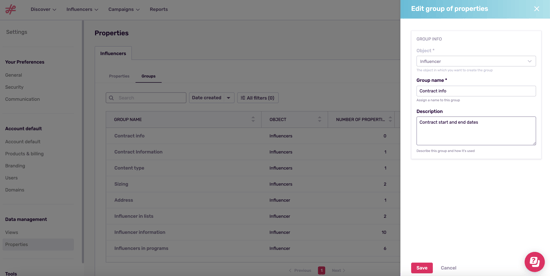
This new group will appear as an empty box on an influencer’s page. In order to add information, you must first create custom properties to nestle within this group.

Creating Custom Properties
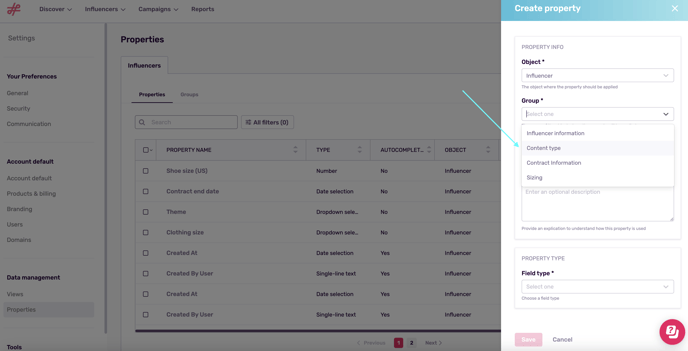
Navigate to the Properties tab and click Create Property.
Select the group you want to associate this custom property to. Influencer information is the default, but as you can see we've also created groups for Content type, Contract information, and Sizing.
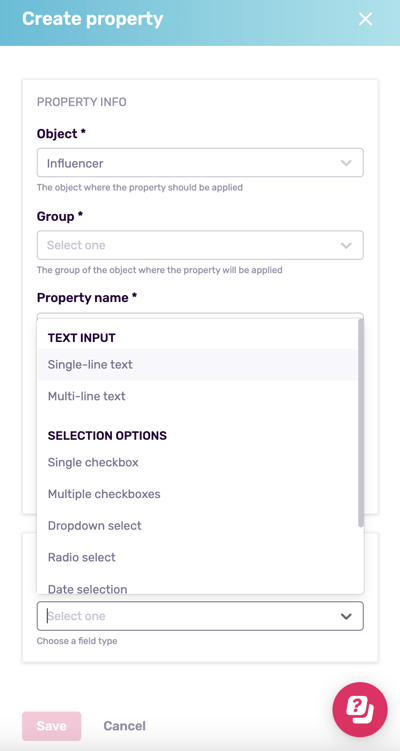
Name your custom property, add a description, and select a field type.
Whenever you create a custom property, you need to select a field type. Every field type has its advantages and its drawbacks – so you need to consider the needs of this property before making your selection.
Need some inspiration? Here’s a list of the fields we offer and some examples of how to use them.
TEXT INPUT
Single-line text - the advantage of these fields is that they can hold anything. “First name” and “Last name” are examples of single-line text properties, and whatever you put in this field will be saved as-is. However, the versatility of this field later makes it hard to use, as you can only search for exact matches.
If you wanted a way to quickly identify the focal point on your team for each influencer, you could create a single-line field for “Focal point name”. However, for data where the labeling convention may vary, for example, influencers who could be classified as “beauty influencers”, “makeup influencers” and so on, it may be easier to pre-define a list of selection options (see below).
Multi-line text - like single-line text, this is a free text field. The only difference is that multi-line text properties can store line breaks and appear as a text box.
SELECTION OPTIONS
Single checkbox - these essentially hold true/false values. For example, if you want to indicate the influencers who are available to attend in-person events, you can put “Attends events” and “Yes”/”No”.
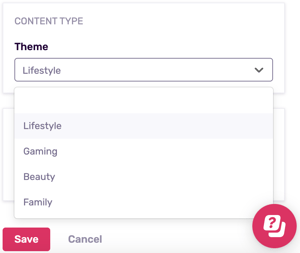
Multiple checkboxes and Dropdown select - there are many different ways to label each type of influencer, and even if you commit to consistently label influencers as “Lifestyle” or “Gamer”, there’s a possibility that you make a typo or eventually someone uses a different labeling convention. Keep your IRM organized and avoid creating multiple labels for the same data by defining a list of options from the start and letting users pick one (in the case of drop downs) or multiple (in the case of multiple checkboxes).
Date selection - influencer marketing is all about personal connections and rapport, and this applies to the brand-influencer relationship as well. If you want to keep track of birthdays or collaboration anniversaries and make a special shout out to your influencers on these days, then date properties are a great way to do this. Like numbers, date properties can be filtered for “before”, “after” and “between”, so if you want to know who has a birthday or collaboration anniversary in the month of September, all you have to do is set dates between 1-30 September and take note of the influencers who appear.
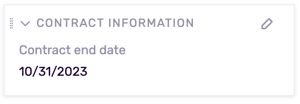
This is equally helpful for identifying expiring contracts. Simply create a field such as “Contract end date” and later use it at the beginning of each quarter to know the influencers who require contract revisions and extensions.
Radio select - these properties function exactly like dropdown select properties: you see a list of options and can select only one. The main difference is the user experience of using radio buttons.
VALUES
Numbers - use this field to sort data that’s above or below a certain value. For example, if you’re interested in carrying out a multi-channel campaign with at least 3 consumer touch points, you can filter for influencers whose number of profiles is greater than 3.
FAQs
My Custom Properties Don’t Appear
There are two solutions for this:
- If you are viewing the influencers table, go to Actions, Edit columns, and tick the box next to the properties you wish to appear (for more info, see here)
- If you are on a specific influencer page, just scroll down. Your custom properties should appear on the left. If they do not, please contact support@influencity.com.
Eliminating Custom Properties
If you cannot eliminate a custom property, it could be due to 2 reasons:
- This is a default property created by Influencity. Confirm this by checking the column “Created by”.
- This custom property is already in use. If influencers have information in the custom field you want to delete, you won’t be able to eliminate it.
If you don’t know which influencers have data in this field, go to All influencers, select All filters, choose your custom property, and select is known. In our example below, we want to delete the custom property “shoe size”, so first we have to identify the influencer with information in this property. As you can see, we’ve selected shoe size = is known, and have identified the one influencer with information in this property. Once we’ve removed this value from this influencer, we can delete the custom property.
How Many Custom Properties Can I Create?
This depends on your subscription. Learn more here.