Our Campaign product is built to help you discover and manage creators more efficiently. At the heart of every Casting Call campaign is your brief, the campaign’s blueprint that outlines everything from who you’re looking for to what you’re offering.
Here’s how to build your brief, step by step:
Step 1: Start a New Casting Call
To get started with your Campaign, navigate to the Campaigns section and select "Campaigns" from the menu bar.

This will bring you to your Campaign dashboard, where you’ll see a list of any existing campaigns, whether they’re in draft, active, or closed status.

To launch a new one, simply click the “Run Campaign” button in the upper-right corner of the screen.
The first step is to give your campaign a clear, recognizable name, along with an optional internal description to keep things organized for you and your team.

Once this initial information is added, your campaign will automatically be saved as a Draft.

Note: Don’t worry! You can save your progress at any point and come back later to complete or revise the details. Nothing will go live until you manually activate the campaign, so you’re free to explore and build at your own pace.
Important: To proceed to the next section, you must fill out all required fields, marked with an asterisk (*). If any required information is missing, the system will not let you advance to the next tab or publish your campaign. Take your time to get these basics right, they're the foundation for everything that follows.
Step 2: Fill in the General Details Tab
This section covers the essential building blocks of your Campaign. Here’s what you’ll need to provide:
- Campaign Name (required): A clear, descriptive title to identify your campaign.
- Brand: Choose from your existing brands or create a new one, complete with logo and brand colors to match your visual identity later on.
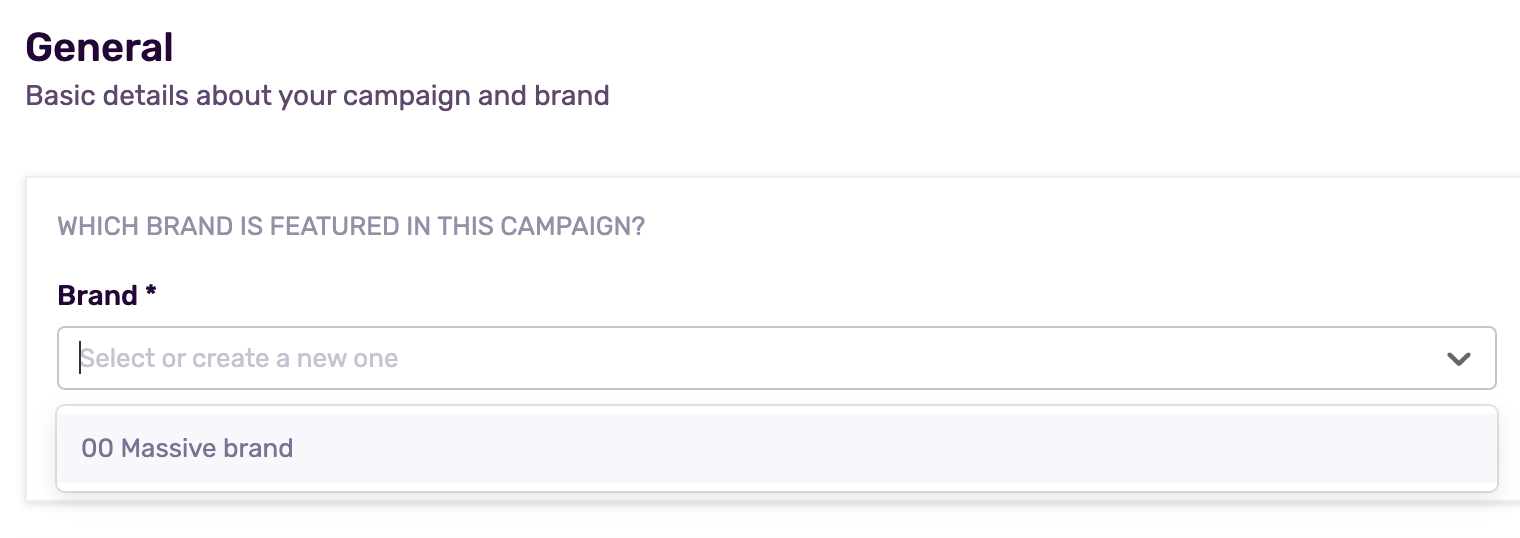
Note: If you're an agency working with multiple clients or brands, you can create and manage as many brand profiles as you need within the platform. This allows you to run multiple Campaigns simultaneously, keeping each campaign organized, on-brand, and easy to manage from one central hub.
When you choose to create a new brand during the setup of your Campaign, a pop-up window will appear prompting you to enter the brand’s key details. This includes:
- Brand Name: the name that will represent the campaign
- Logo Image: upload the brand’s logo to maintain visual consistency across the brief
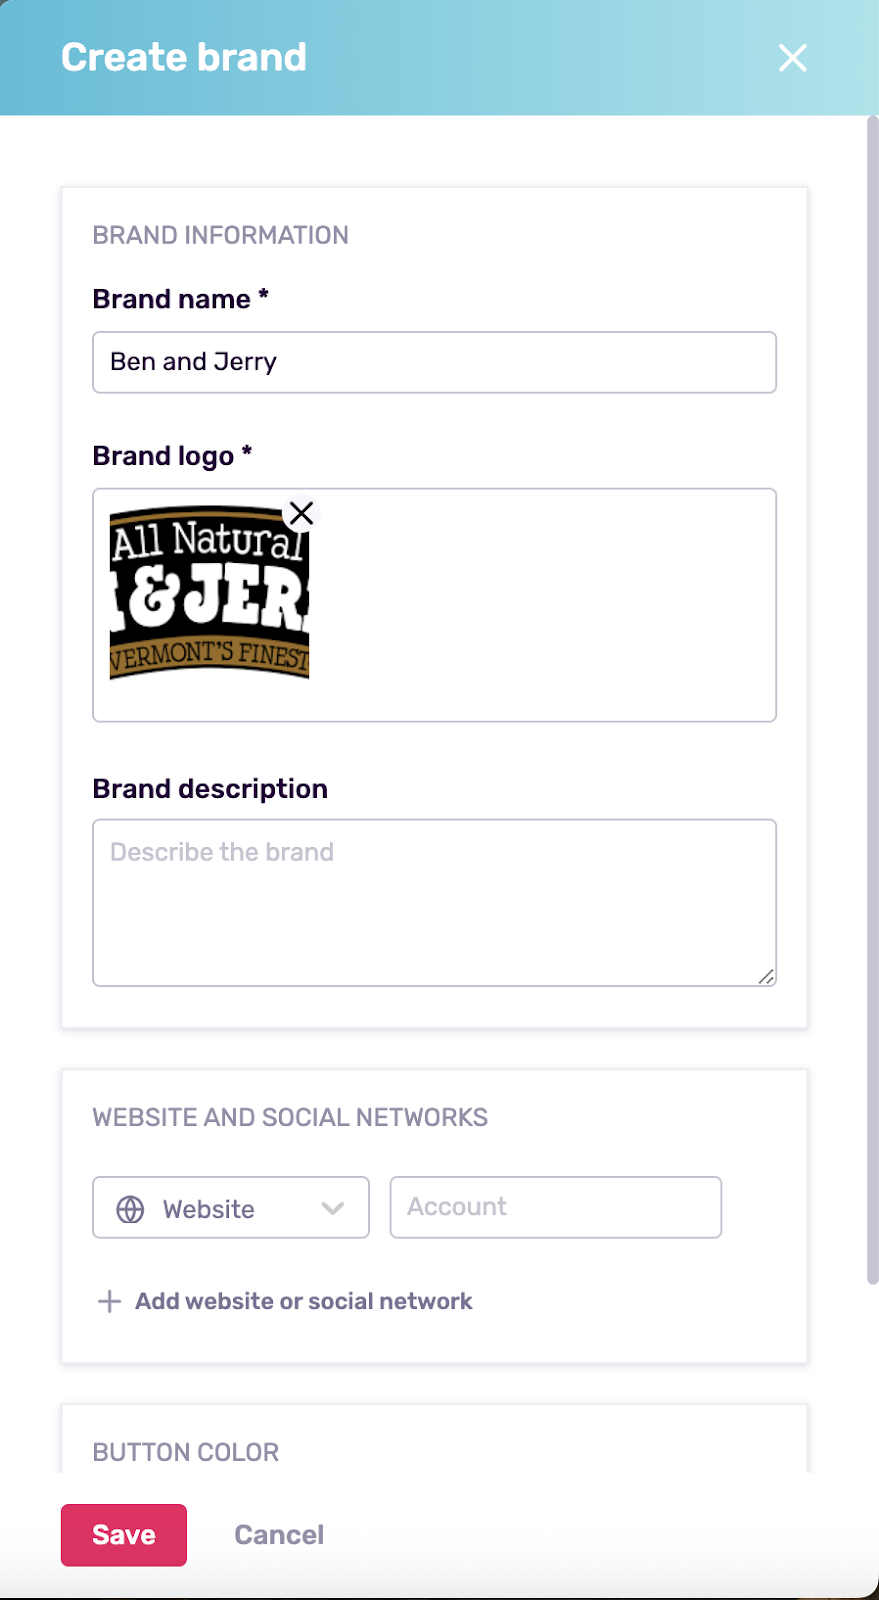
- Website URL: the official site associated with the brand
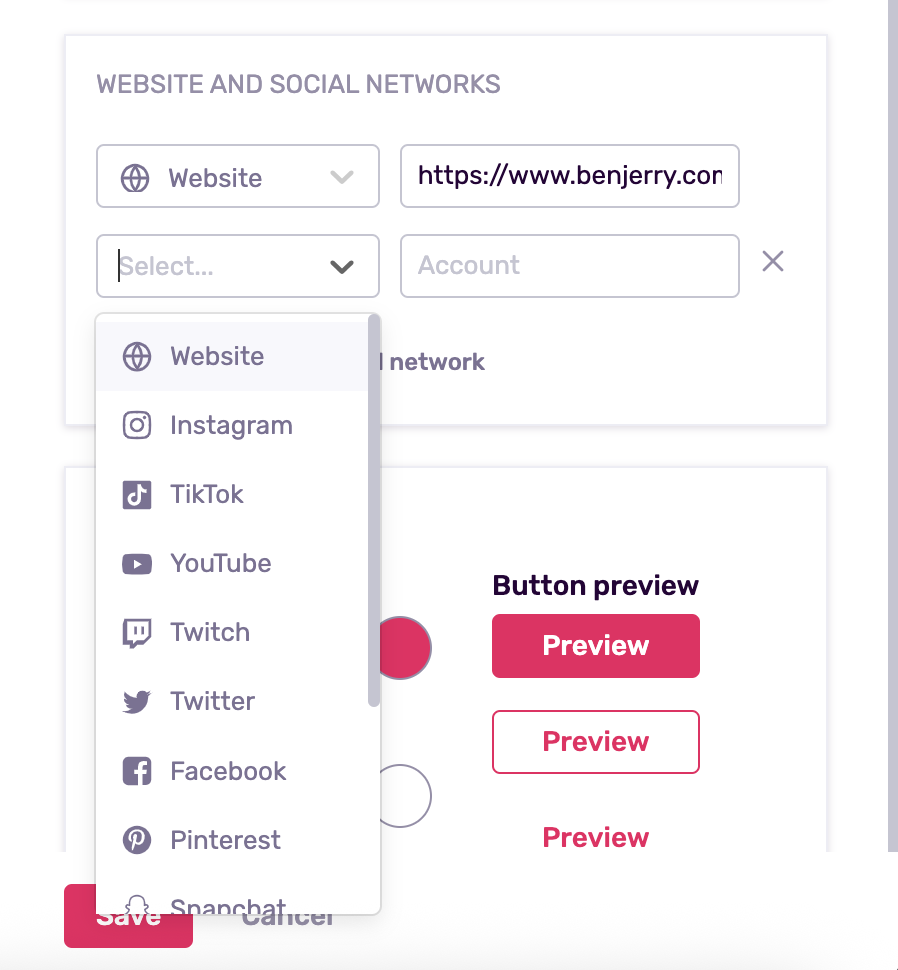
- Social Networks: link any relevant social media profiles tied to the brand
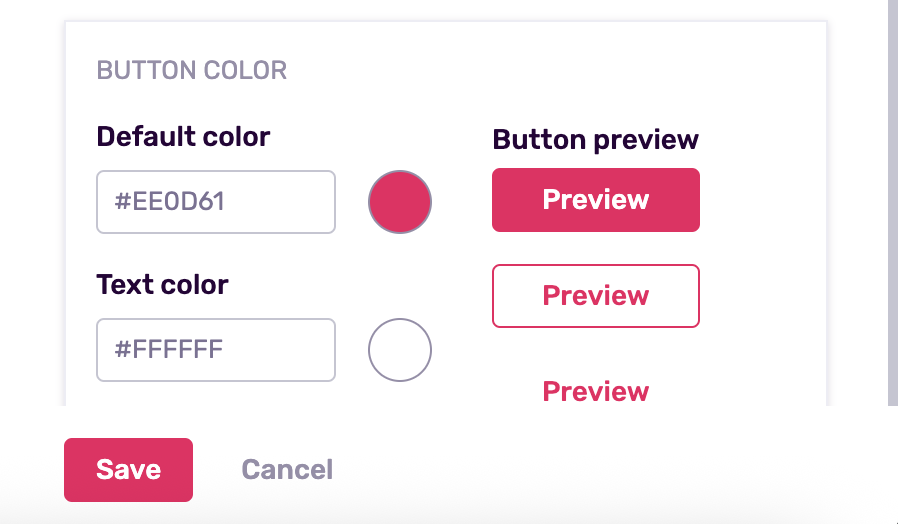
You can even choose the button and text colour to make it as personalised as preferred.
These details not only personalize your campaign but also help build trust and recognition with applicants. Once created, your new brand will be saved to your library, and you can reuse it in future campaigns.
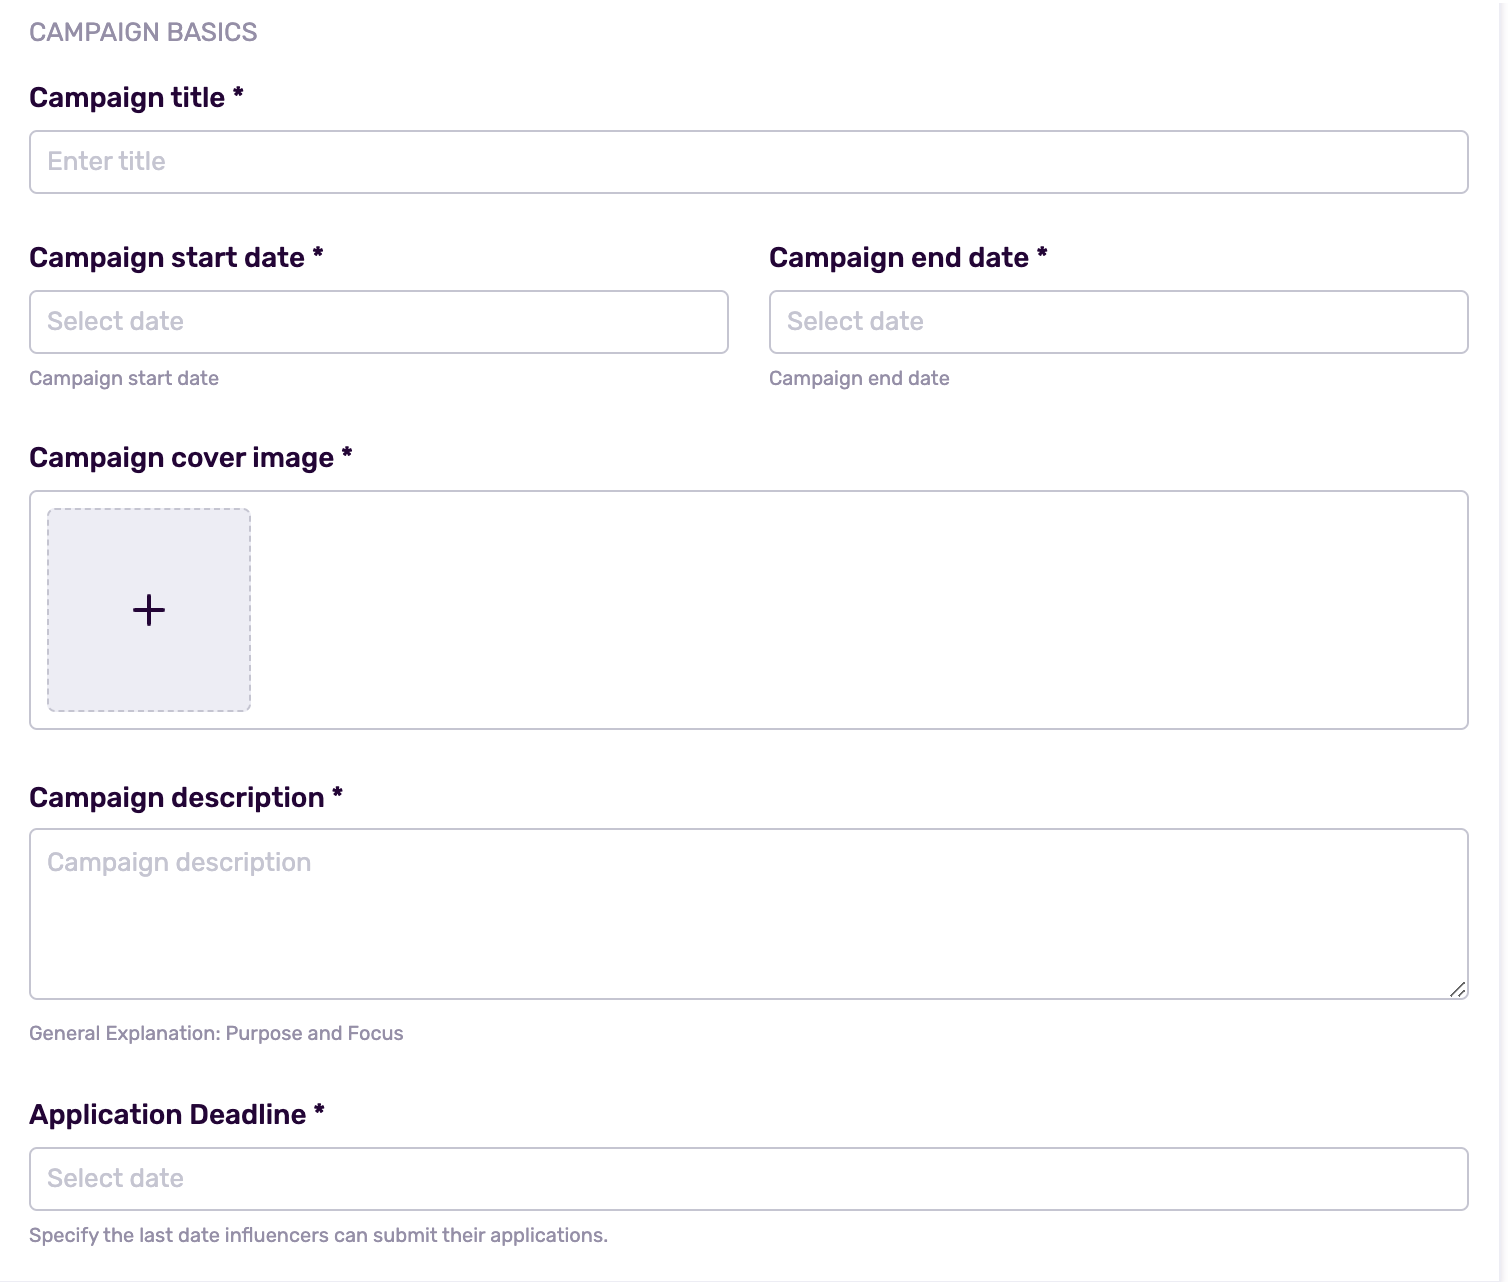
Once you’ve completed the General Details section, the next block is Campaign Basics. Here, you’ll define the core identity of your campaign by filling in key information that will appear publicly to applicants. This includes:
- Campaign Title
- Start & End Dates (required): Define the campaign’s active timeline.
- Campaign Cover Image: an eye-catching visual to represent your campaign
- Campaign Description: outline your mission, goals, and what you're looking for in a creator
- Application Deadline: the final date influencers can submit their applications
This section helps set the tone for your Campaign and ensures creators have all the context they need before applying.
After filling out your Campaign Basics, the next section you'll need to complete is Social Networks. This is where you define which platforms your ideal influencers must be active on in order to qualify for your campaign.
You can select as many social networks as you'd like, Instagram, TikTok, YouTube, etc. Please, keep in mind: influencers must meet all the selected criteria to be considered. For example, if you choose four platforms and an influencer only has three, they won’t appear in your applicant list.
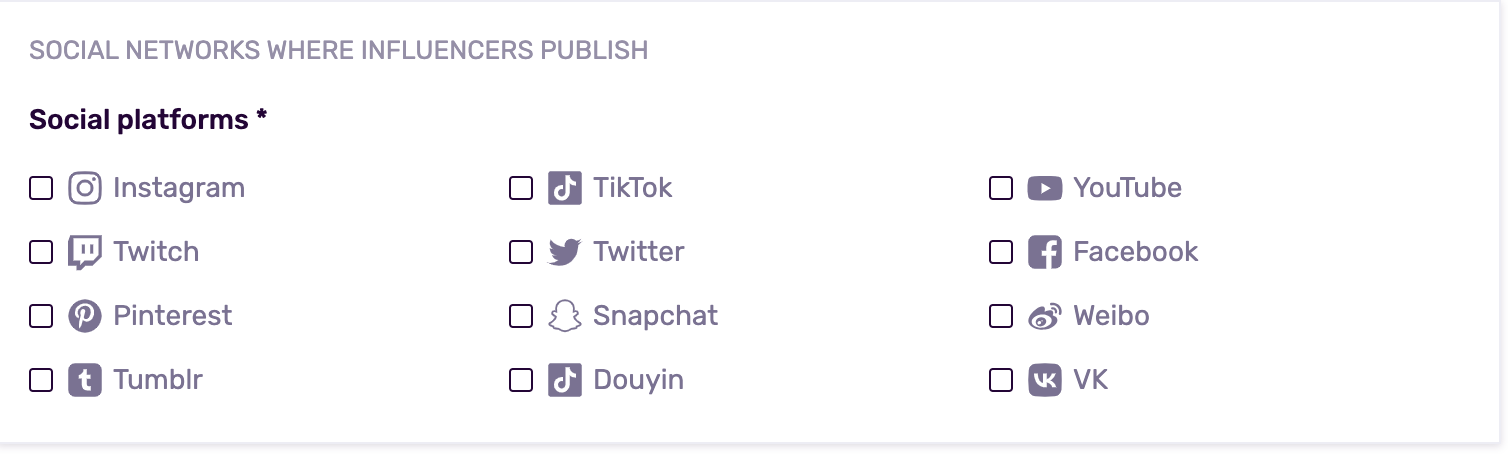
Important: Choose your required networks thoughtfully. This filter is strict and non-negotiable, only creators with profiles on every selected platform will make it through. It’s a powerful way to narrow down your applicant pool, so use it strategically based on your campaign goals.
The final piece of information you'll need to complete in the General tab of your brief is the Budget section. This field allows your team to keep track of the overall campaign budget.

Note that this information is strictly internal and will not be visible to influencers.
Here, you can specify the total budget amount and select the appropriate currency for your campaign. It’s a useful way to stay aligned on spending expectations and measure how your commitments to accepted influencers compare to your planned budget as the campaign progresses.
As you progress through each tab and begin filling in the required fields, you’ll notice that the website and form preview on the right-hand side (or in the preview section) will automatically start updating to reflect the information you're entering.

This real-time preview helps you visualize exactly how your Campaign will appear to influencers, allowing you to fine-tune your content before going live.
Step 3: Define the Campaign Objective
This tab is where you spell out why the campaign exists and what you’re promoting. Everything you enter here shapes how creators understand your brief and how your team evaluates success.

The Main Objective block requires you to select the single, top-level goal that best captures what you want to achieve—e.g., brand awareness, product launch, lead generation, or sales lift. This choice will appear publicly so creators immediately grasp the campaign’s focus.

Once you have chosen your main goal you’ll need to choose an internal goal (such as “drive website traffic” or “increase conversions”). Only your team sees this field; it keeps everyone aligned behind the scenes.
The next step to fill in is your purpose statement, “I want to promote …”. Here you simply need to indicate exactly what you’re promoting. Most campaigns fall into the Product category, covering physical goods (clothing, tech) or digital items (e-books, online courses).
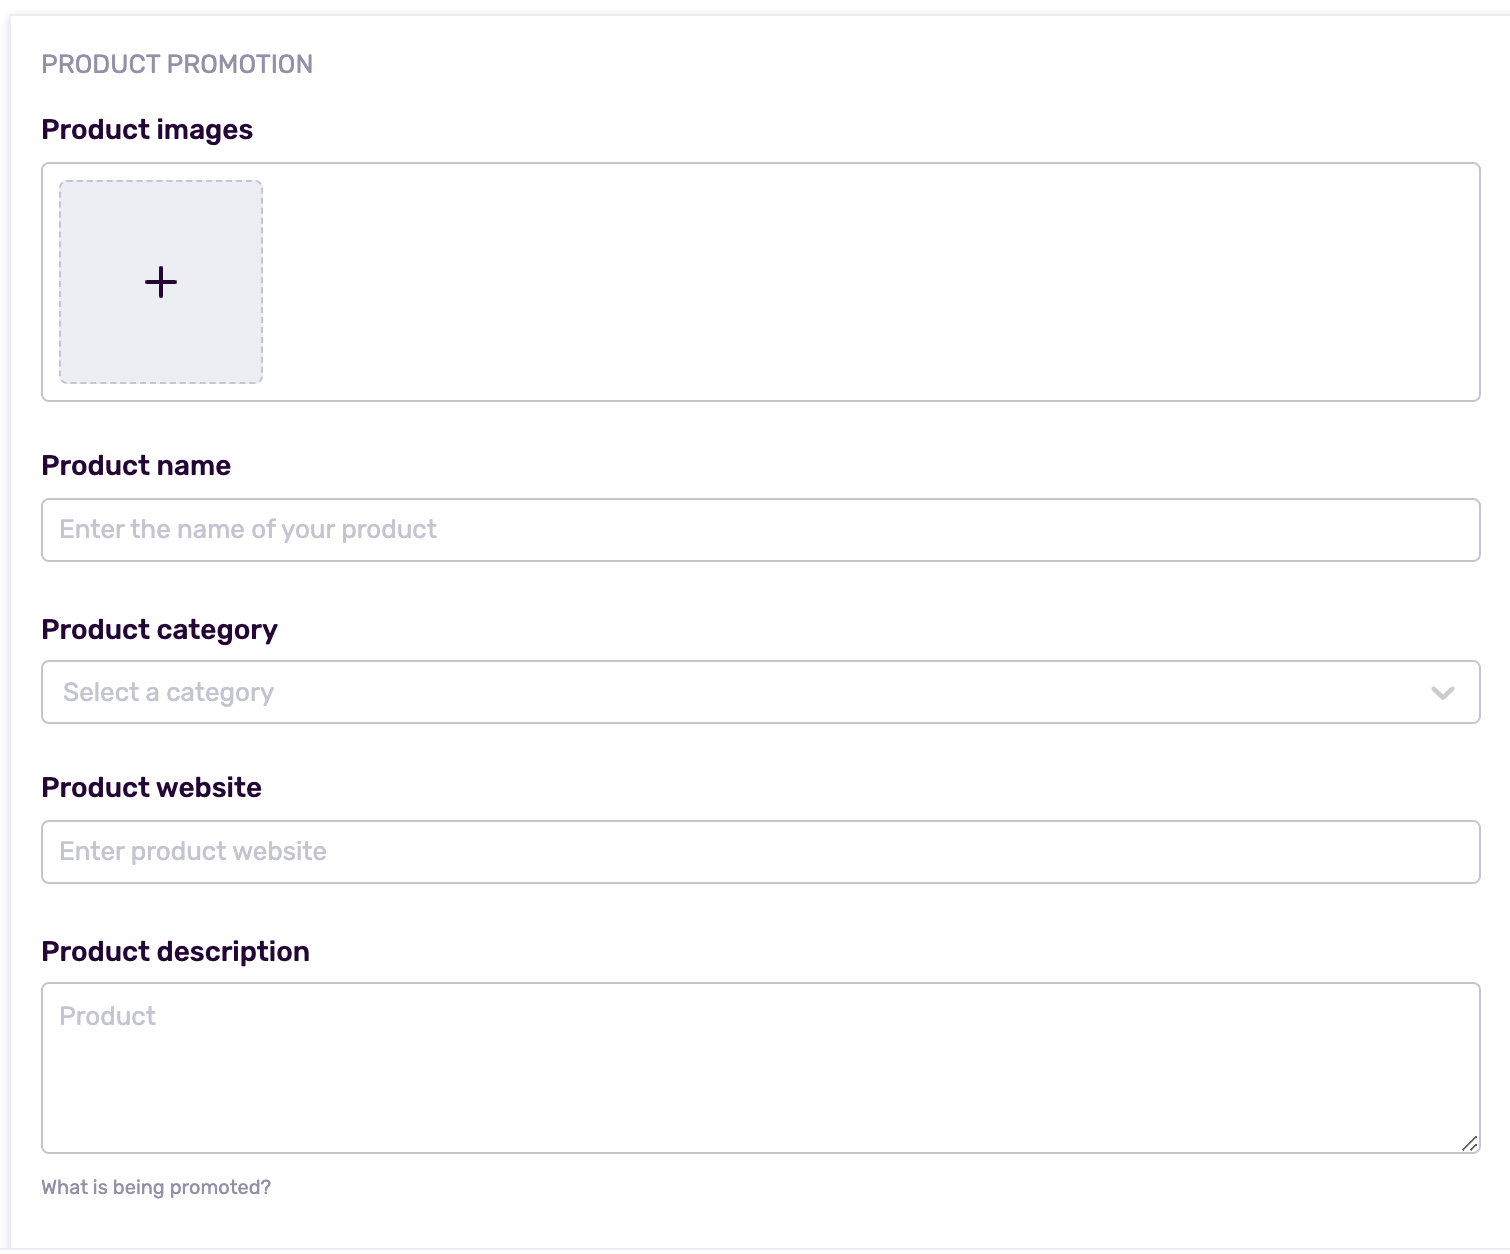
Selecting Product unlocks a set of product-specific fields:
- Product Images – You can upload up to three visuals to showcase the item.
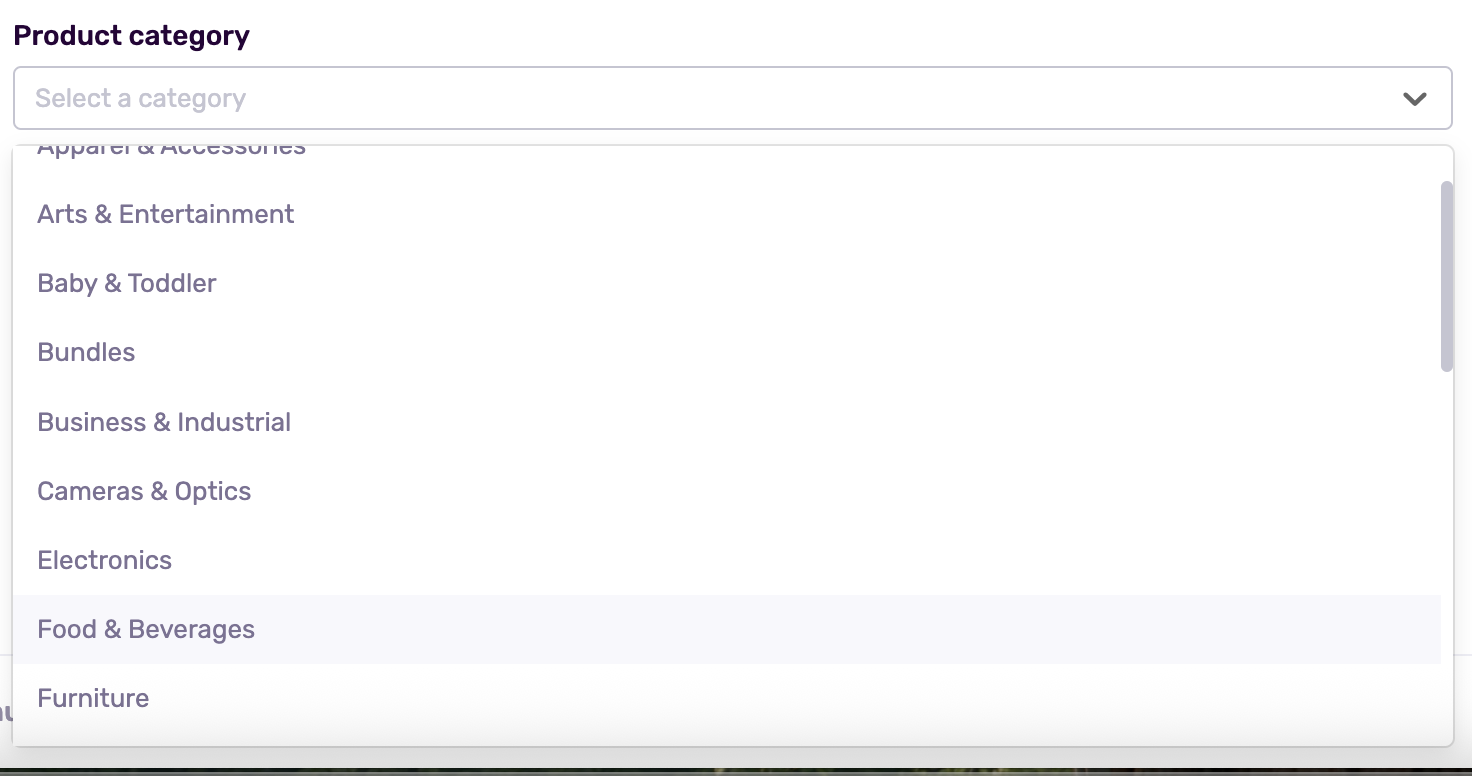
Product Name – the name applicants will reference. - Product Category – pick from a preset list so creators understand the niche.
- Product Website – a link where influencers can learn more.
- Product Description – a concise overview of what’s being promoted.

- Key Features or Benefits – highlight the differentiators that set your product apart.
- Retail Price – enter the amount and currency so creators know the item’s market value.
Once you have finished completing the obligatory requirements of this page, you’ll move forward to detail the target audience.
Step 4: Detail Your Target Audience
This section is designed to help you define who you want to reach with your campaign, product, or message. Providing detailed information about your target audience ensures that all creative, strategic, and media decisions are aligned with the people who matter most to your brand.

Use the fields below to describe the key characteristics of your audience, from demographics to behaviors, preferences, and cultural insights. Be as specific and realistic as possible. A well-defined audience leads to more effective communication and better results.
- Gender: Who are you primarily targeting? (e.g., male, female, non-binary, all genders)
- Age: Specify the age range that best fits your ideal audience (e.g., 18–24, 25–34, etc.)
- Location: Type in the name and indicate geographic areas where your target audience is based. This could be cities, regions, countries, or global.
- Language: What language(s) does your target audience speak? This is critical for localization and tone of voice.
- Ethnicity (optional): If relevant to your brand or campaign, identify any specific cultural or ethnic groups you are aiming to connect with.
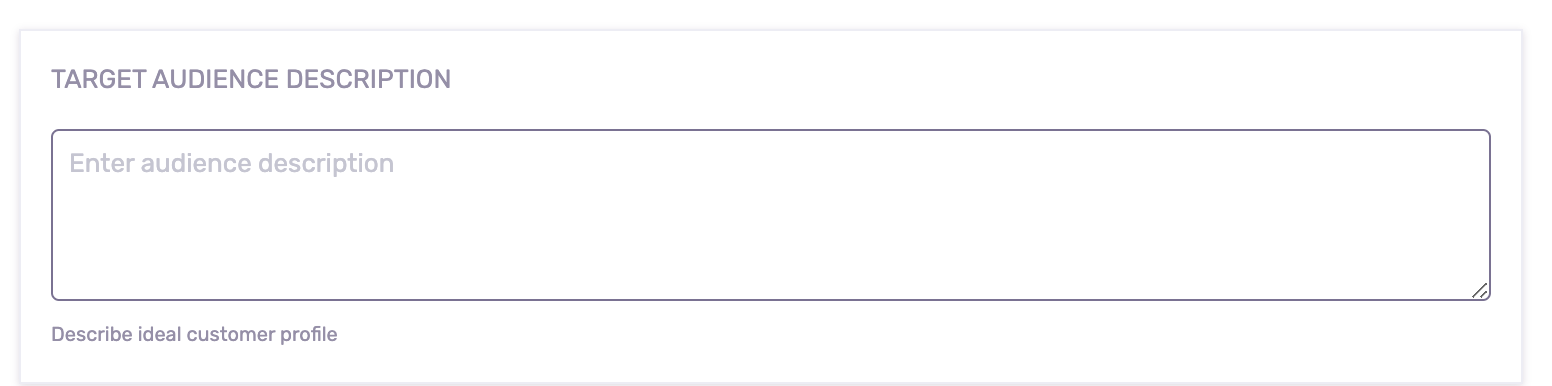
Use the target audience description space to bring your audience to life. Go beyond the numbers and explain who they are, what they care about, and how they behave. This might include:
- Lifestyle and interests
- Buying habits and motivations
- Digital or media consumption patterns
- Pain points or needs your product solves
- Values, aspirations, or attitudes
Try to create a clear picture of your ideal customer. This will guide content tone, channel selection, and even product features. For example:
"Our ideal customer is a tech-savvy woman aged 25–34 living in urban areas, especially New York and LA. She’s active on Instagram and TikTok, cares about sustainability, and is always looking for innovative wellness solutions that fit into her busy lifestyle."
Step 5: Set Influencer Selection Criteria
This section helps you define the specific attributes and performance metrics you're looking for in influencers. Establishing clear criteria ensures your campaign reaches the right audiences through creators who genuinely align with your brand values and goals.
Setting these filters helps you streamline your recruitment process and automatically eliminate influencers who don’t meet your requirements, saving time and improving the quality of your final selections.
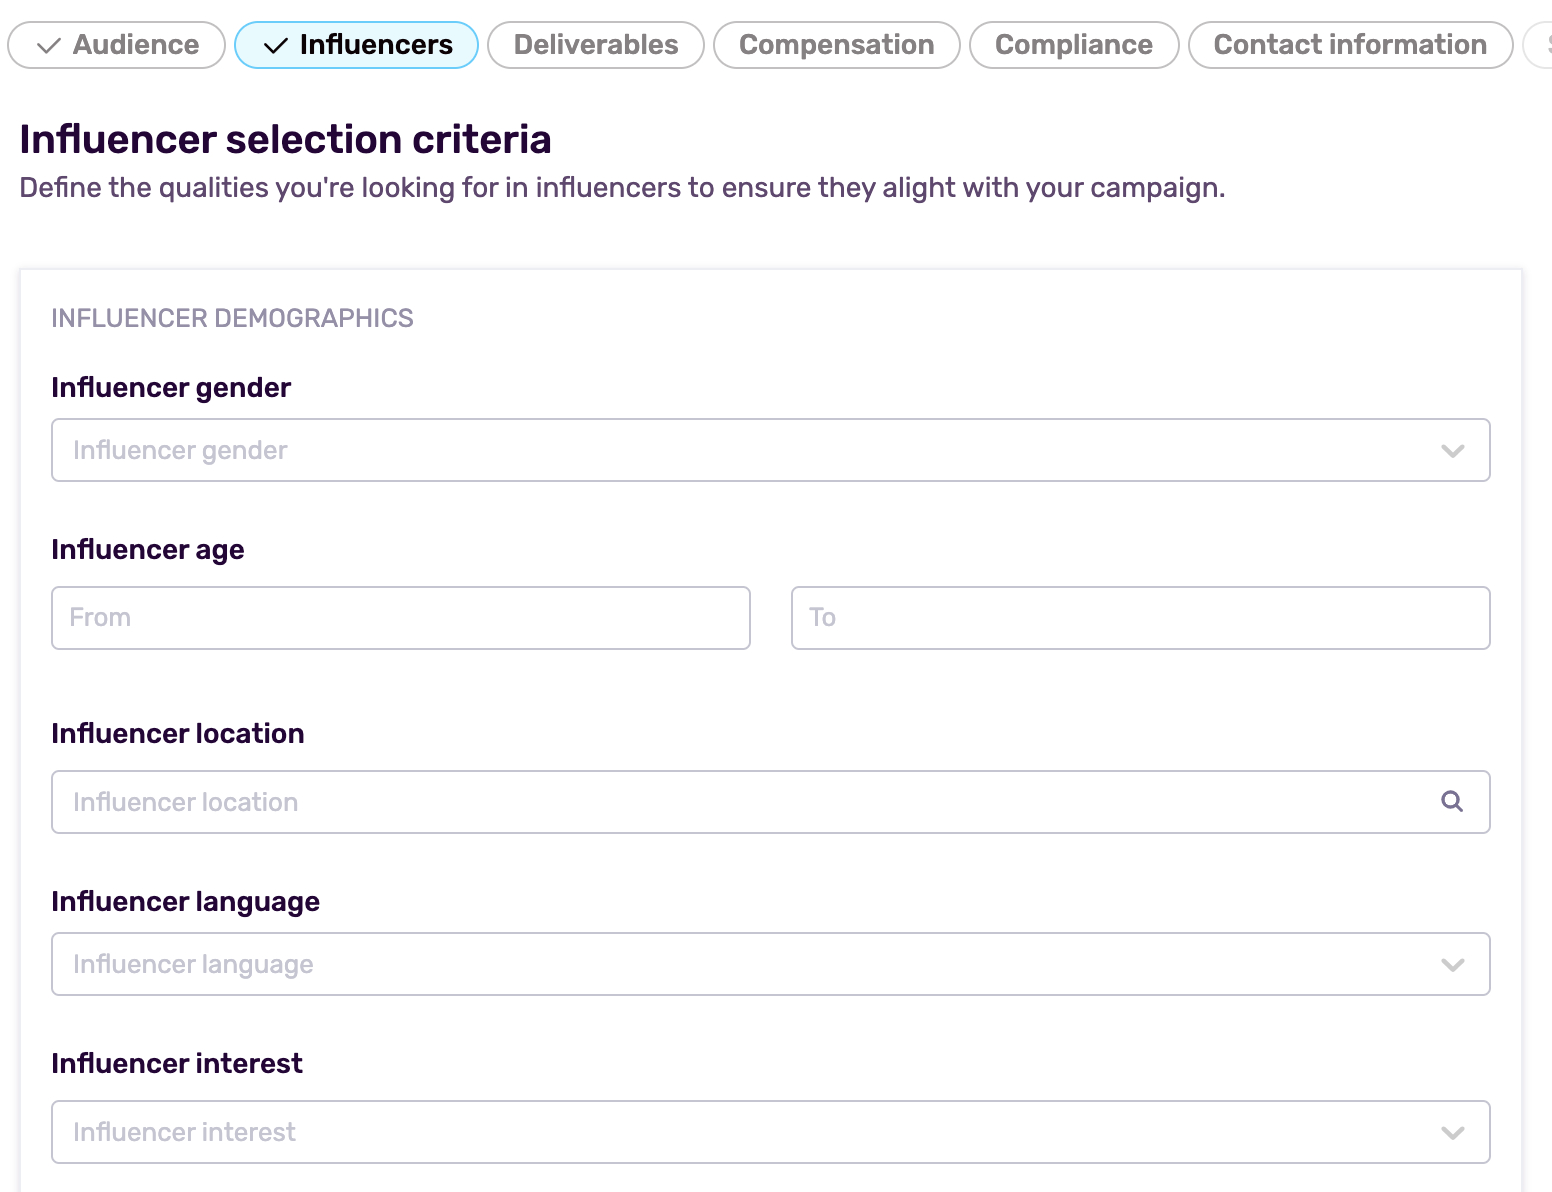
First, you encounter the Influencer Demographics block. These fields allow you to identify the type of influencer best suited for your campaign based on who they are and the audience they reach.
- Gender: Specify the preferred gender of the influencers, if relevant to your campaign (e.g., male, female, non-binary, or all).
- Age Range: Define a minimum and maximum age to ensure influencers are in line with your brand tone or audience affinity.
- Location: List geographic areas where your ideal influencer should be based. This can help with local relevance, shipping logistics, or cultural resonance.
- Language: Indicate the language(s) influencers must speak to create content that your audience will understand and connect with.
- Interest Category: Choose relevant content categories (e.g., fashion, fitness, tech, parenting, food) to target creators whose niche aligns with your brand.
The second block of information on this tab is Profile Performance Metrics. These filters ensure you’re selecting influencers not just based on who they are, but also on how well they perform. These are used for auto-screening during the application and invitation process.
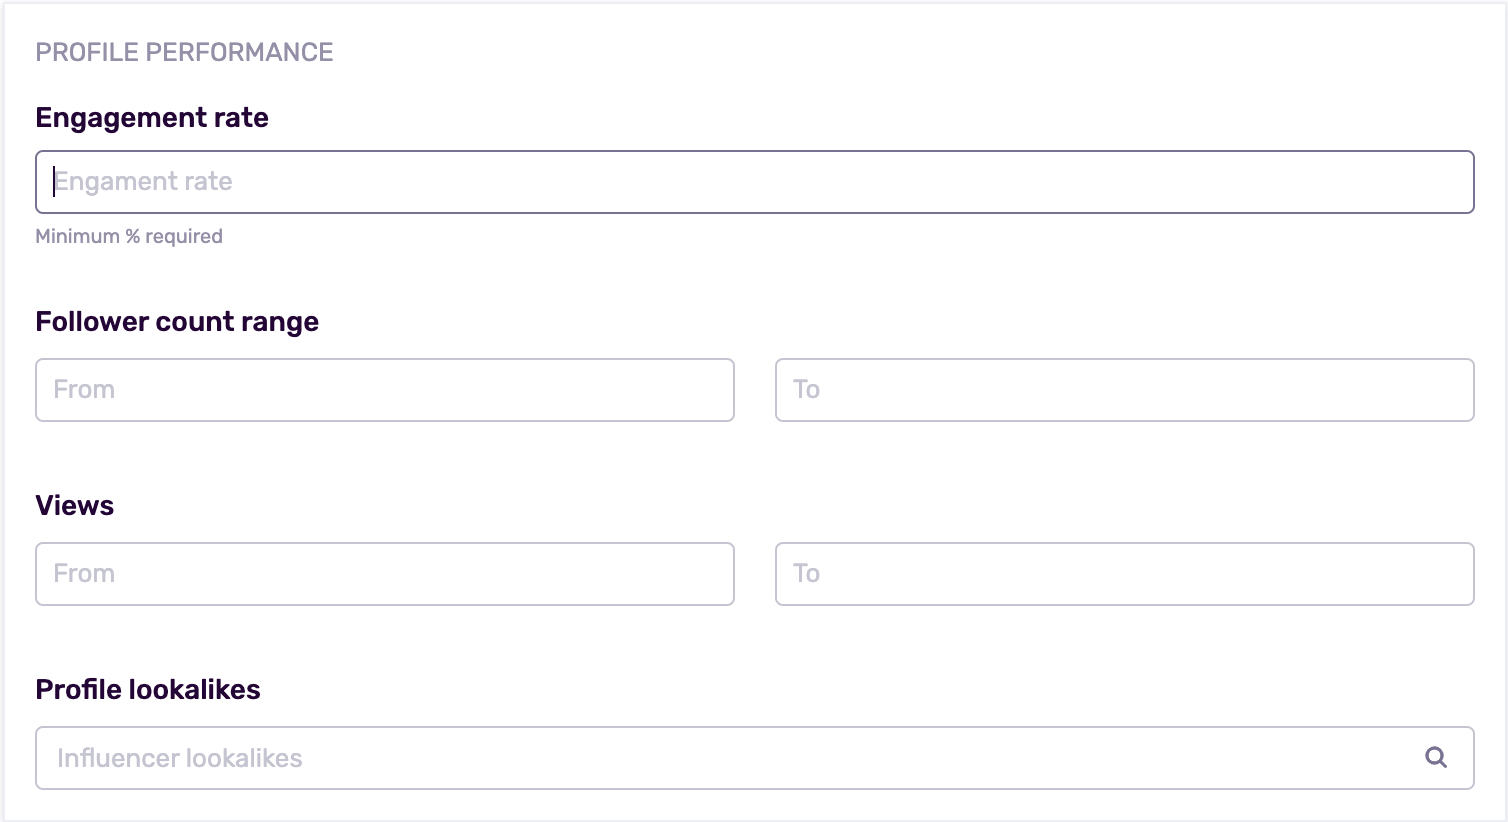
- Engagement Rate: Set a minimum percentage to ensure influencers have an active, responsive audience. Engagement rate is typically calculated as likes + comments divided by follower count.
- Follower Count Range: Define the minimum and maximum follower count to match your desired reach and budget. This can help segment between micro, mid-tier, or macro influencers.
- Views (Optional): If video performance is important, define a range for average views per post or per story.
Note: Your follower and engagement filters apply to Applicants (influencers who submit through an open URL). These metrics are your rule of thumb in terms of who makes it to the list or who stays out of it. This keeps your shortlist focused and ensures only eligible influencers are reviewed, saving your team time and effort.
In the Profile Lookalike box you can list example influencers whose style, tone, or audience you admire. This helps your team or platform algorithm find creators with similar profiles.
How This Works in Practice
- Auto-screening: Influencers who don’t meet your set minimums (follower count or engagement rate) will be automatically filtered out of your dashboard. You won’t see them, even if they apply or are invited.
- Optional Filters: You can also apply additional filters like age, gender, and location to further refine your applicant pool.
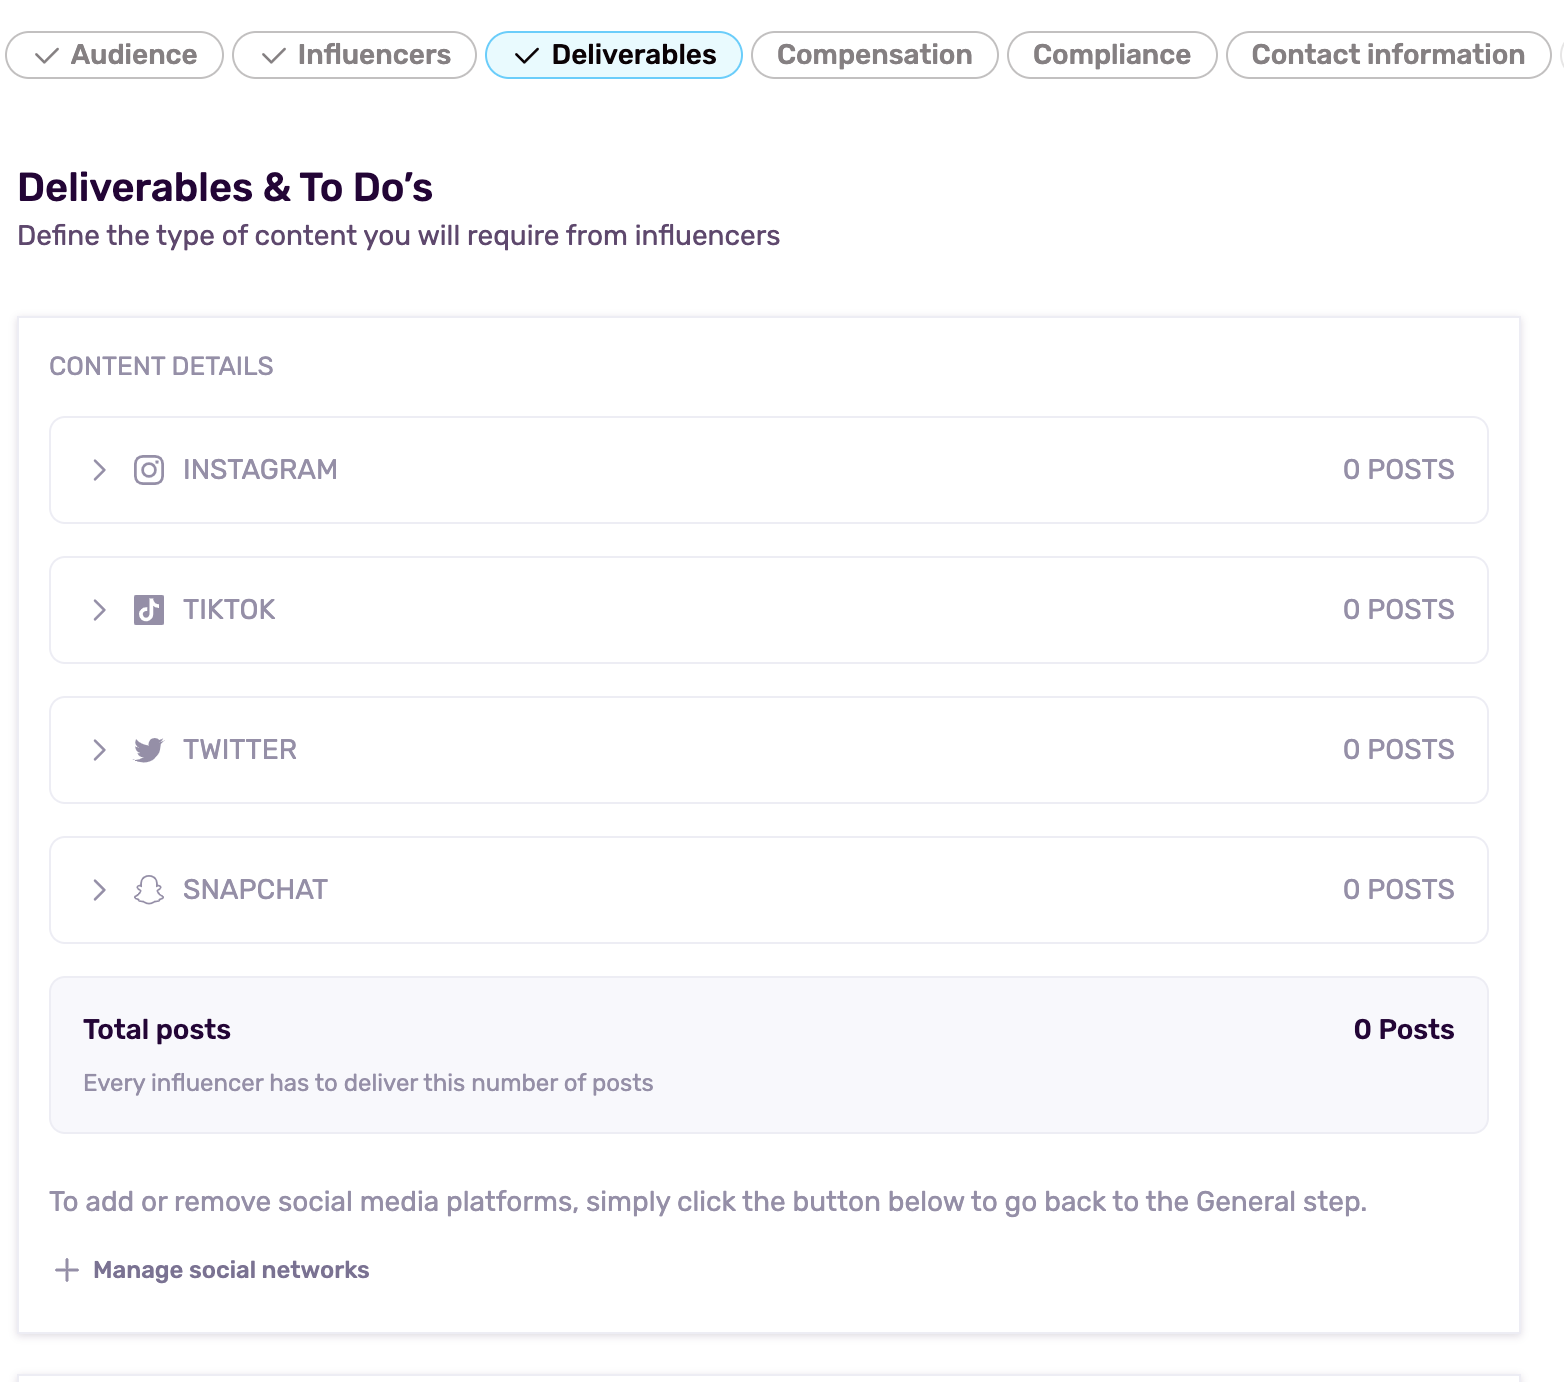
Step 6: Set Up Deliverables & To-Do’s
This section outlines exactly what content you expect from influencers, how and when it should be delivered, and any creative or logistical requirements tied to the collaboration. Clear deliverables help avoid confusion, streamline approvals, and ensure consistent quality across creators.
Use this tab to define content formats, timelines, mandatory elements, and creative guidance, everything the influencer needs to know to deliver successfully.
Content Details
Start by specifying the type and number of content pieces you need from each influencer, per platform. Be clear and realistic based on your budget, timeline, and campaign goals.
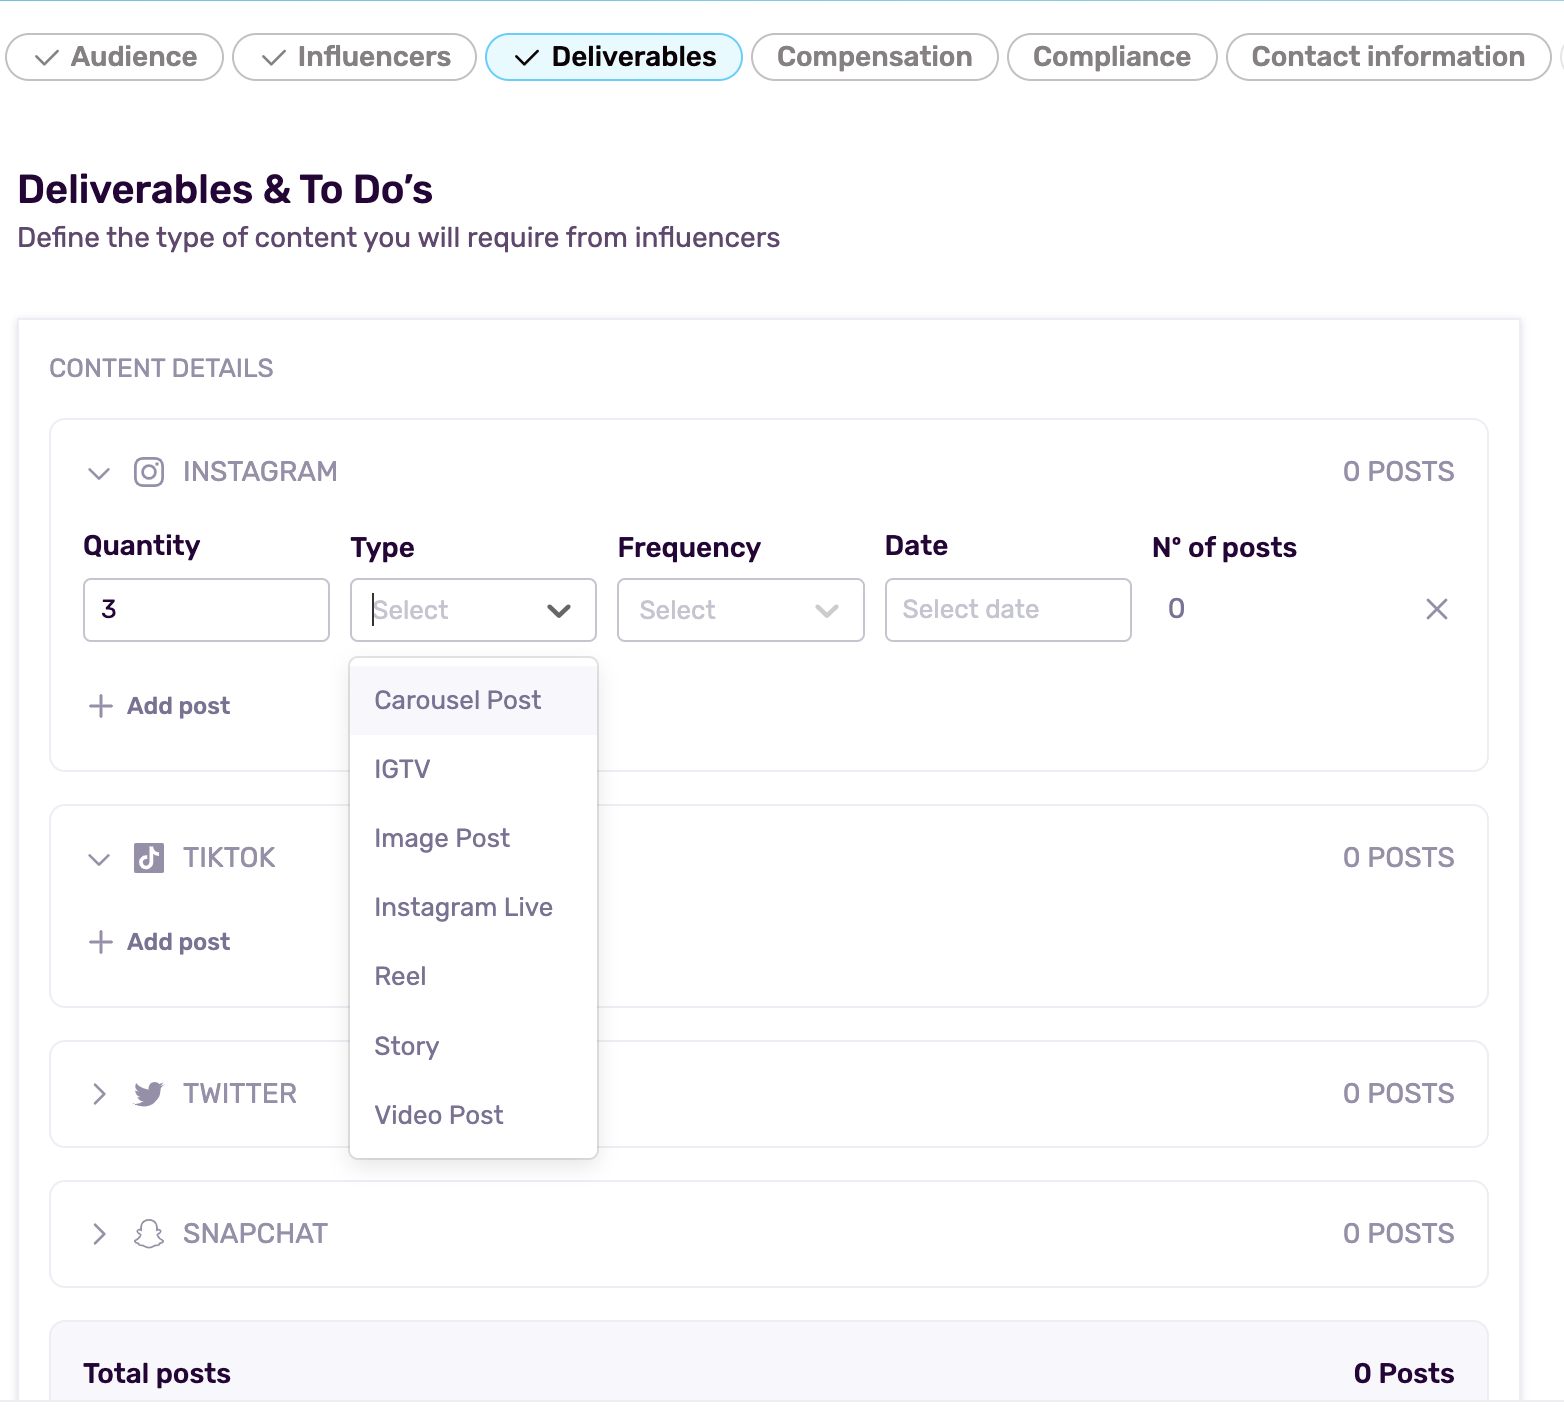
Once you choose a social network, click “Add post”, you’ll be able to customize the content requirements for that platform. This ensures influencers know exactly what kind of content they need to create and when to publish it.
Here’s what each field means:
- Quantity: Enter the number of pieces of content required for this specific post type. Example: 3 if you want 3 different Instagram Stories or Reels.
- Type: Choose the format of the content from the dropdown menu. Common Instagram types include:
- Reel
- Story
- Carousel
- Static in-feed post
- Live session
- Reel
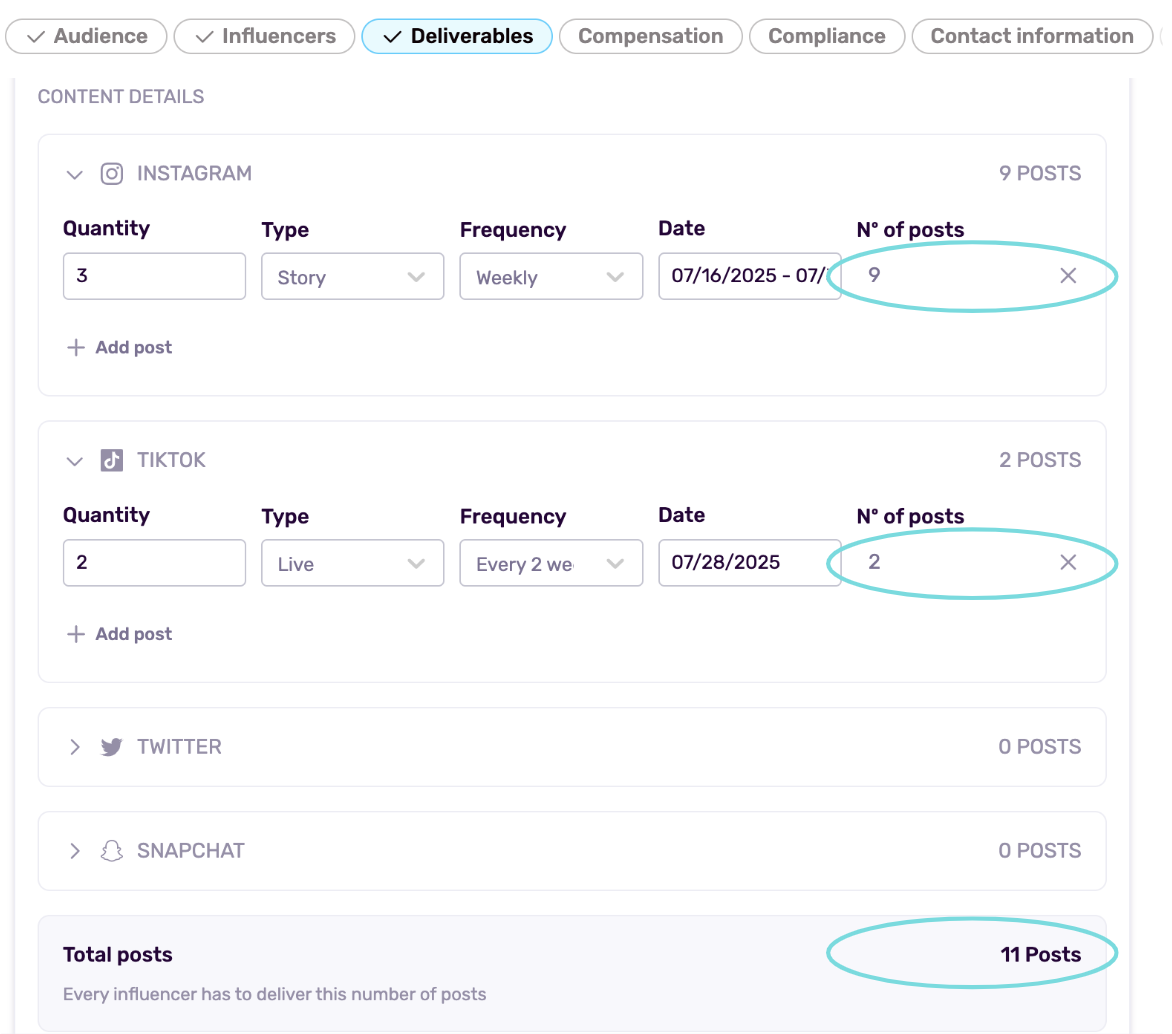
- Frequency: Indicate how often this content should be posted, especially if the campaign spans several weeks or involves recurring posts. Options include:
- Once
- Daily
- Weekly
- Every 2 weeks
- Monthly
- Date: Select the posting date (or due date) for this piece of content.
Note: You can either choose a specific date (an exact day when the influencer must publish the content) or a date range (if you're more flexible, you can provide a range of dates during which the content should go live.
- Nº of Posts: This is an auto-updating total that reflects how many Instagram posts have been added across the brief. As you add different types (e.g., 1 Reel + 2 Stories), the total post count will automatically update.
Reminder: You can repeat this process for each platform (e.g., TikTok, Twitter) by adding platform-specific content in a similar way.
Also, keep in mind that the list of social media networks available in this section (Instagram, TikTok, Twitter, etc.) is based on what you selected earlier in the brief — specifically in the General tab.
If you need to add or remove a platform (for example, if you want to include YouTube or remove Snapchat), you can easily do so by clicking the “Manage social networks” button below. This will take you back to the General tab, where you can select or deselect the platforms relevant to your campaign.

Once you update your selections, you’ll return to this section and see the updated list of platforms in the Deliverables section, with the ability to assign content for each one accordingly.
Note: If a platform isn’t selected in the General tab, it won’t appear here in the content setup.
The next block of information, Advanced Configuration, allows you to add more detailed control over how and when influencers publish their content. If your campaign requires a specific approval process or has strict timing or content rules, this is where you can set those expectations.
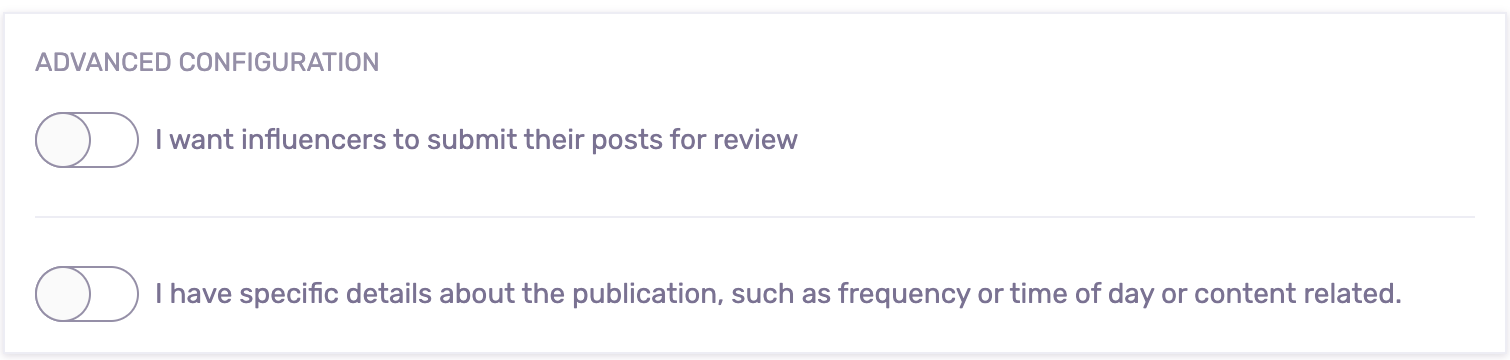
I want influencers to submit their posts for review
Check this box if you'd like to approve content before it goes live. This gives you the chance to ensure brand alignment, check for compliance (e.g., proper hashtags, disclosures), or request edits before publication.
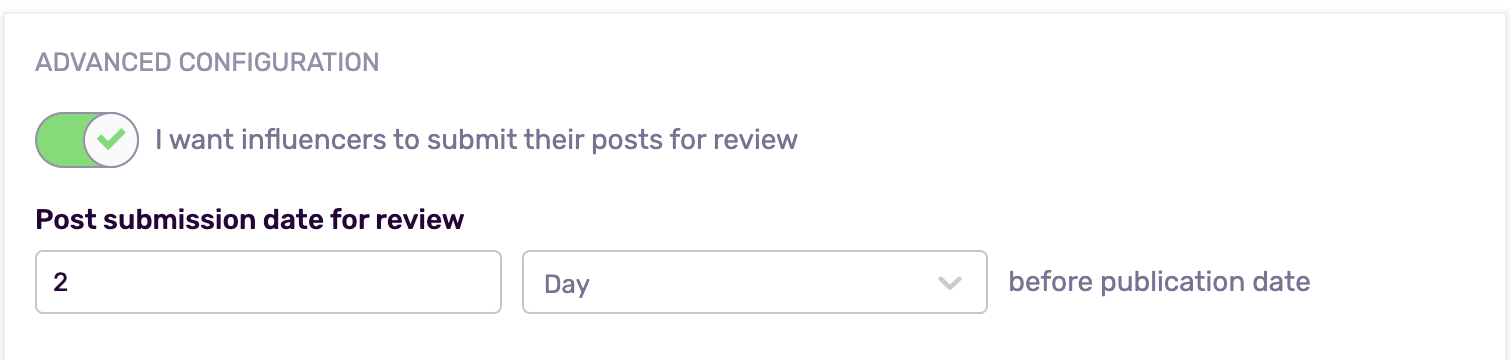
Post Submission Date for Review: You can select the number of hours, days or weeks deadline by which influencers must submit their content for approval.
I have specific details about the publication
If your campaign has strict posting conditions, such as frequency, time of day, or sequence of posts, enable this option to share those custom guidelines with influencers.
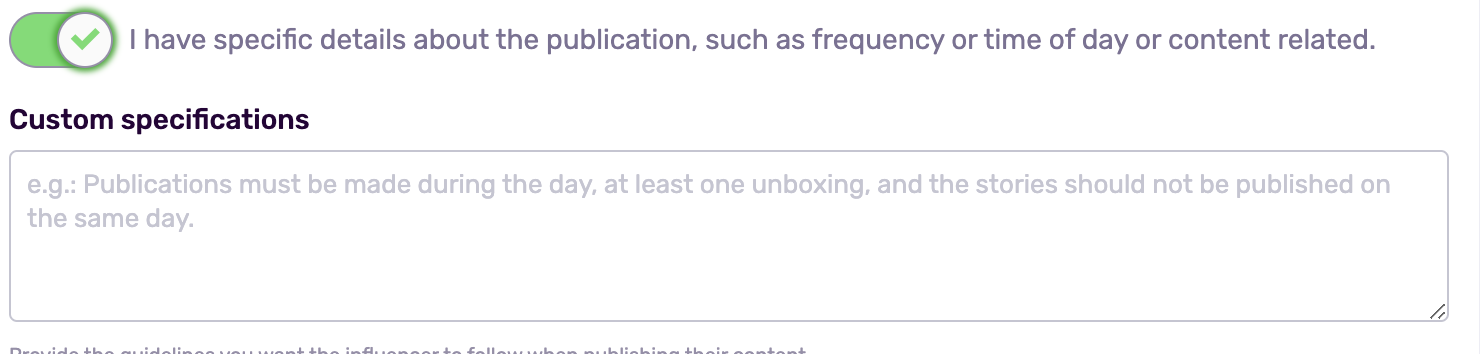
Custom Specifications: Use this field to write detailed posting instructions you want influencers to follow.
Examples:
"Posts must go live between 9 AM and 5 PM local time."
"At least one Story must show the unboxing experience."
"Do not publish all Stories on the same day — spread them out over 2 days."
"Reel must include product use in the first 5 seconds."
This is especially useful when timing, pacing, or creative structure is important to the campaign strategy.
Pro Tip: Be as clear and specific as possible. The better your instructions, the more aligned and effective the influencer content will be and the fewer revisions you'll need to request.
Mandatory Elements
This section is where you specify the non-negotiable elements that influencers must include in their content. These requirements ensure that all published posts are aligned with your brand guidelines, legal standards (like disclosure), and campaign goals.
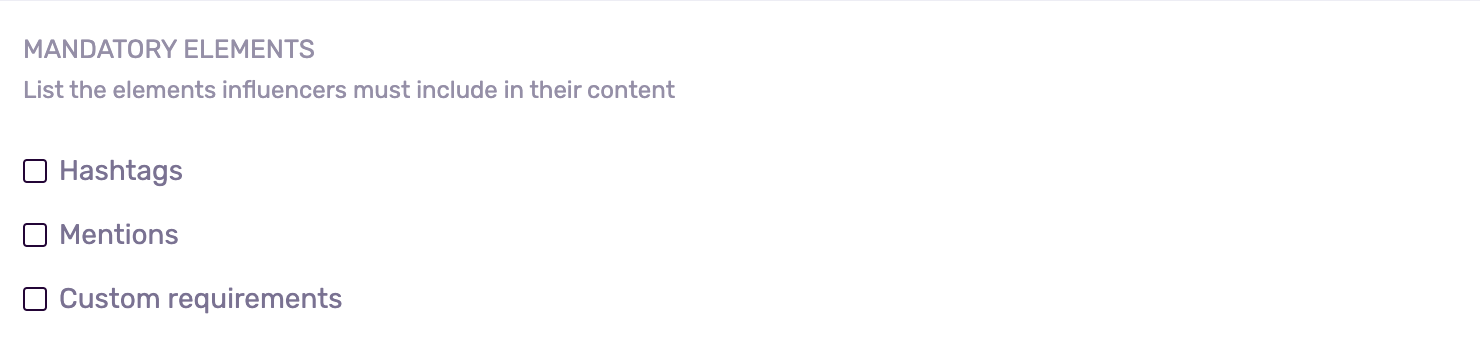
- Hashtags: List all required hashtags, such as #Ad, #Sponsored, #YourBrandName, #CampaignTagline. This ensures posts are discoverable and comply with advertising regulations.
- Mentions / Tags: Specify the accounts influencers must tag (e.g., your brand’s handle or campaign account). Example: Tag @yourbrand in the caption and in the content itself.
- Custom Requirements: Any other brand-specific instructions or creative must-haves. Examples:
- Include the campaign tagline in the caption
- Add a link in bio for 24 hours
- Show product packaging clearly
- Use a specific call-to-action like “Swipe up to shop”
- Include the campaign tagline in the caption
Inspirational Content
This block allows you to share creative direction and examples to help influencers understand the look, feel, and tone you're aiming for. While influencers bring their own style and voice, providing inspiration helps ensure that their content aligns with your brand’s visual identity and messaging goals.

Think of this as a creative mood board and script starter, not strict rules, but helpful guidance.
You can upload inspirational images for content or link to visuals that represent the style or aesthetic you want influencers to aim for.
These visuals give influencers a reference point and help ensure content feels consistent across different creators.
You can also provide caption Inspiration (Script) sample captions, message points, or tone suggestions to guide influencers in writing their posts.
Examples:
- “Feeling confident and camera-ready thanks to @yourbrand’s new skincare line!”
- “Unboxing this gem from #YourBrandName — obsessed with the packaging and the results.”
- “Use code EMILY20 for 20% off — thank me later 😉”
You can include: sample phrases or calls-to-action, required messaging points (like product benefits or taglines), and specify the tone you're aiming for; e.g., casual, bold, informative, emotional
Pro Tip: The goal here isn’t to script influencers word-for-word, but to give them enough context to create content that feels authentic to them but aligned with your brand.
Content Restrictions
This section is where you define any boundaries or limitations influencers must follow when creating and publishing their content. Setting clear restrictions helps protect your brand’s reputation, ensures compliance with regulations, and maintains consistency in messaging and tone.

Use this field to list any specific elements or behaviors that should be avoided, such as:
- Competitor Mentions: Example: “Do not mention or tag competing brands or products in the same post.”
- Offensive or Controversial Content: Avoid profanity, political commentary, or culturally insensitive language/images.
- False or Exaggerated Claims: Ensure influencers don’t promise results that your product can’t guarantee (e.g., “This cream removes all wrinkles overnight!”).
- Excessive Filters or Editing: Maintain authenticity. You might require minimal editing to preserve product accuracy and brand trust.
- Unsafe or Misleading Use of Product: Example: “Do not use product in a way that could be considered dangerous or contrary to its instructions.”
Event Assistance
This section allows you to specify whether influencer attendance is required for an event related to your campaign, such as a product launch, brand activation, store opening, or live experience.
If your campaign includes an in-person or virtual event, this is where you clearly communicate expectations around participation.

Check this option if you want the influencer to be present at an event as part of their deliverables.
Select Date: Choose the exact day the event is happening. This helps influencers schedule their participation and plan travel or prep time if needed.
Location: Where is the event taking place? Include the full address or venue name for in-person events, or a link/meeting ID for virtual ones (e.g., Zoom, Instagram Live, or a private stream).
Other event details: Use this space to share any additional information influencers need to know before attending.Examples:
- Dress code (e.g., “All white” or “Smart casual”)
- Call time (e.g., “Arrive 30 mins early for briefing”)
- Expected on-site content (e.g., “Post 3 Stories during the event and 1 carousel the next day”)
- Parking or check-in instructions
Step 7: Compensation & Incentives
This section is where you define how influencers will be rewarded for participating in your campaign. Being transparent and specific about compensation ensures a smooth collaboration and helps attract the right talent.
Influencers need to know not just what they’re being paid, but also when and in what form they’ll receive compensation.
Compensation Type
This next information section will display anything and everything related to compensation.
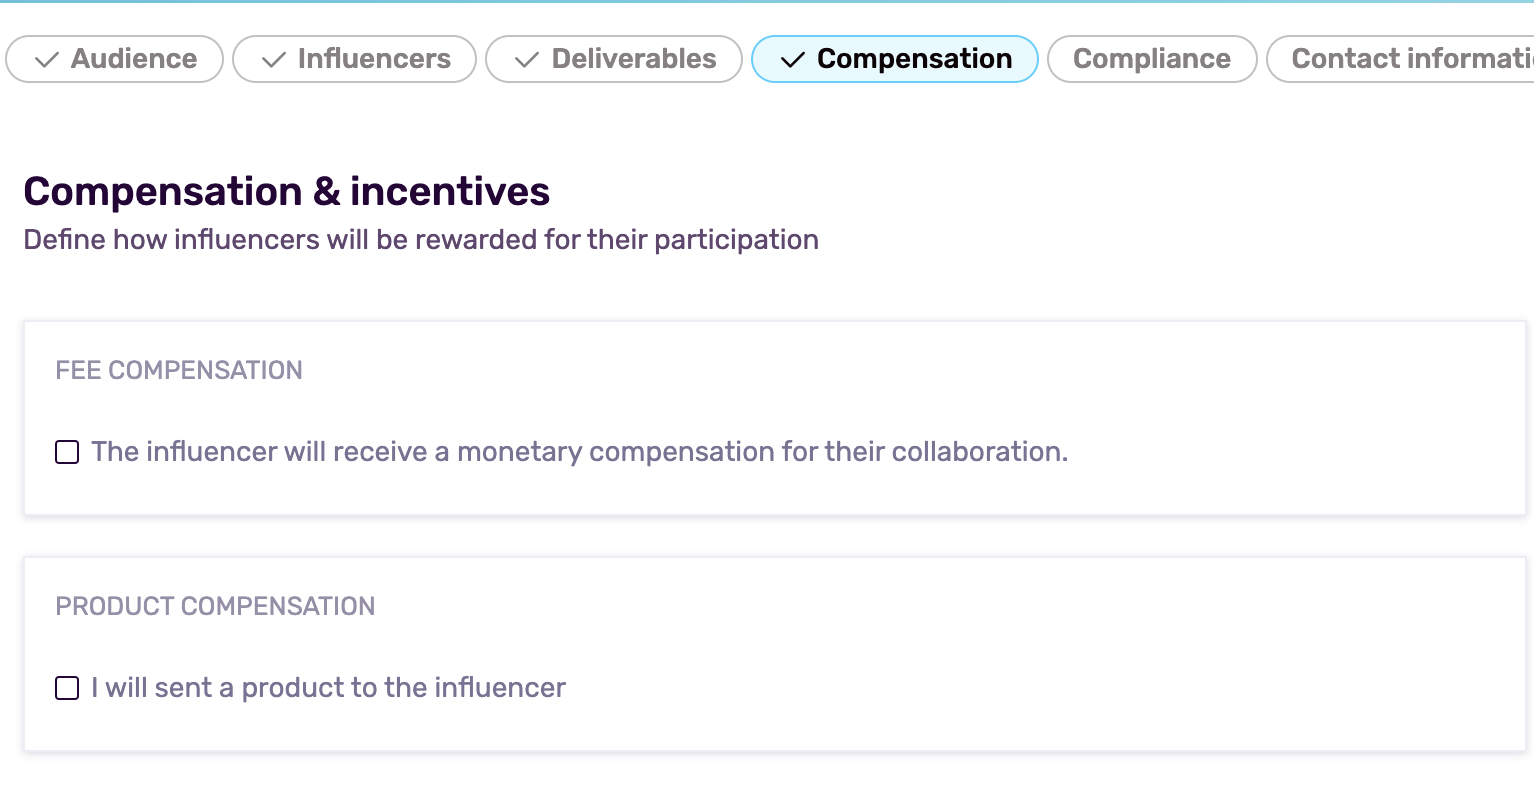
Select the type of compensation you’ll offer. There are three common models:
- Product Only: Influencers are gifted your product(s) or samples in exchange for content creation. Great for small campaigns, seeding programs, or creators who prefer in-kind partnerships.
- Paid: Influencers are paid a fixed fee or based on performance metrics like engagement, clicks, or conversions. Suitable for mid-tier to macro creators or campaigns with a clear ROI goal.
- Product + Payment: A combination of both — influencers receive your product and a fee. Useful when you want to show goodwill through gifting, but also compensate fairly for time and reach.
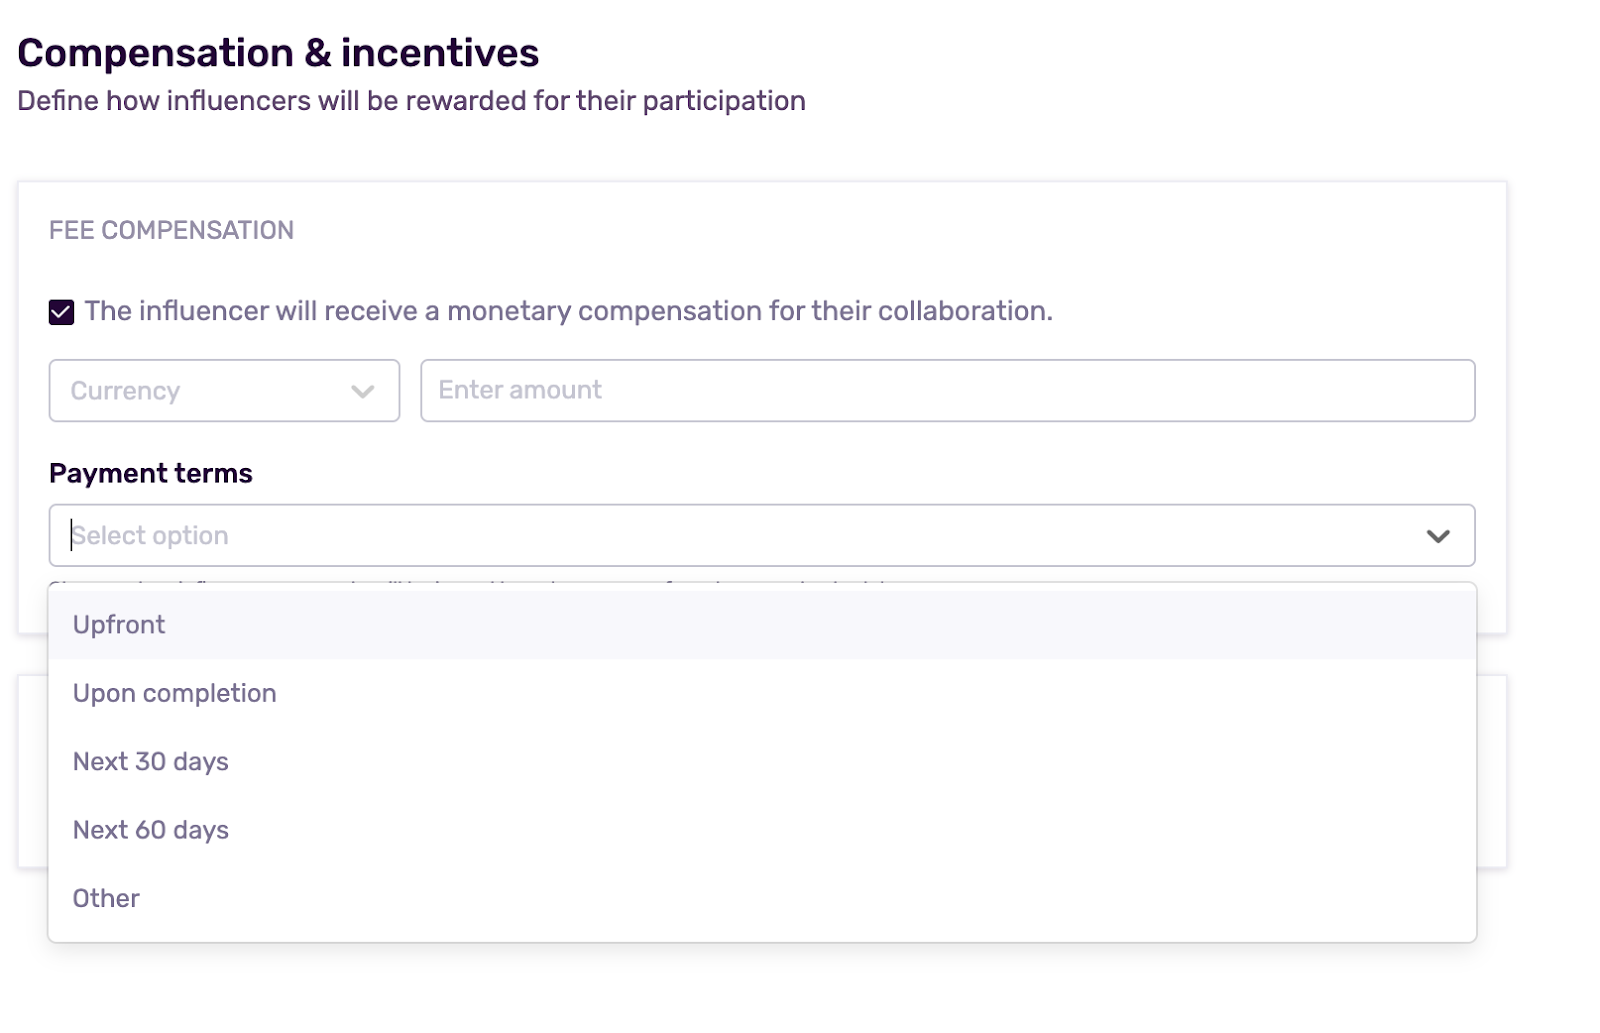
Fee Compensation
Use this section to define the monetary payment influencers will receive for participating in your campaign. It ensures transparency and helps set clear expectations around how much you're paying and when they’ll receive it.
Here’s what each field means:
Currency: Select the currency in which the payment will be made. Choosing the correct currency is important for international campaigns and helps avoid confusion or the need for payment conversions later on.
Enter Amount: Input the exact fee you will pay the influencer. This amount represents the total amount the influencer will receive for their collaboration.
Payment Terms: Select when the payment will be issued, based on your preferred payment schedule. This sets expectations and helps manage the influencer’s planning and trust in the process. The options are
- Upfront – Payment is made before the campaign is launched. Normally, the payment is done once the influencer signs up.
- Upon Completion – Payment is issued the campaign is over.
- Next 30 / 60 days – Payment will be sent within 30or 60 days after the campaign has finished.
- Other – This option allows you to taylor your answer according to the campaign’s needs.
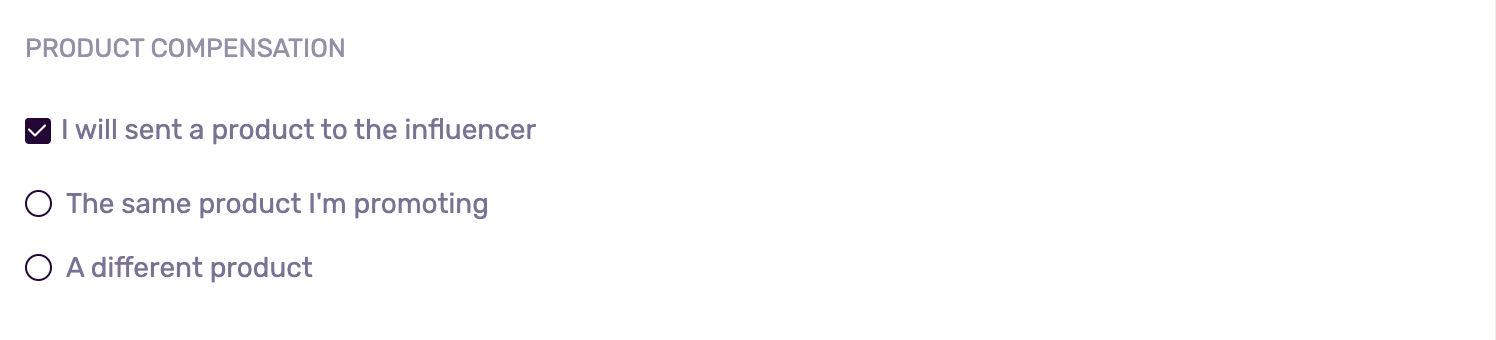
Product Compensation
If you're offering product(s) as part of the compensation, two options will appear. You can either choose to send the same product you are promoting or a different one.
If you are sending the same product you are promoting, the following options will be shown to you:
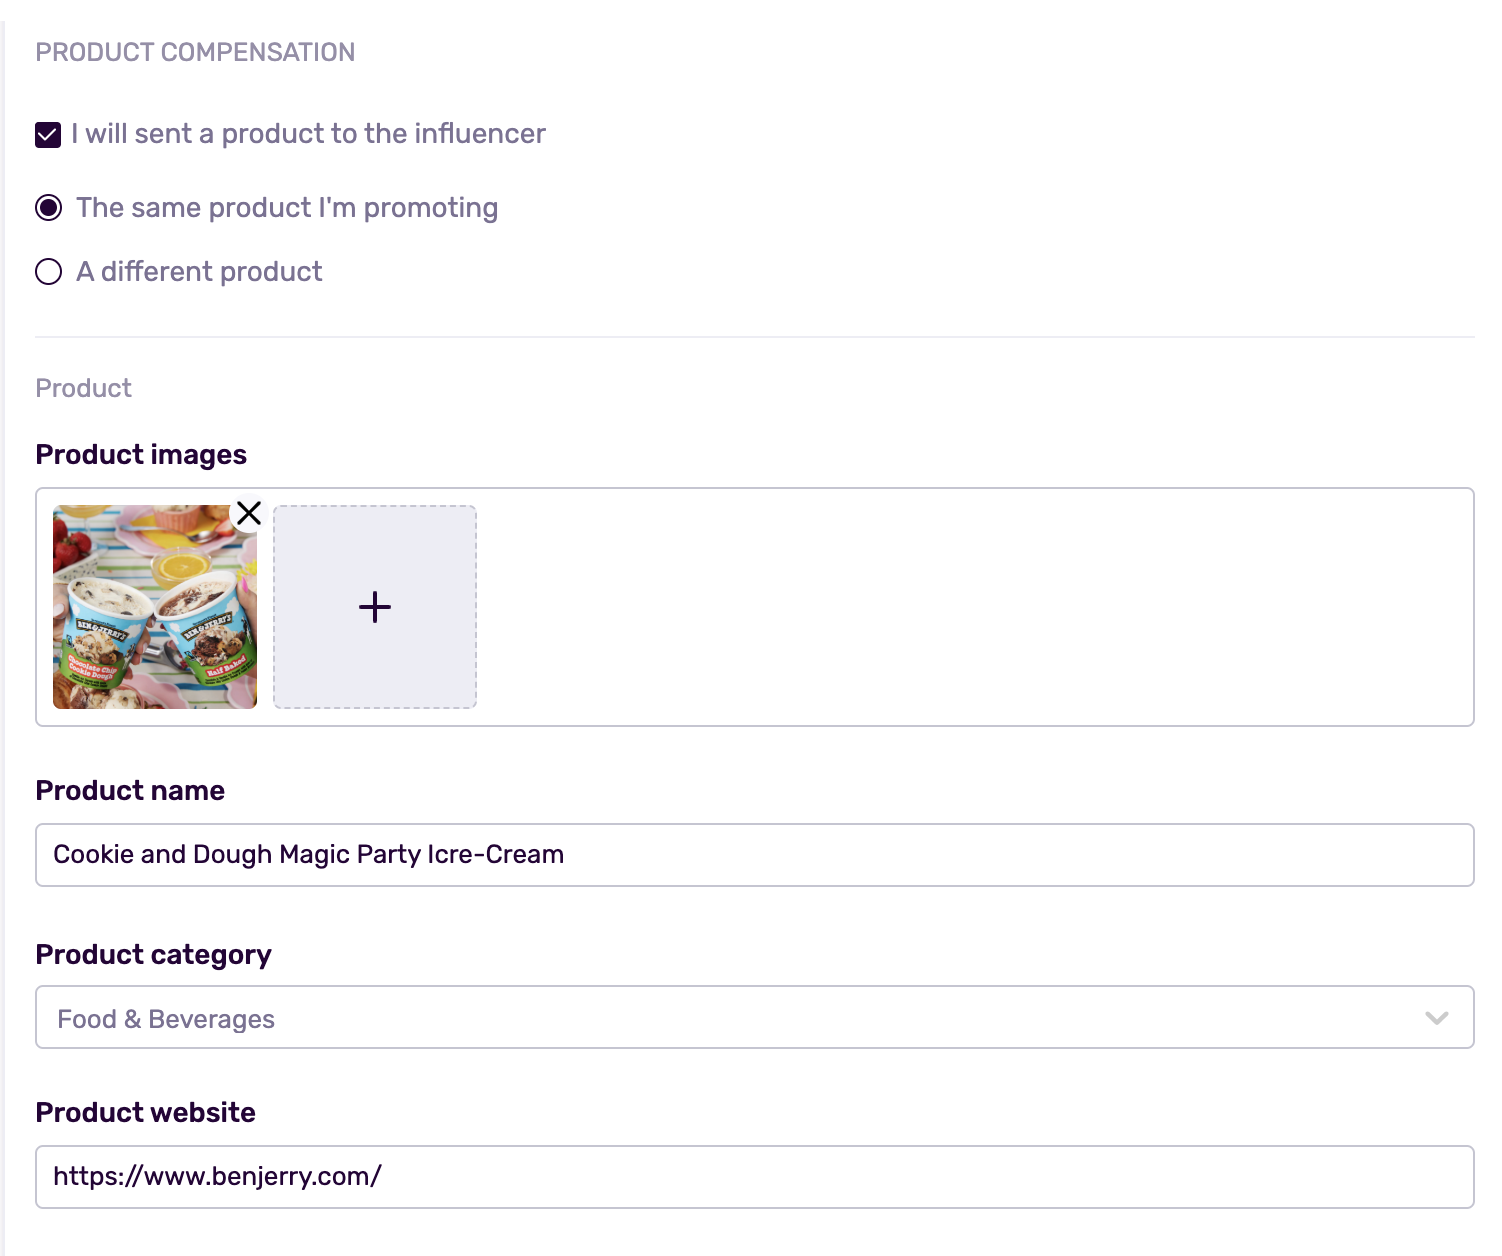
Product Images
Upload high-quality images of the product so influencers know exactly what it looks like. Remember that you can upload up to 3 images.
Tip: Include product packaging, lifestyle shots, or images from past campaigns if available here.
Product Name
Clearly state the name of the product being promoted. If you have already added it in your General tab, it will automatically appear.
Product Category
Choose the relevant category that describes your product.
Example: Food & Beverages, Skincare, Tech Accessories, Apparel, etc.
Note: Again, if you have already added it in your General tab, it will automatically appear here as well.
Product Website
Provide a direct URL where influencers can learn more about the product or brand.
Note: Again, if you have already added it in your General tab, it will automatically appear here as well.
Product Description
Offer a brief, engaging overview of the product — what it is and why it's exciting. Example: “A dreamy mix of cookie dough chunks, fudge flakes, and vanilla ice cream for the ultimate party treat.”
Key Features or Benefits
Highlight what makes your product special or valuable. Examples:
- Made with organic ingredients
- Vegan-friendly
- Limited edition flavor
- Fun and family-friendly packaging
These points give influencers talking material for their content.
Retail Price
Indicate the product’s value so influencers understand what they’re receiving (and can communicate it to their audience if needed).
Note: Again, if you have already added it in your General tab, it will automatically appear here as well.
Product-Related Customizable Questions
Use this section to collect specific information from influencers you may need to fulfill their order or personalize the product. Just click "Add question" to include custom fields influencers must complete before shipment.
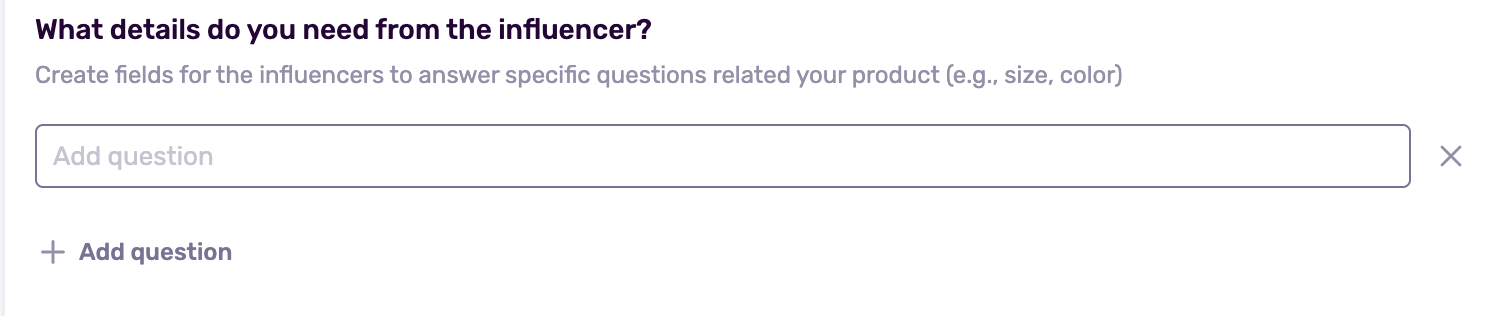
Example Questions:
- What size T-shirt do you wear?
- Preferred flavor or scent?
- Do you have any food allergies?
Note: You can add as many questions as you feel it’s necessary for the success of your search for perfect campaign fits.
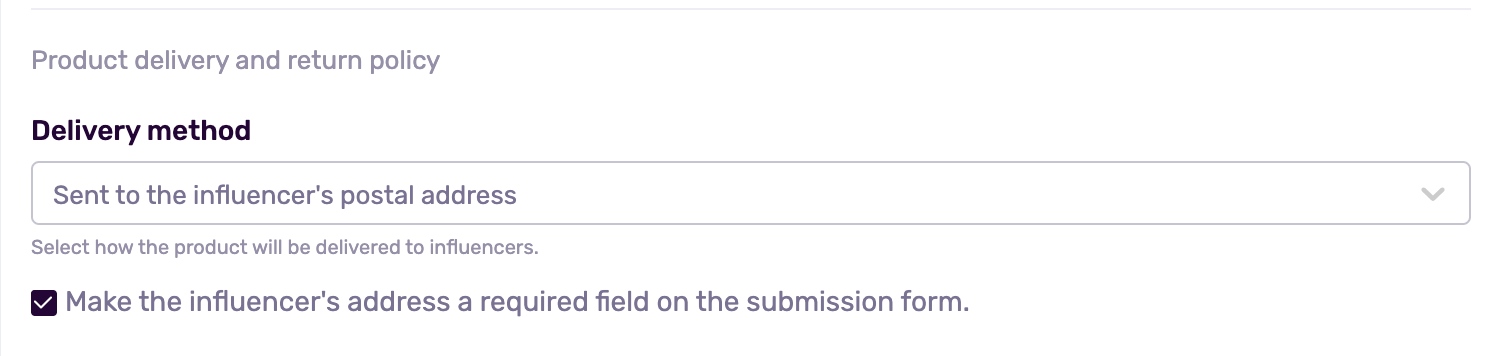
Product Delivery and Return Policy
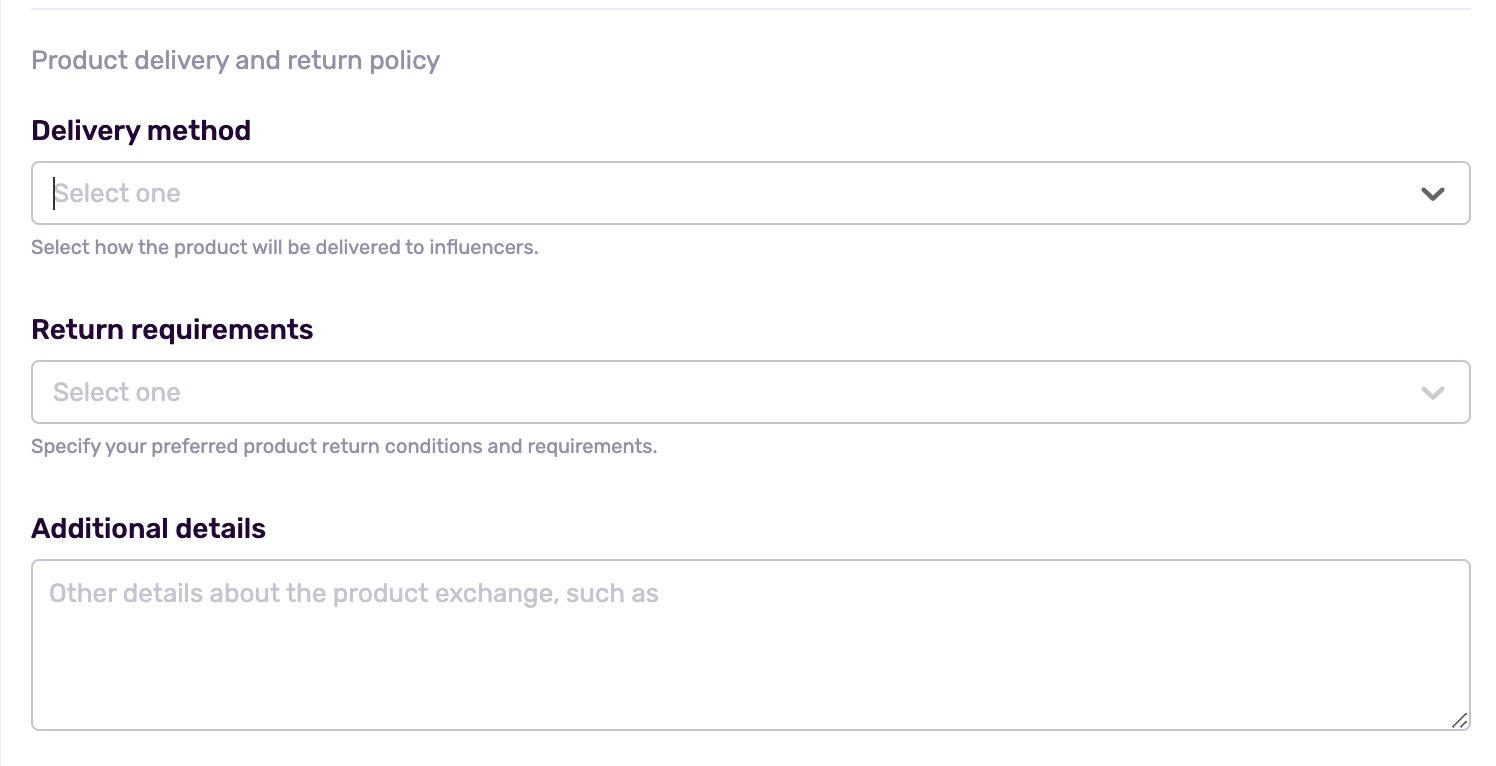
Define how the product will be handled logistically:
- Delivery Method: Choose where the product will be sent (e.g., to their postal address, a physical point, etc). If you choose to send the product to the influencer’s home address, you´ll see the option of having them share their address as mandatory in the submission form.
- Return Requirements: Indicate whether influencers are expected to return the product after the campaign. Options might include:
- No return required (they keep the product)
- Return as soon as the campaign is over
- Return if unused
- Other
- Additional Details: Share anything else relevant to the product handling or delivery.
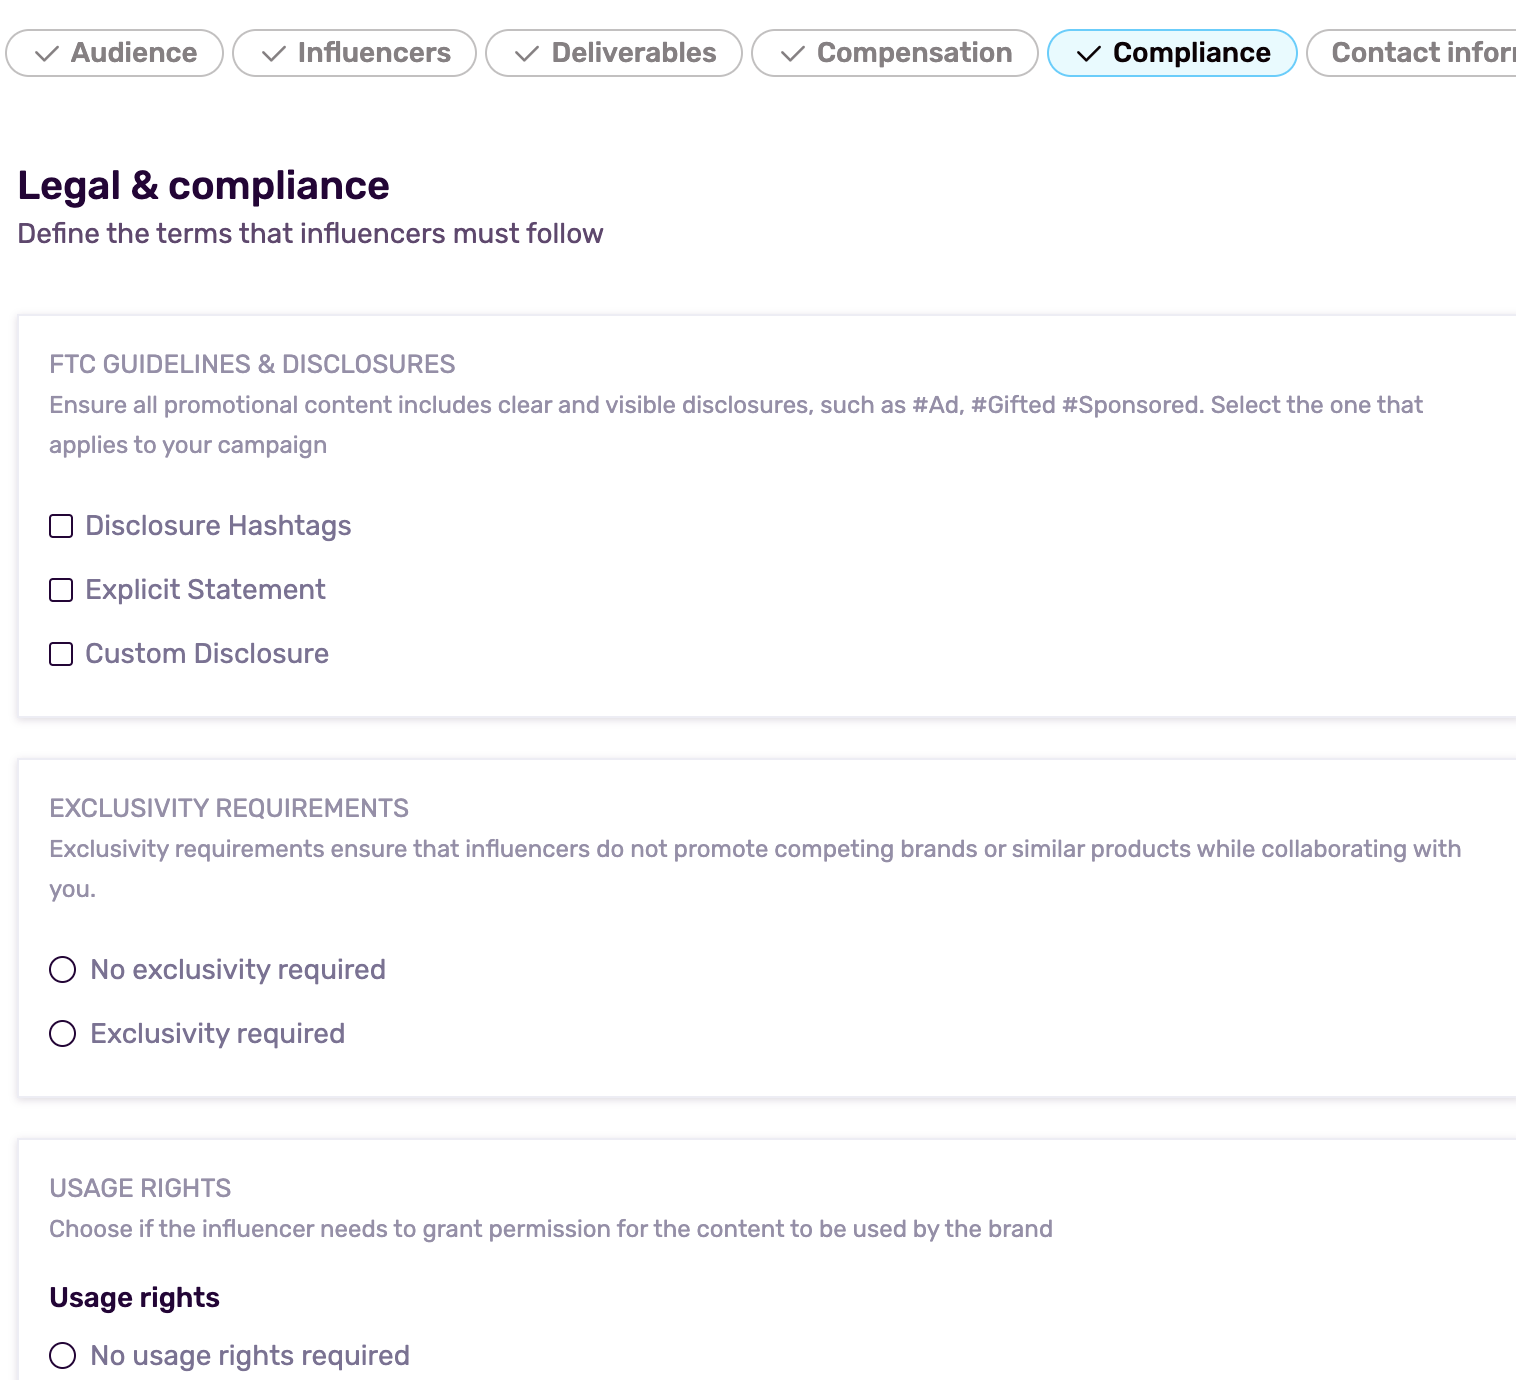
Step 8: Legal & Compliance
This step defines the legal boundaries and expectations between your brand and the influencers you're partnering with. It helps protect your brand, ensure transparency, and maintain trust with your audience.
Define the Terms Influencers Must Follow
Set the rules that influencers need to adhere to during the campaign, what they can and cannot do. This might include messaging guidelines, posting schedules, tone of voice, and content quality expectations.
FTC Guidelines & Disclosures
Influencers are legally required to disclose when content is sponsored. This means adding visible tags such as: #Ad, #Gifted or #Sponsored.
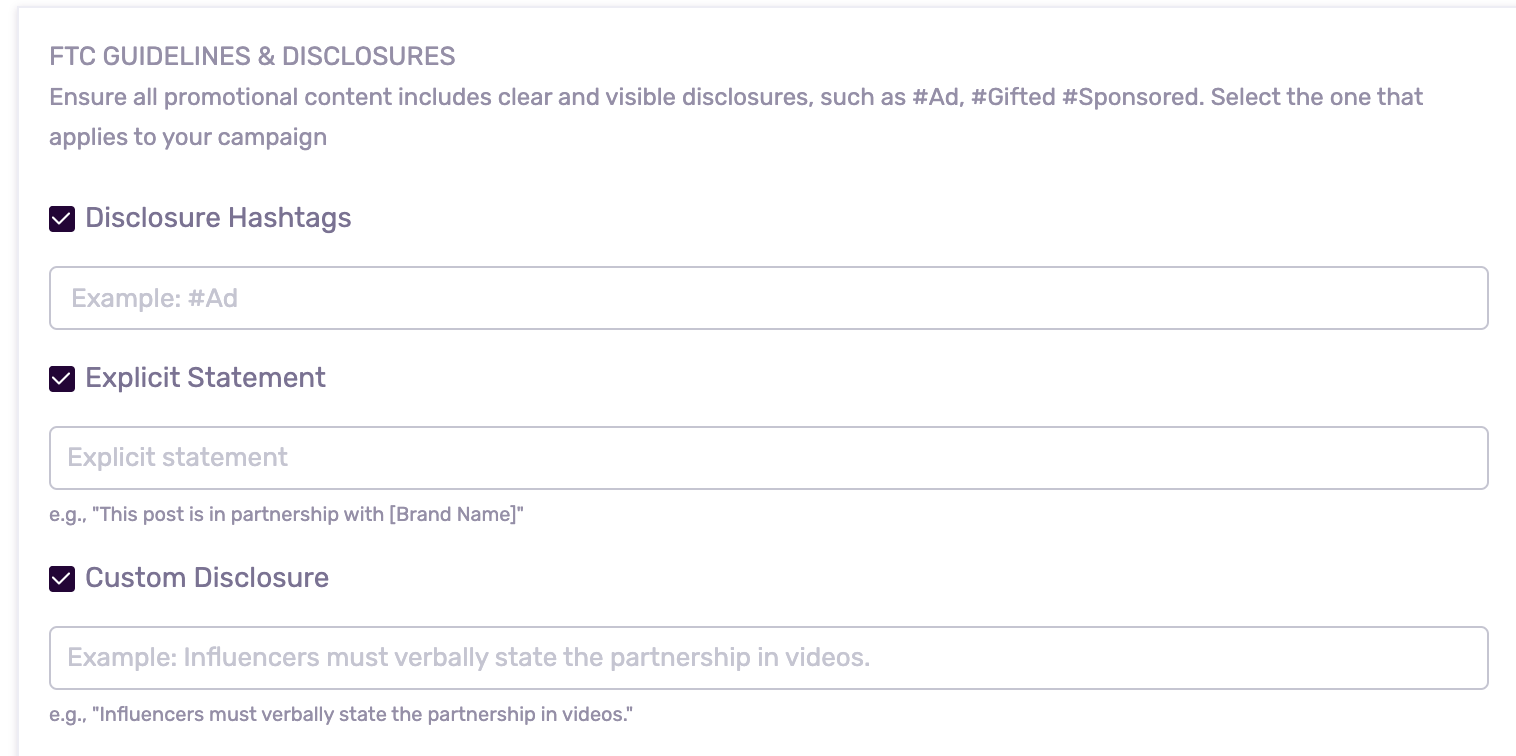
In this section you should specify which disclosure fits your campaign so influencers stay compliant and transparent with their audiences.
Note: You can choose none, one or all of them.
Exclusivity Requirements
In this section you can require that influencers:
- Are not bound by an exclusivity clause
- Are bound by exclusivity requirements. This protects your brand’s positioning and helps maintain campaign integrity.
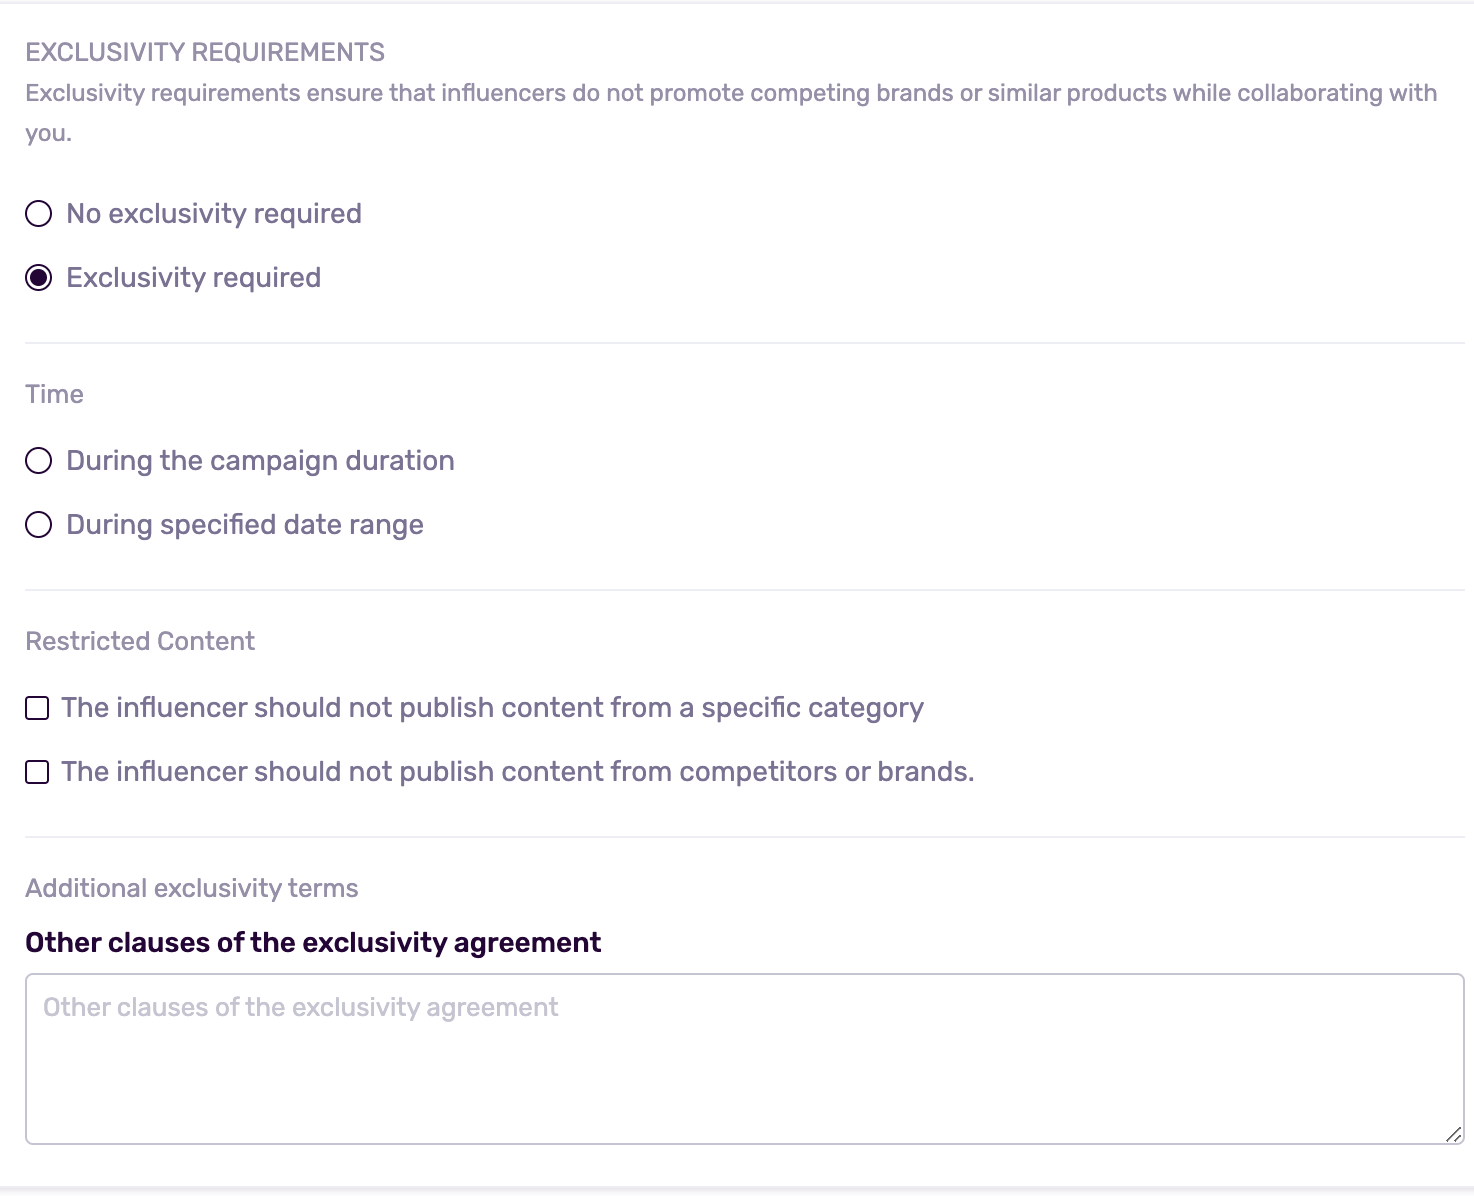
If you choose to include exclusivity in your campaign terms, it means the influencer agrees not to promote competing brands or similar products for a defined period.
Once you activate this option, the following fields will appear so you can customize the exclusivity agreement:
- Time: Specify how long the exclusivity period will last. For example:
- Campaign Duration means the dates will be filled in automatically, based on the start and end dates you already set in the campaign brief.
- Specified date range implies a different start and end date that will be chosen manually and displayed in the brief.
Restricted Content
This block of information allows you to define what types of content or products are off-limits.

You can choose the option in which the influencer can´t post from a specific category and a dropdown menu will show you the options.
Then, you can also choose to prevent the influencer from posting content from competitors or particular brands. You can add as many competitors or brands in the text box as you want to.
Note: You can choose one or both options in this block.
Additional Exclusivity Terms
Add any other specific clauses you want to include in the exclusivity agreement.
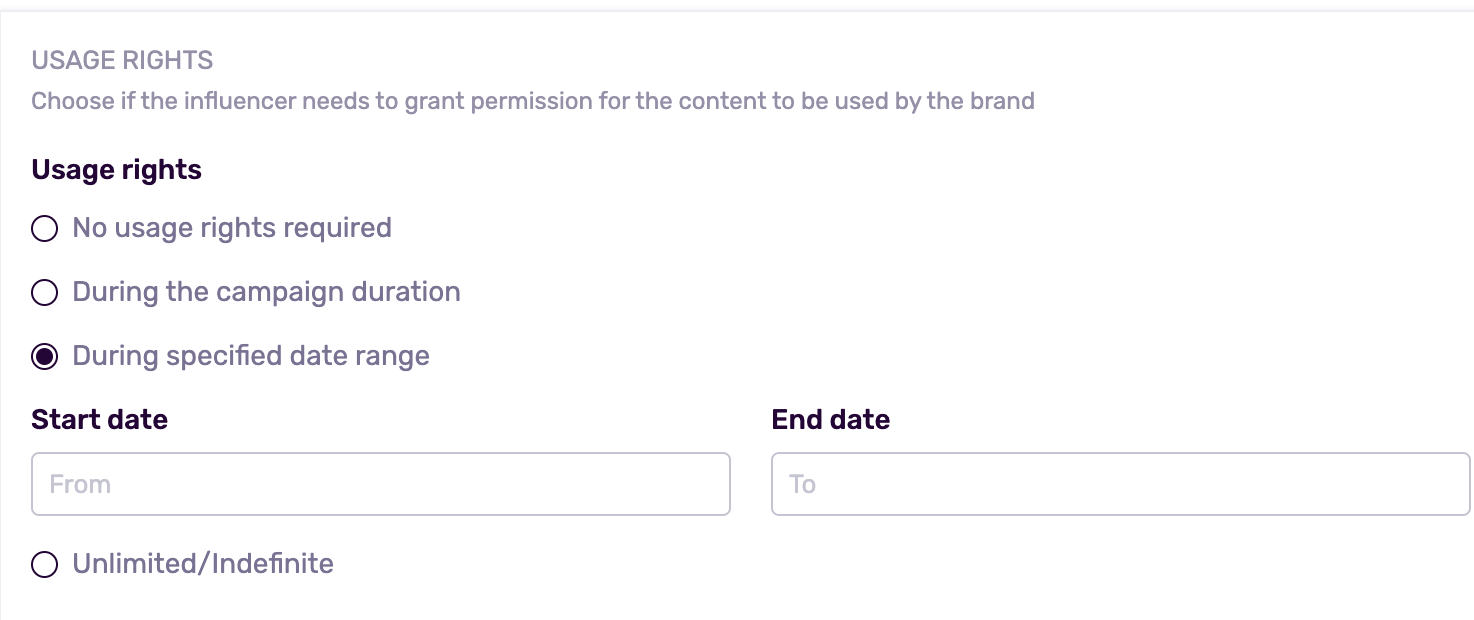
Usage Rights
Decide if you want the right to reuse influencer content (for ads, social media, website, etc.). If you do, the time-frame options are:
- During the campaign
- During a particular date range
- Unlimited or indefinite
Confidential Agreement
If your campaign includes sensitive information (product launches, internal data, etc.), include a confidentiality clause so influencers don’t share any details before you're ready.

You can do this by simply ticking the box.
General Terms of the Campaign
Provide a link to the full terms and conditions of the campaign (e.g., deliverables, timelines, compensation, behavior expectations).

Disclaimer: If you don’t provide a custom link to your own Terms & Conditions when creating a Casting Call, Influencity’s default Terms & Conditions will be automatically applied.
Step 9: Request Contact Info
This step allows you to define the contact details you need from the influencers and set the automation for influencer approval you consider best.

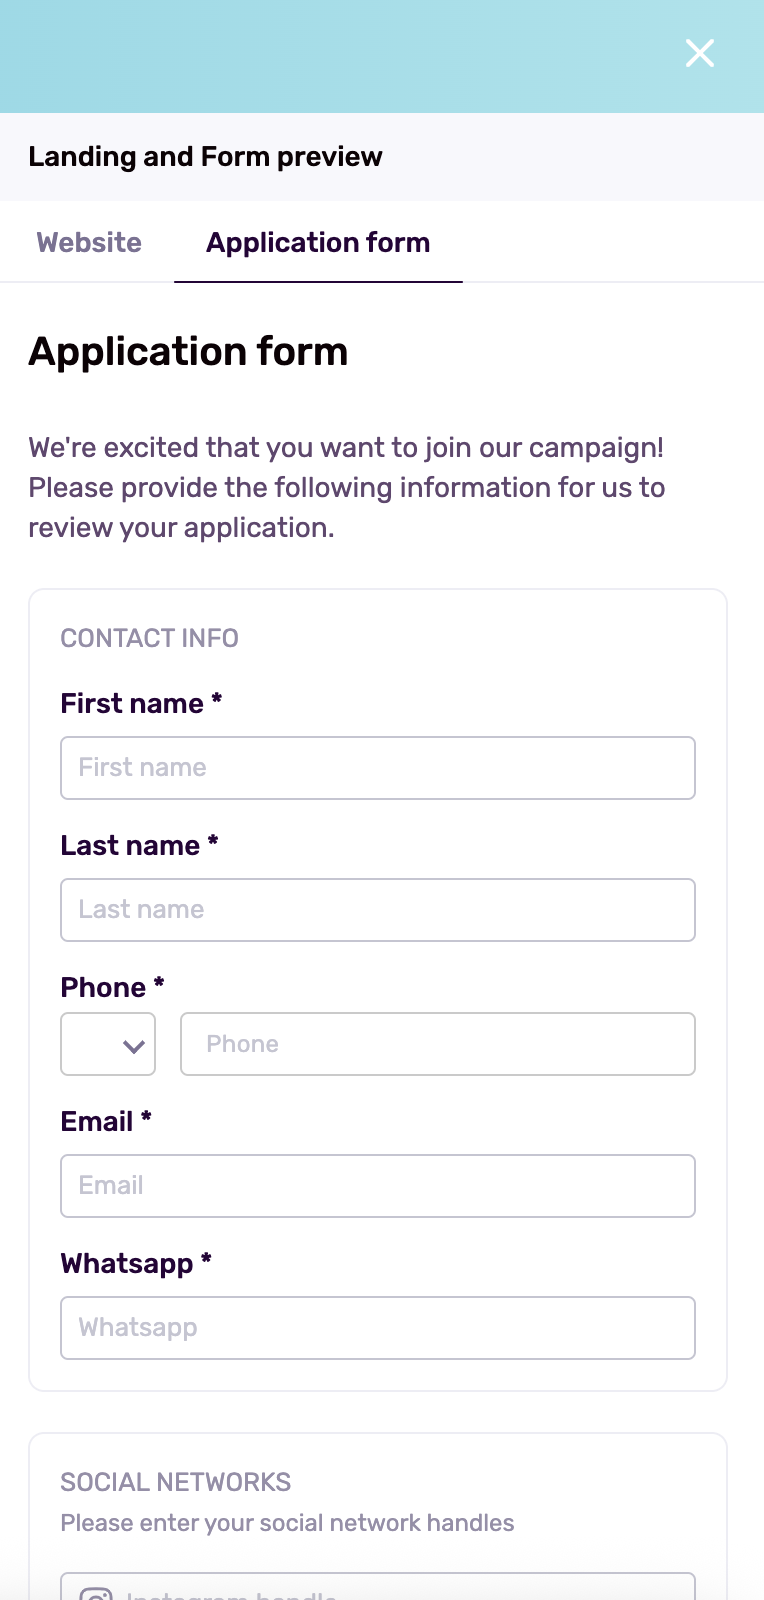
What You Can Request from Influencers
You decide which contact details are required. These fields will appear on the influencer’s registration form and must be completed before submission.
You can request:
- Email
- Phone number
- WhatsApp
- Telegram
- Mailing address (especially if you plan to ship a product)
Note: As pre-defined, you’ll always need them to share with you their phone numbers and emails, the rest of the options are not required.
Point of Contact for Influencers
Provide your contact details, so influencers have someone to reach out to if they have questions.
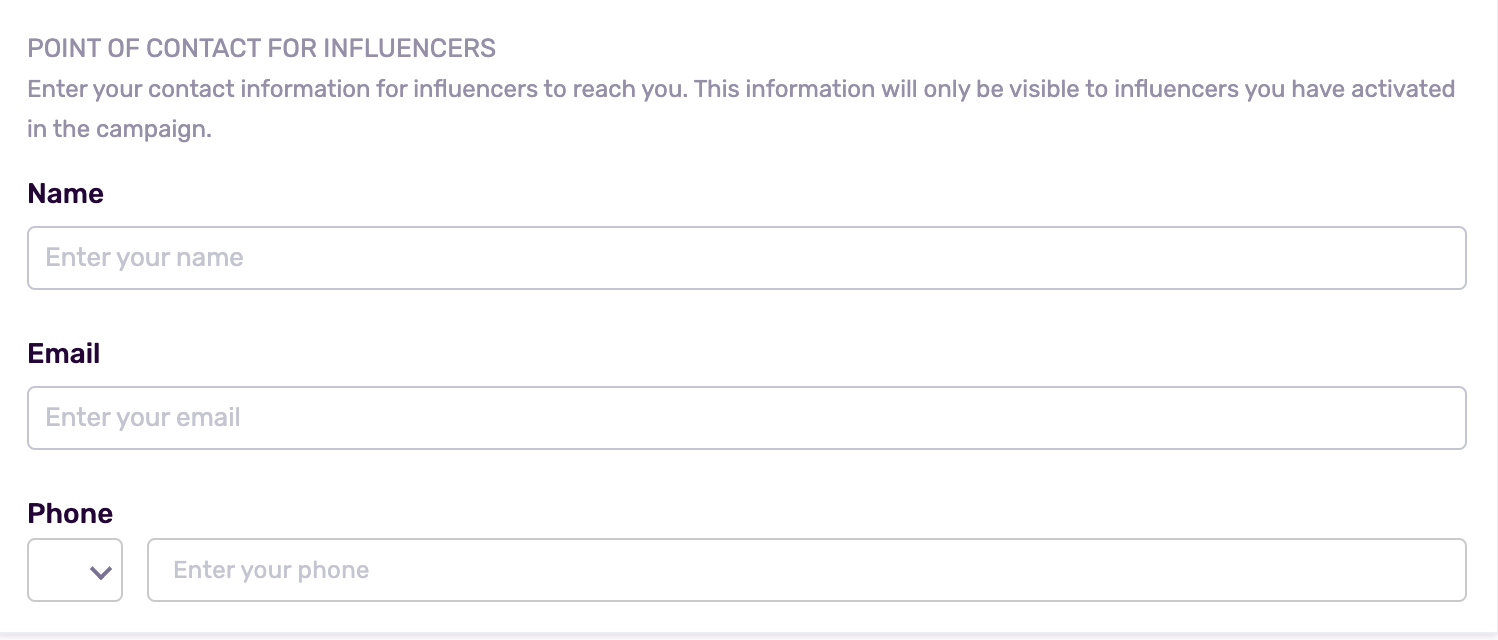
Normally, this section is filled in with the details of the campaign manager or the head of influence. You’ll be asked to provide:
- Your Name
- Email address
- Phone number (optional)
Note: This section will only be visible to influencers who are approved or activated in the campaign.
Step 10: Final Preview & Activation
Once you’ve completed all these tab, you’ll notice a checkmark on all the tabs you've filled out. This means you’re ready to save and launch your casting call.

Once all required fields are filled in, you’ll be able to preview your landing or the application form.
- Click Save and Run Campaign to publish it.
- A unique public URL will be generated, this is your live Casting Call.
- Share this link anywhere: on social media, in newsletters, or via DMs.
Remember: Once active, your campaign is live and ready to accept applications. After activation, critical details (dates, deliverables, criteria) can’t be edited. If you need to make changes, clone the campaign and update the copy.

Finally, once you hit confirm, the casting call goes live and you will be able to share it via link or through your social networks.
