With this feature, agencies and brands can now discuss and finalize influencer collaborations directly in Casting Calls, no emails, no spreadsheets, no confusion.
Every change, offer, and agreement stays connected to the campaign for full visibility and efficiency.
Enable Negotiations in Your Casting Call
You’re deciding which parts of your brief are open to discussion and which are fixed. This tells creators exactly where they can propose changes and prevents back-and-forth on terms that aren’t up for debate.
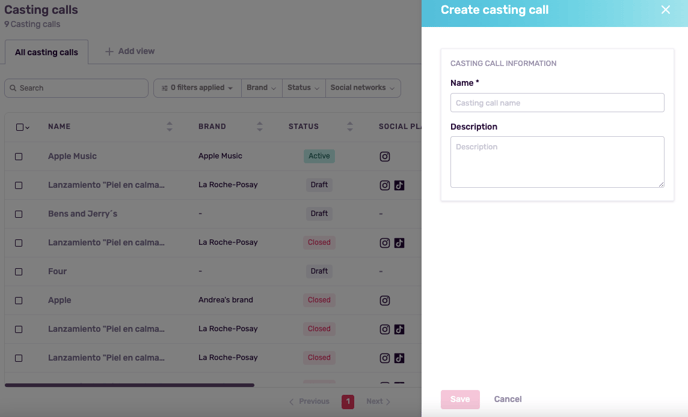
Step 1: Open the Casting Call builder
Go to Campaigns → Casting Calls → Create New (or Duplicate an existing one if you have a template).
Important: At the top, choose the language for your Casting Call. Emails and the creator landing page will default to this language (you can still change it later).
Step 2: Review each negotiable section
Open each section and set your defaults (what you’re proposing first), then decide if it’s negotiable:
Compensation
Fee / Currency / Payment timing
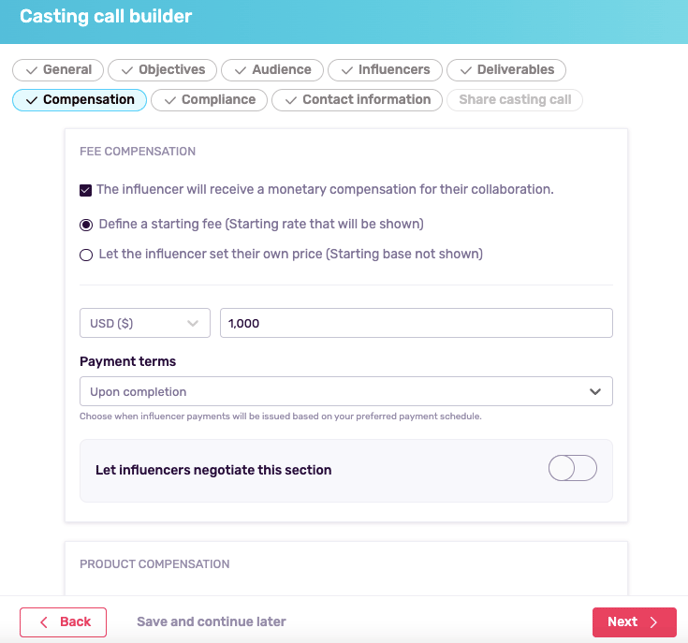
Toggle “Negotiable” if you’re open to counteroffers (e.g., creator can change fee from 1,000 to 1,500).
Product Seeding & Shipping
Is product included? Which SKU? Address / pickup method / deadlines
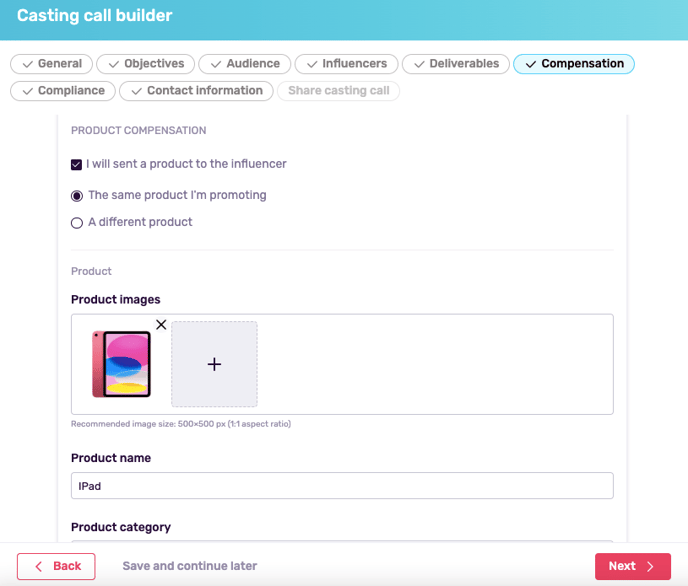
Toggle if creators can choose a product, add sizing, or switch delivery methods.
Content Deliverables
Formats (Reel, Post, Short, Story), counts, deadlines, talking points, tags/mentions, usage disclosures
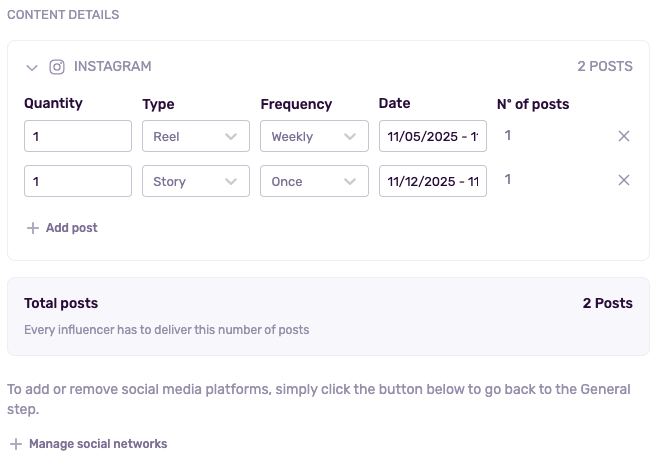
Toggle if creators can remove/add formats (e.g., swap “Live” for “Reel”) or adjust dates.
Exclusivity & Compliance
Competitor blackout, category restrictions, disclosure rules, brand safety notes

Toggle only if you’re flexible on exclusivity scope or time window.
Usage Rights
Whitelisting, paid amplification, duration, territories, media types
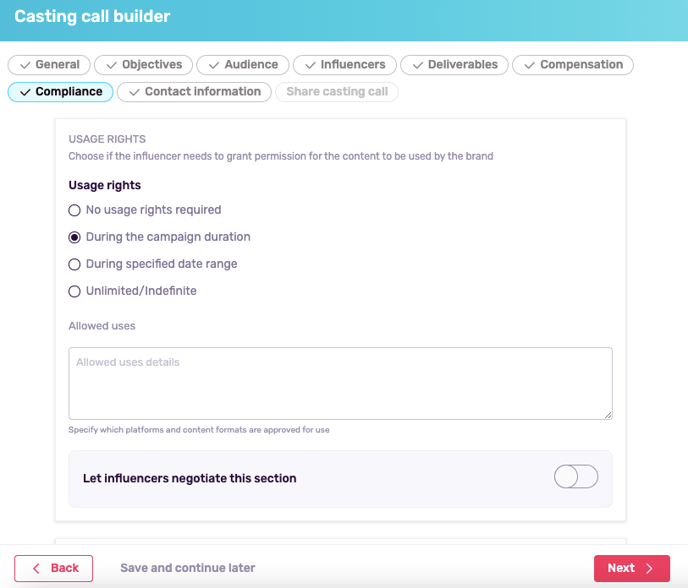
Typically non-negotiable for regulated brands; toggle only if you can adapt rights or term length.
Event Attendance
In-person/virtual, date/time, travel terms
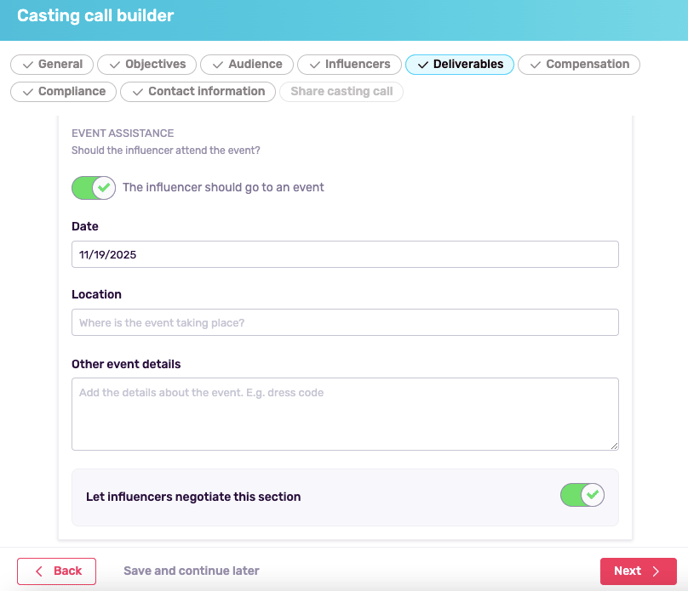
Toggle if attendance or schedule can be adjusted.
Tip: Set clear defaults even for negotiable fields. Creators negotiate faster when they see your baseline.
Step 3: Toggle “Negotiable” ON where you want flexibility
Flip the Negotiable switch inside each section where creators may modify values.
What creators see:
- Negotiable fields appear editable on their landing page.
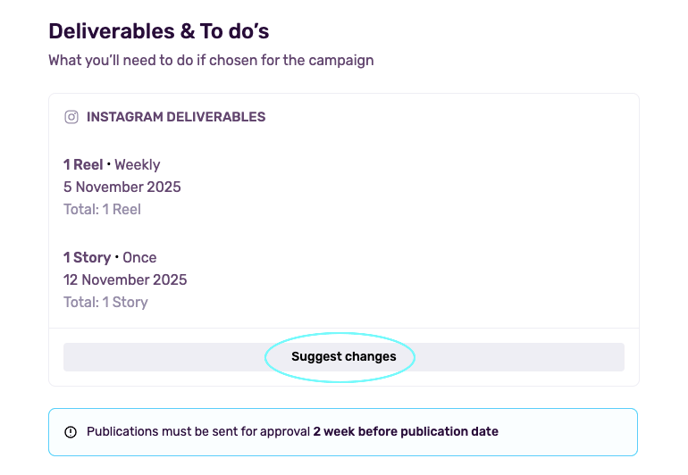
- Non-negotiable fields appear read-only with a lock/pin icon.
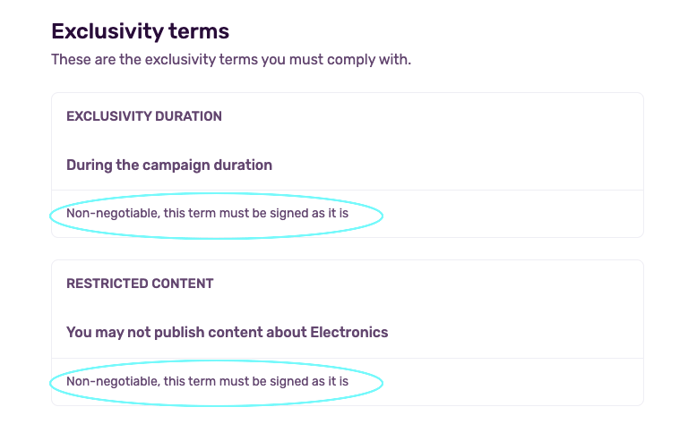
Best practice: Keep critical risk areas (e.g., Usage Rights, Compliance) non-negotiable to avoid legal ambiguity. Offer flexibility on Fee, Deliverables, and Deadlines to keep deals moving.
Step 4: Leave non-negotiable items fixed
If a field is off (non-negotiable), creators cannot change it. You (the brand/agency) can still adjust non-negotiable items per creator later from the Agreement modal if needed (e.g., special exceptions).
Pro move: Use Comments in your brief to explain why an item is fixed (e.g., “Rights are fixed due to paid media plans”). Transparency reduces friction.
.
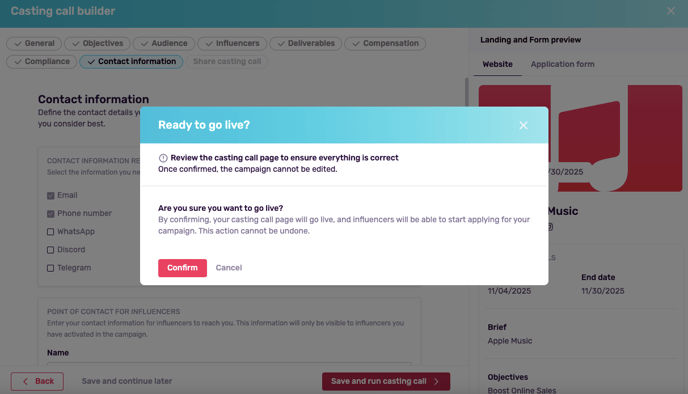
Step 5: Validate your setup before publishing
Check your default values (fees, counts, dates, rights term). Ensure deadlines and event times are correct and then confirm language is right for your creator pool. Finally, preview the creator landing to verify which fields are editable vs. locked.
Common mistakes to avoid
- Too many negotiables: If everything is flexible, you’ll invite scope creep. Prioritize 2–3 negotiable areas.
- Vague defaults: “TBD” creates confusion—enter concrete numbers, dates, and terms.
- Locked deadlines with flexible deliverables: If formats can change, keep dates slightly flexible or specify a buffer.
Team alignment
Decide internally who signs and who counteroffers before you publish.
Remember that once you accept and sign, the agreement becomes part of the campaign record.
Review and Manage Offers
Once your Casting Call is live and creators begin responding, it’s time to manage offers. Go to the negotiation hub where every counter, change, and decision is tracked transparently.
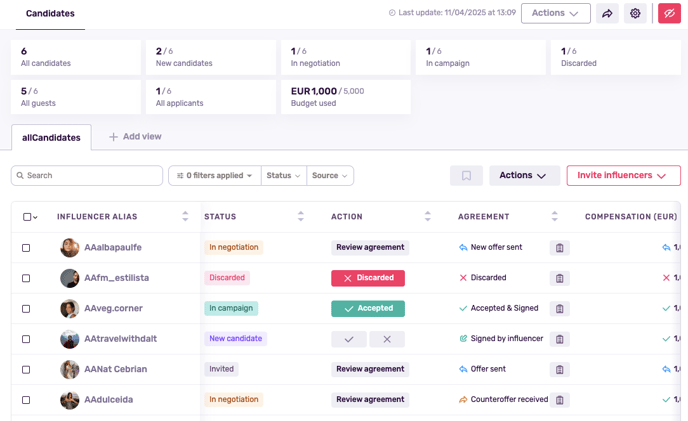
Step 1: Monitor Negotiation Statuses
From your Casting Call dashboard, you’ll now see a new status filter:
- In Negotiation: Creators who’ve submitted counteroffers.
- In Campaign: Creators who accepted your proposal as-is.
- Declined: Creators whose proposals were discarded.
Note: If you want to learn more about the status within this dashboard, read our article “Learn About Negotiation Status” here.
Each status helps you instantly know where every potential collaboration stands, even when managing multiple campaigns or teams at once.
Pro tip: Use filters to prioritize active negotiations and move quickly on creators showing strong potential.
Step 2: Open Each Creator’s Proposal
Click on an influencer’s name to view their personalized agreement window. This is where all negotiation activity happens in one place. You’ll see:

- Their countered values (e.g., fee changed from $1,000 → $1,500).
- Which sections were edited (like deliverables or deadlines).
- Any comments they’ve added for context or clarification.
Each editable field clearly displays both your original offer and the creator’s response side by side.
Step 3: Choose Your Next Move
From the proposal modal, you can:

- Accept: Approve the creator’s counteroffer as-is. They’ll automatically move to the next stage and sign digitally.
- Send a New Offer: Adjust your terms or propose a middle ground. You can include a comment to clarify reasoning or expectations.
- Discard: Decline the offer if it’s outside your campaign scope or budget. The influencer will be automatically notified by email.
Each decision updates the creator’s status instantly. Everyone sees the same source of truth.
Best practice: Use comments when countering or rejecting. A brief explanation fosters goodwill and keeps future negotiations open.
Step 4: Review the Full History
Every negotiation, from the first proposal to the final signature, is automatically logged. You can see:

- All versions of offers and counteroffers.
- Comments exchanged between both sides.
- The complete timeline of activity, including who made each change and when.
This transparency gives your team an audit trail and ensures everyone (internally and externally) stays aligned.
Step 5: Stay Synced with Real-Time Notifications
Each new offer, counteroffer, or signed agreement triggers automated email notifications for both the brand and the creator.

- Brands get notified whenever a creator responds, counteroffers, or signs.
- Creators get notified when you accept, counter, or decline.
Note: You can send as many counteroffers as you see fit.
Finalize the Agreement
Once both parties align on all the terms, it’s time to make things official. The finalization process in Influencity’s Negotiations ensures every agreement is signed, stored, and ready for execution.
Step 1: Digital Signing Made Simple
When the influencer accepts your latest offer or counteroffer, they’ll move to the signing stage directly within their personalized landing page.
- The influencer adds their name and date, confirming they agree to the campaign terms.
- This digital signature has the same binding value as a written agreement and serves as proof of consent.
Step 2: Brand Review and Signature
Once the influencer signs, you’ll receive a notification that the agreement is ready for your review.
Inside your Casting Call dashboard, you’ll see:

- The influencer’s signed document with their name, date, and accepted terms.
- A new button: “Accept and Add to Campaign.”

To finalize the agreement:
- Review the final terms, all agreed sections will be locked.
- Add your name and date to digitally sign as the brand or agency representative.
- Click “Accept and Add” to officially include the influencer in your campaign.
Note: Once you sign, both parties receive confirmation emails and the agreement becomes part of your campaign’s permanent record.
Step 3: Automatic Status Update
As soon as you sign, the system automatically updates the influencer’s status:

- From: “In Negotiation”
- To: “In Campaign”
This change appears in your dashboard and counts toward your campaign’s active influencer total.

You’ll also notice that:
- The influencer’s agreement is saved under their profile and campaign history, ensuring full traceability.
- The budget used automatically updates based on the agreed fee, giving you a real-time view of financial allocation.
Step 4: Keep a Transparent Record
Every signed agreement (including all offer versions, comments, and signatures) remains stored in your campaign history.
- You can access the full negotiation log anytime for internal review, reporting, or compliance purposes.
- This also ensures your entire team, from campaign managers to finance, has visibility into who’s been approved and under what terms.
Tips for Smooth Negotiations
- Use clear and consistent compensation terms.
- Personalize offers where possible, it shows professionalism.
- Keep non-negotiable sections limited to essentials for flexibility.
- Regularly check the negotiation tab for new updates.