Follow this step-by-step guide to configure your email account, build your first sequence, and enroll influencers.
Step 1: Connect Your Personal Email
Before creating a sequence, you must log in your personal email account.
- Go to Settings > Communication.
- Select the Personal Email tab.

- Click Connect. A pop-up will appear (ensure your browser's pop-up blocker is disabled).
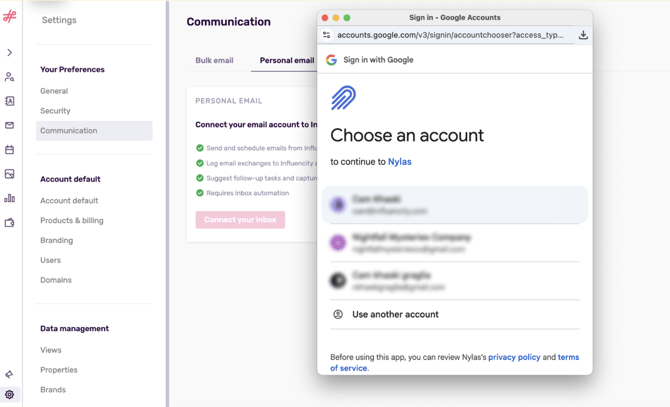
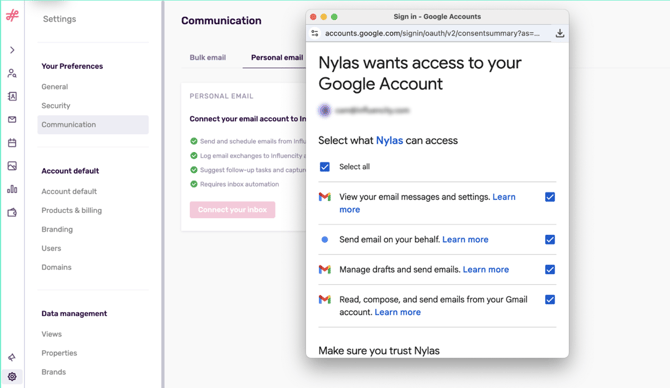
- Log in with your account and grant the necessary permissions.
Note: Each user on your team must connect their own personal email if they wish to send sequences.
-
Make sure to grant full access for us to be able to integrate your email properly.
Note: You can sign off your account anytime you want to.
Step 2: Build Your Sequence
- Navigate back to Communication > Sequences.
- Click Create Sequence. Name it and provide a description.

Tip: Adding a description is useful when several people in a team are running multiple emails.
- Add Emails:

Click Add New Email. You can write from scratch, use a template, or generate text with AI.

Regardless of the option you choose, remember you can always personalize your emails by adding the tokens that feel right depending on the email.

- Set Delays: Define the "Time to Wait" before each email sends (e.g., 2 days).

Note: The first email is usually set to 0 hours/days to send immediately upon enrollment.
- Attachments: You can include files or inline images in the body of the email.
Important: A sequence can contain up to 20 emails.
- Configure Threading
After you’ve composed at least two emails, you’ll need to configure the threading.

- Click the Go to the settings button, choose if emails should be sent as "New chains" (separate emails) or "Same thread" (grouped as replies).

If using "Same thread," you must set a single Master Subject Line for the whole conversation.
Note: You can add a personalisation token in the subject line of the thread.
- Launch
Once you’ve decided the threading, you’ll need to click on set automation, this step implies confirming that the sequence finished once the influencer replied.

If you’ve satisfied with the sequence, save and activate the sequence.
Important: Once a sequence is active/launched, it becomes "Read Only" and cannot be edited structurally.
Step 3: Enroll Influencers
Once your sequence is set up, you can add influencers to a sequence from almost anywhere in the platform (Lists, IRM, Profile views, etc.).

- Select the influencers you wish to contact.
- Click Add to Sequence.

If an influencer in your selection does not have an email address, the system will warn you and exclude them. A pop up will also appear if the influencer is in another existing sequence so you can choose to either include him or her or not.
Batch Limits: To protect your email reputation, we recommend adding influencers in batches (e.g., 50 at a time).
Remember that Gmail has daily sending limits (typically around 500 emails/day); if you exceed this, your email provider may temporarily block your sending capabilities.
Step 4: Manage & Monitor
Go to the Sequences dashboard to track performance. You will see influencers categorized by status:

- Scheduled: Waiting for the delay period to pass.
- In Progress: Currently active in the sequence.
- Finished: The influencer has either completed all steps OR they have replied (which automatically finishes the sequence).
- Error: The email bounced or there was a delivery issue.
For more information on this topic, you can read about sequence status here.
Pro Tip: If you need to stop a sequence for a specific influencer manually (e.g., they replied via DM instead of email), you can manually select them in the sequence dashboard and click Unenroll/Stop.