Note: This article describes how to set up bulk emails within Influencity. To learn how to integrate your personal email for 1-1 communication with influencers, please see this article.
What Are Bulk Emails?
Bulk emails allow you to communicate with a large group of influencers at once. Before we get started, here are some basics:
- Influencers will not see that they are being contacted as part of a bulk email.
- You can choose the email address where replies will be directed (e.g. your business email account).
- This feature is available for any subscription that includes IRM & Data.
Warning: As of February 2024, bulk email senders who send 5,000+ emails per day to Gmail, Yahoo, or Google Workspace recipients will have to complete extra requirements in order to ensure the delivery of their campaigns. Read about the new requirements for bulk senders here.
Where Do I Configure Bulk Emails?
Go to Profile & Preferences and scroll down to Communication. Select Bulk email (For info on setting up a personal email, see here). You’ll have 2 options:
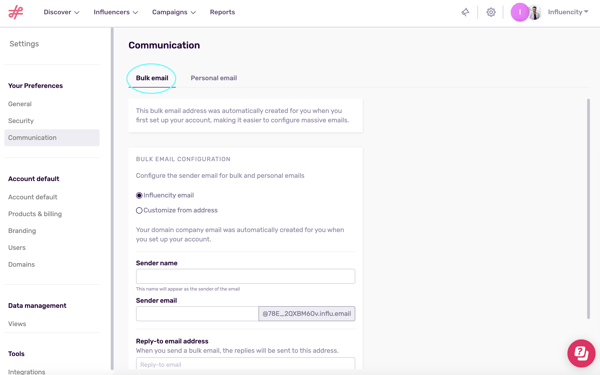
Create an Influencity Email
If you choose to create an Influencity email, you’ll need to fill out these fields
Sender name - this is the name that influencers will see in their inbox.
Sender email - the email address that appears next to the name. This is created by Influencity automatically when you configure your bulk emails and cannot be changed (to have a different email, select customize)
Reply-to email address - your existing address, any replies will be directed here.
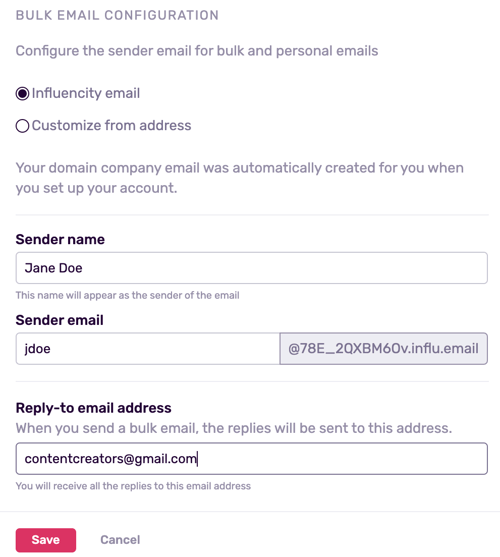
Fill in these fields and hit Save. You're now ready to start contacting influencers from the IRM and Campaign products here.
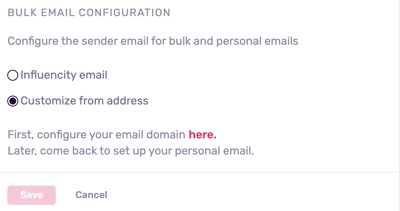
Customize an Email From Your Own Email Address
When you click Customize, you’ll first be asked to configure your email domain before you proceed. For a step-by-step guide on this process, click here.
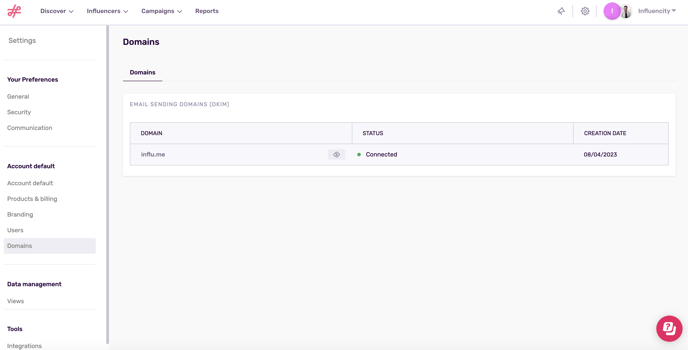
The verification process can take up to 48 hours. You can check the status by going to Settings and scrolling down to Domains.
Once your account has been verified, you'll see a green dot and the status Connected.
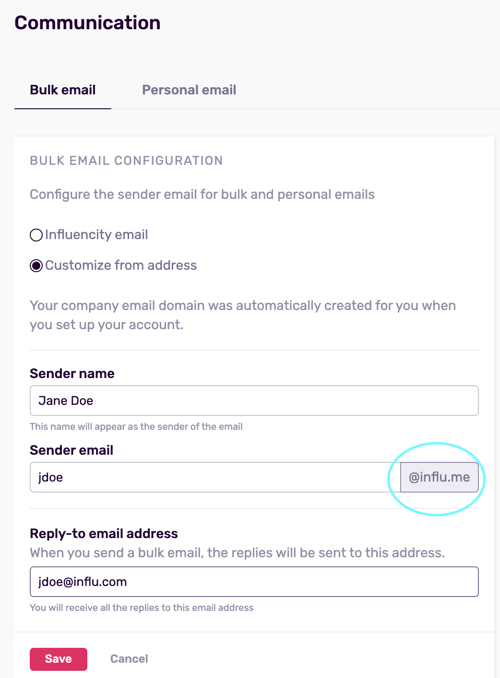
At this point, return to Communication, and select Customize from address.
Now, instead of a generic address, you'll see the one you specified when setting up your domain. Click Save.
Next Steps
Now that you've configured you bulk email address, learn how to send bulk emails in the IRM and Campaigns products by clicking here.