Mass Actions
Save time managing influencer information with Mass Actions.
Changing the Status of Multiple Influencers
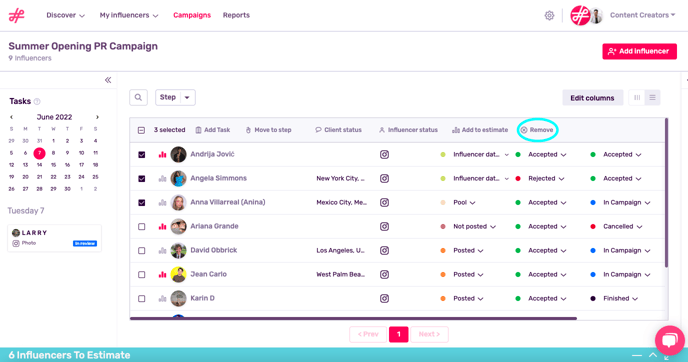
Make changes as a mass action by ticking the boxes next to various profiles and selecting one of the options displayed along the top:
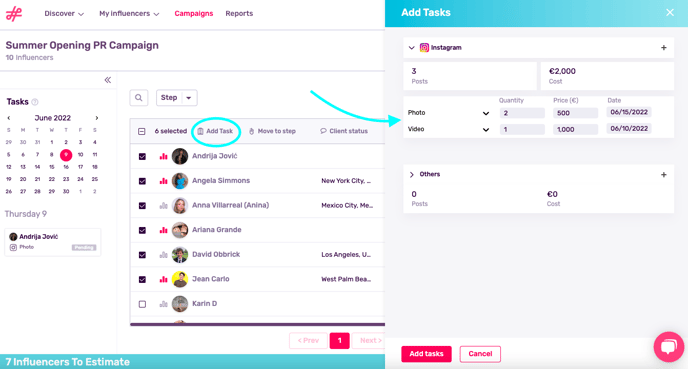
- Add a task for these influencers to complete as part of a campaign.
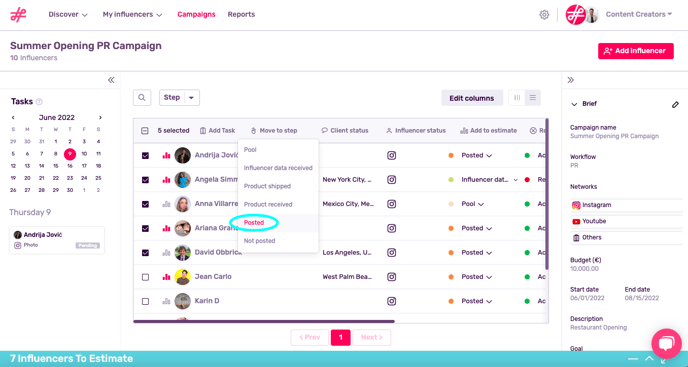
- Move an influencer to the next step (e.x. if you shipped them a pair of sneakers and they have confirmed receipt, change their status to Product received).
- Define the clients' status (i.e. if they’ve accepted or rejected a profile).
- Define the influencers' status (i.e. if they’ve accepted/rejected a negotiation or are currently part of a campaign).
- Add these influencers to an estimate to see their total reach and the combined cost of their tasks.
- Remove these influencers from a campaign.

When Should I Use Mass Actions?
Let’s say you’re opening a new branch of your hotel this summer and have included various influencers in your marketing campaign. The whole group has agreed to upload a photo and a short video for the event and these will be published on specific dates. In situations where influencers have similar tasks, save time by assigning them as a mass action.

Continuing with this example, once these influencers have posted their content, you can easily move them to the next step of your campaign by ticking these profiles, clicking on Move to step, and selecting Posted.

Mass Actions in the Kanban View
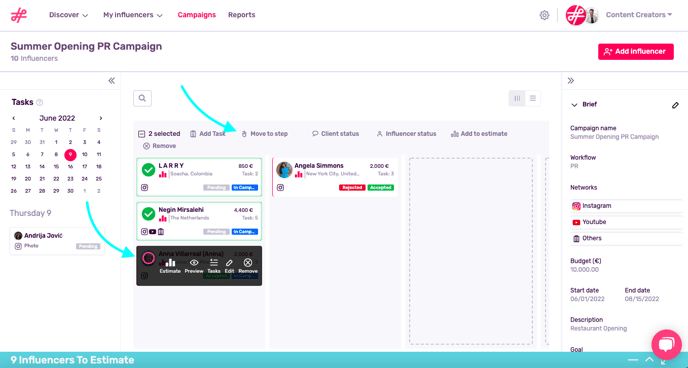
The kanban view lets you organize your data in an agile and visual way. To change influencers as a mass action, just tick the circle next to their profile and select an option along the top.
In the example below, we’ve received our influencers’ data and are now moving them from Pool to Influencer Data Received.
