How to Add Benefits to Programs
Learn how to create benefits for influencers and their audiences
Note: This article describes how to add different types of benefits to a program. For an overview of programs and how to create one, click here.
What Are Influencer Benefits?
Influencer benefits refer to the gifts that brands send or “seed” to creators for free in the hope that they’ll enjoy them and maybe feature the gift in one of their posts. Click here to jump to the section on influencer benefits.
What Are Audience Benefits?
Audience benefits, also known as audience discount codes or influencer promo codes, are unique codes created by brands and distributed through influencers. The idea is that influencers will share these special discount codes with their followers, encouraging them to make purchase. Typically, these codes are personalized with the influencer's name. For instance, "JANEDOE10" might be a code associated with an influencer named Jane Doe, offering a 10% discount to her audience.
Brands use these codes to monitor purchases made using them, allowing them to gauge the portion of sales attributable to a particular influencer. Click here to jump to the section on audience benefits.
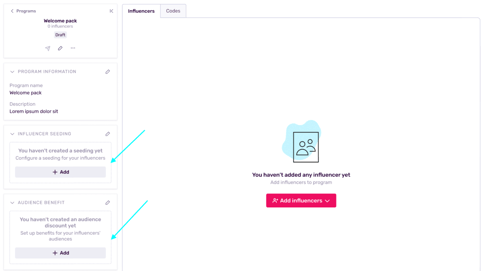
When you first create a program, the sections Influencer Benefits and Audience Benefits will be blank.
How to Set Up Influencer Benefits
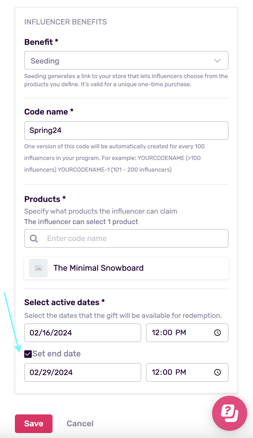
- When you select Seeding, some additional fields will open below.
- Code name - this is the code that influencers will have to enter when they navigate to your site to claim their free product. If you create the code Spring24, it will be valid for the first 100 influencers that you include in your program. Once you pass this threshold, you’ll have to alter your code a bit, for example: Spring24-1. All seeding programs have 2 sets of codes: one for the free gift and one for free shipping.
- Products - these are the items from your store that an influencer can claim using the code above. The products in this drop-down list appear because you’ve integrated your Shopify store with Influencity.
- You can choose 1 product and all the influencers in your campaign will be eligible to receive it.
- Lastly, select the dates that the gift will be eligible for redemption. If you do not select an end date, your influencers will be able to claim their free product at any time.
Tip: If you want to include multiple products in your gift, consider making a bundle in your Shopify store. For example, the “Snowboard and anti-fog goggles starter pack.” This way, influencers will receive multiple samples within one gift.
- Review all your information carefully and click Save.
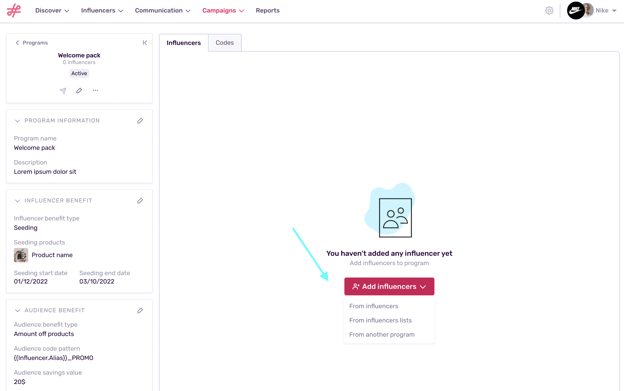
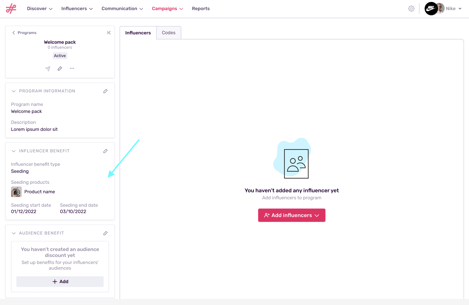
- Your newly created audience benefit will now appear in the section along the left-hand side.
- To edit your influencer benefit, click on the pencil icon.
How to Set Up Audience Benefits
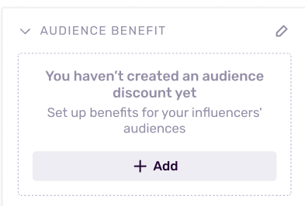
- Click on +Add to start adding audience benefits.
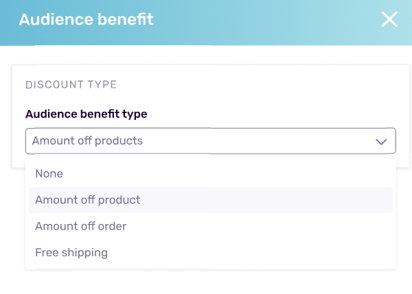
- Discount type - what the discount is applied to; either a specific product, the entire order, or just shipping.
- Tracking coupon code - this is where you create the actual discount code that your influencers will be sharing. You can use personalizable tokens to make multiple codes in a flash. For example, by using the token “Influencer Alias” and then underscore PROMO, you can make several codes, each individualized with the name of a different influencer, for example JaneDoe_PROMO and JohnDoe_PROMO.
Warning: The personalization tokens use the information that you have filled out in an influencer’s page in the IRM. If you’re not sure if you’re properly filled in all your influencer aliases, it might be a good idea to double check to make sure the correct information is plugged in.
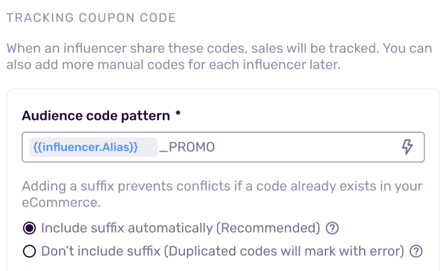
- Add an influencer suffix - We recommend including a suffix automatically, as duplicated codes will be marked as errors in Influencity and will not be created in Shopify.
- Audience savings value - give a percentage or fixed-rate discount.
- Audience purchase type - this depends on the product you’re promoting. For example, if you’re a beauty subscription service and want to give new customers a discount off their first 3 months, click subscriptions and add 3 to the field that appears.
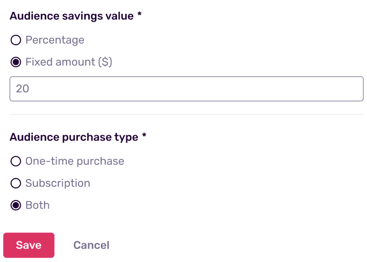
- Once your benefits have been added, click Save.
- Your influencer and audience benefits now appear in the left sidebar. The next step is to start adding your influencers!
